Elevation. It’s one element of wooden train layouts that never fails to please, but often ends up frustrating everyone involved. While we have a few sturdy pieces that add height to our tracks in a reliable manner, most bridges and track supports are liable to be knocked over with the slightest jostling from little hands or feet. Also, once the tracks have gone up, they either need to be held up by more and more supports or come right back down again.
Still, it’s well worth building those tracks up and up and up. Sending trains rolling down hills is fascinating to those playing with them, and not just because it’s fun. In the same way that learning to couple up wooden engines and cars teaches practical lessons in magnetic polarity, these slopes in a train layout provide children the opportunity to experiment with gravity. It’s fun to crash the trains, and just as fun to try to control their ascent or descent, keeping passengers or freight comfortable in the cars the engines are pulling. The Little Engineer has spent afternoons focused on the task of pushing an engine up a particularly tricky hill.
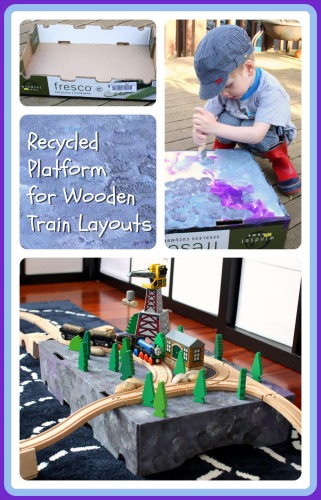
One way we’ve found to elevate an entire area of our train layouts is to build some of the track on a platform. Fortunately, Costco is kind enough to give us one for free every time we shop there.
This post was originally published on May 28th, 2013. It contains links to Amazon.com. If you click on one, we will receive a small commission — at no additional cost to you — on anything you buy at Amazon for a certain length of time afterwards. I was otherwise uncompensated for this post. Read our disclosure policy for more details.
For a while there, I had been trying to remember to bring our reusable shopping bags with us to Costco, but now I can’t wait to see what we’ve won in the cardboard box lottery each time. Turn them over, and you have an instant track platform, ready for play. And when you’re done with it, the box just goes out with the recycling.
Here’s one of our track creations from last fall. The Little Engineer named this “mountain” after a friend of his who he’d recently played trains with, which was very sweet, because he thought it was really cool. This box was fairly tall, however, so it was difficult to get the tracks all the way up to the top. The winding part coming up the side is held together by Suretrack Clips, which can be very useful when you want to get creative like this.
That’s the extreme. We usually use boxes more like this one:
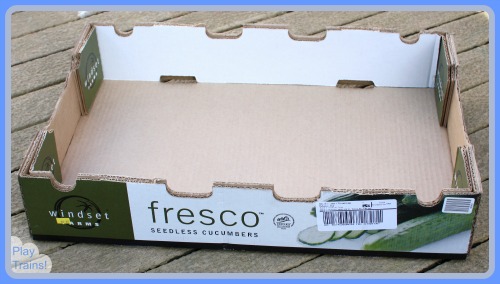
These flat boxes are the best: thick and sturdy, but you only need two ascending tracks to get up to the top.
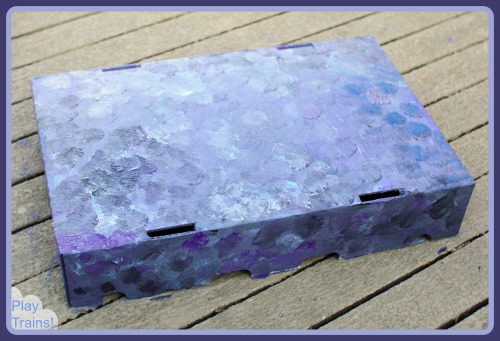
We usually use them as is, but our other DIY train set projects inspired us to make a more permanent addition to our layout. So we took this box out onto our deck with some of our Crayola washable tempera paints and got to work.
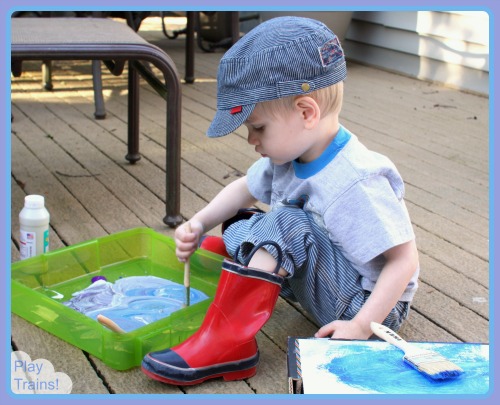
I wanted to paint it to look a little like the rock cliffs of the quarry in Blue Mountain Mystery. The gray stone from that movie has a bluish cast…so, of course I discovered we were nearly out of blue paint. And white paint, which we needed to make gray.
So we augmented the blue with some purple. This worked out, because purple is currently the Little Engineer’s second favorite color after blue. To lighten the black to gray, I used a sandy mixing medium that Crayola makes to go with their tempera paints. This had the added benefit to adding some texture to the surface of the platform.
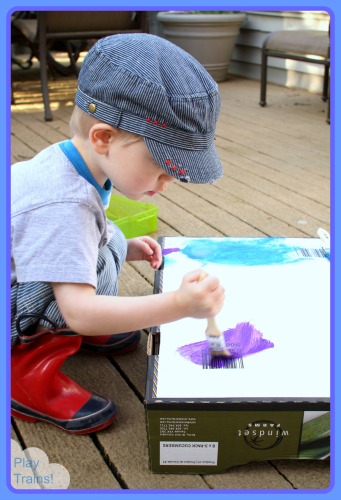
We squirted all of the colors into a shallow tub and swirled them together. Somehow, I convinced the Little Engineer to defy instinct and not mix them into a single purplish gray color. The first thing he wanted to do was to paint out the barcode on the bottom of the box.
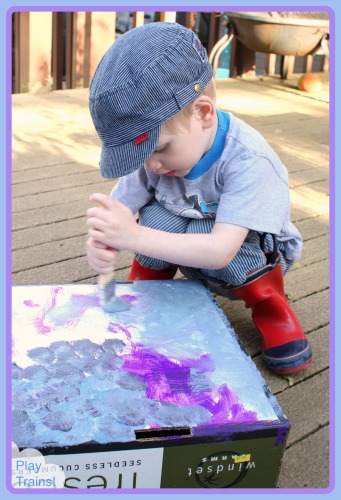
After that, we each worked on one side of the box. I showed him how to dip his brush into the paint and dab it to make individual rocks.
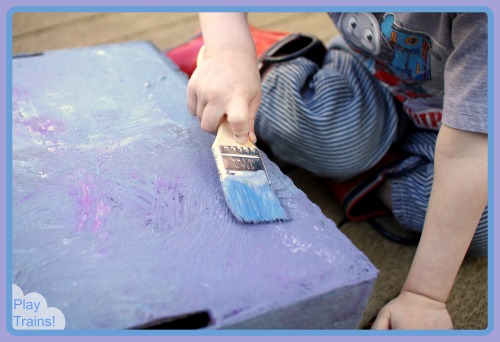
He really enjoyed this painting project, and worked on it for a long time before asking me to finish the rest.
When we were both ready to be done, I left it to dry overnight.
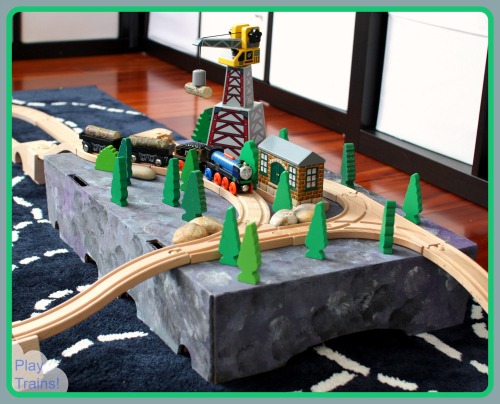
The next day, we built a track layout incorporating our new platform. We both loved how it turned out. The Little Engineer was very excited about it. So much so that I got in trouble for starting to put the rocks and wooden trees on without him.
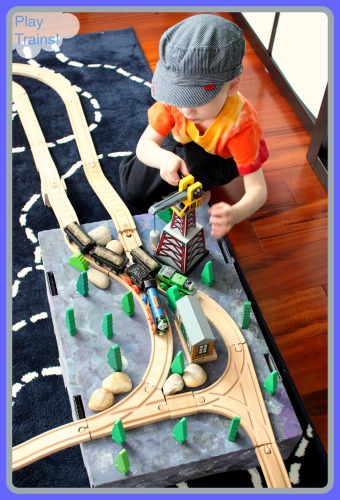
We had some new freight to play with, “logs” with magnets embedded deep inside that my husband made for the Little Engineer (tutorial coming soon). So, this layout ended up more Misty Island Rescue than Blue Mountain Mystery. Either way, the painted platform really added to the feeling that the trains were moving through an echo of a real landscape.
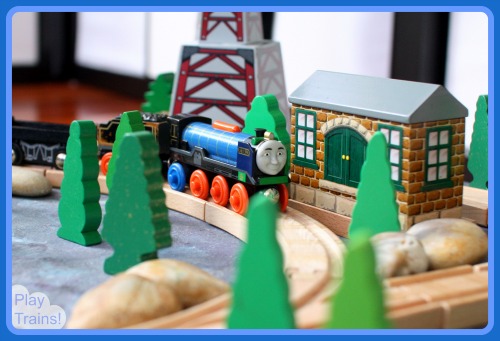
Plus, it looked great for the photos, which always makes me happy!
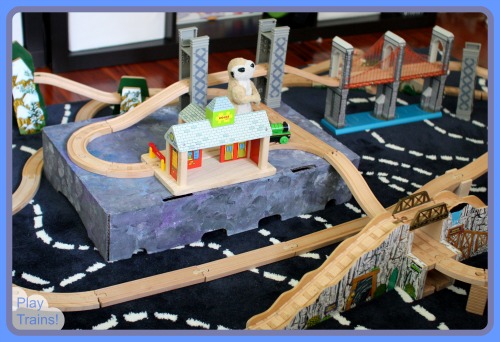
A few days later, we built this layout together that focused less on aesthetics and more on elevating as much of the track as we could as high as possible. We put risers up on the platform, raising the tracks to the height of three ascending tracks. It was a lot of fun letting gravity pull the trains down from the high point of the layout.
We also used this platform as a backdrop for some of the photos of our Pipe Cleaner Trees. It made a perfect stormy sky. And perhaps best of all, it can double as a track storage container when not in use! Now that’s a useful addition to any wooden train collection.

Yes, I love this idea. I am not sure we will get around to painting anything, but I do love the idea of recycling a box to help out with the elevation. We have bridge supports, but they fall down all.the.time.
It works just as well without the paint! I need to finally write about the bridges that we do like. There are a few that don’t fall down constantly.
Oh I’ve already pinned this to my cardboard board! Great idea. My girls love their wooden train set.
Thanks for linking to The Sunday Showcase. I’ve pinned to our board!
Thanks so much, Rebecca!
Love this! Where did you find your rug?
You mentioned a tutorial for the magnetic logs you made, but I can’t find it on you site, can you point me in the right direction?
Oh, yes…I’ve never gotten that posted! I think I was concerned about how to make it 100% safe (my husband assures me it is, but I would want to be more than sure because strong magnets are involved).