Ever since the Little Engineer was a toddler, I’ve been obsessed with collecting different sizes, shapes, and colors of color coding stickers to use for art and craft projects. Not just for him — I enjoy making pictures with them, too! I love how being limited to a few simple shapes brings out one’s creativity.
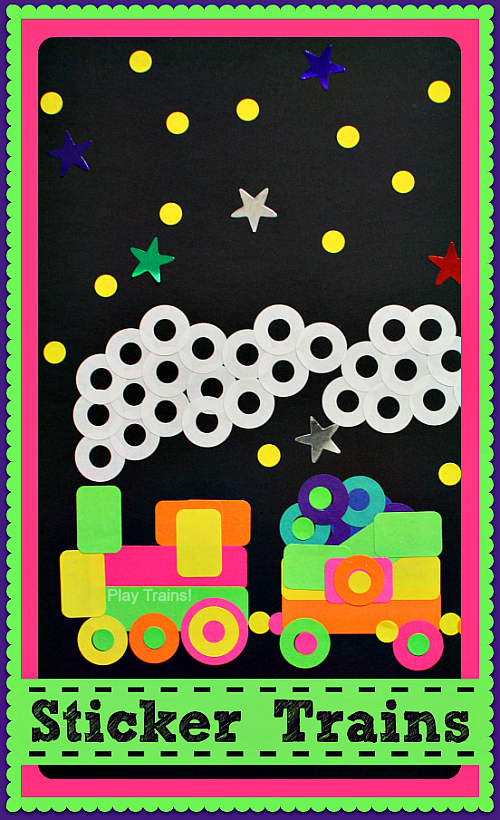
Recently, I came across a couple of different packs of colored hole reinforcer stickers, one neon pack from a local chain drugstore and one set of darker colors from Target. They looked too much like wheels for us not to use them to make sticker trains. We already had neon circles and rectangles in two different sizes, primary-colored circles, and white large rectangles and hole reinforcers.
When it was time to do the craft, I got out a pack of card stock. I chose black, and the Little Engineer chose shades of blue. Then we sat down at his art table to work.
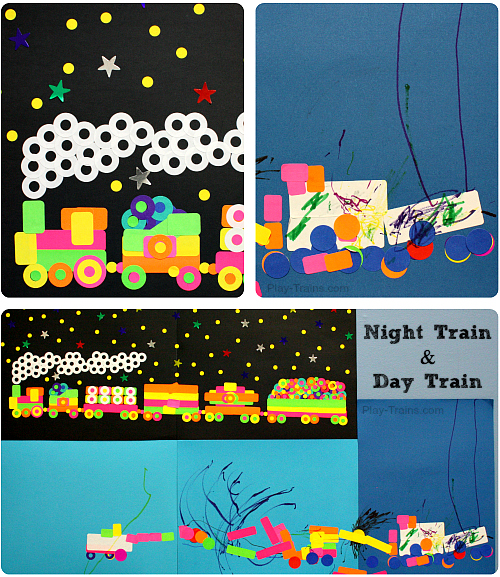
I love creating side by side with the Little Engineer. In the past, I worried he’d just try to copy what I’m doing or compare his to mine, but that’s never how it goes. He pays attention to what I’m doing, asks me questions about it, and then goes back to his own work, using some small element of what he saw in mine to inspire his own new ideas.
I also love how he influences me in return. Because of the colors of our backgrounds, he decided mine was the “night train” and his was the “day train”. So, of course I had to find some metallic star stickers to put on mine!
Here’s my night train in more detail:
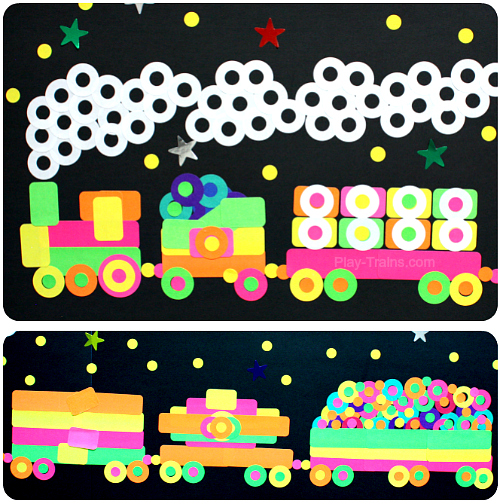
I had the most fun making that steam, and the cargo in the final car (hole reinforcers overlapped with tiny circles added inside some of their holes). The Little Engineer informed me it was coal. It was also fun to try to make “logos” on some of the cars.
And here’s the Little Engineer’s day train:
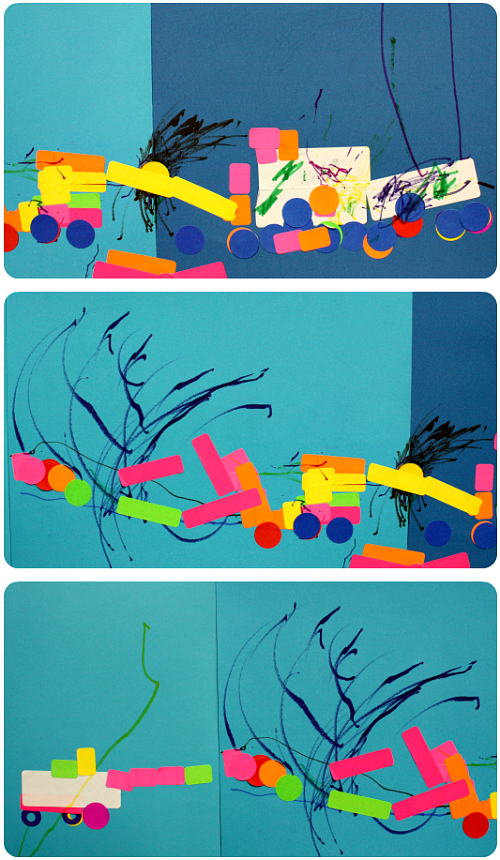
In the first picture, you can see how he decided to use markers to “detail” his engine, as he said. Each of those wheels is at least three or four different stickers layered over each other as he pretended he was really building a train.
After the engine, he made a coupling hook behind it, which also served to “couple” the pieces of paper together, and a box car inspired by a long look at my box car. The wild spray of dark blue marker is the “water inside of a tanker car exploding!” And finally, he put a little caboose at the end.
This was a really simple and easy train craft to set up, and we kept at it for a long time. In the end, he was quite excited to hang our trains on the wall of his newly-rearranged room. Also, we have plenty of sheets of stickers left to use in the future.
For another use for these color-coding stickers, take a look at the “controller” the Little Engineer made for his portable pretend model railroad.
For more train craft ideas, check out our Train Activities for Kids board and Follow Play Trains! on Pinterest!
Love this activity (of course). You are so creative.
Love this idea!! so much fun. Love that you used black paper with neon stickers. now following you!!
would love if you you could share this on my weekly link party Serenity Saturday
Natasha @ Serenity You
I think it’s safe to say I LOVE EVERY ONE OF YOUR POSTS!!!! we love trains in our house…but wow… you guys REALLY love trains!!! Im sure if my kids could read this they’d be jealous you’re not their mom lol!!!
keep on chugging!
Alex @ Teach Through Play
Lovely, artsy, and so colorful! 🙂