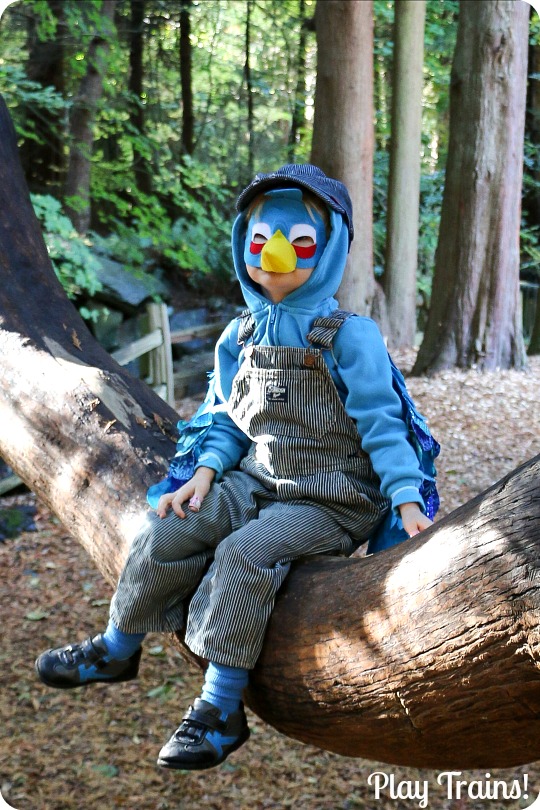
This DIY Angry Birds costume took a couple of nights’ worth of work to finish, but it was worth it. Not only did it turn out to be pretty cute, but we’ll be using it for pretend play well beyond Halloween. The best part is it combines two of the things my son loves. The Little Engineer and I have made up many stories about the Angry Bird Train (including this homemade Angry Bird Train board book we still love to read). So it’s no surprise that his Blue Bird costume became an Engineer Blue Bird costume.
This post contains links to Amazon.com. If you click on one, we will receive a small commission — at no additional cost to you — on anything you buy at Amazon for a certain length of time afterwards. Read our disclosure policy for more details.
Blue Bird Wings
When the Little Engineer asked for a Blue Bird costume, I was willing to come up one for him, but I had a hard time getting excited. The commercially-available version is okay, but I wasn’t all that inspired by it.
Then I saw these beautiful dress up wings created by Eri from Llevo el Invierno and absolutely fell in love with them. Now this was a costume I could get excited about making! Please follow the link to see the pattern for her wings and read her instructions. (There is also a post about the dress up wings on Eri’s own blog I just found that has more photos of the process, so check that one out, too.) I’ll provide some information about what I did where it diverged from what she suggested.
I know the Angry Birds don’t appear to have wings, but we often talk about our fingers as “wing tips” when we’re pretending to be Angry Birds. So I thought the Little Engineer would be okay with being a Blue Bird with wings, and when I showed him the pictures in the post above, he was very excited about making Blue Bird wings.
We spent a long time in the fabric section of the craft store looking at blue fabric for the feathers. We tried to find a wide variety of beautiful blue fabrics, from batiks to brocades and shiny special occasion fabrics. I got a quarter of a yard of each fabric (and a yard of our favorite batik fabric for the backs — or would they be the fronts? — of the wings), but an eighth of a yard would do, plus maybe three-quarters or half a yard of the backing fabric, depending on the length of your child’s arms.
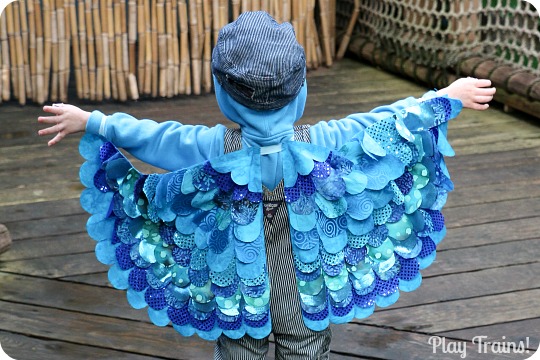
And then the endless cutting of feathers began. I decided to cut individual scallop shapes instead of groups of four as in her pattern, and I’m not sure whether that made it easier or harder. I think my feathers were wider and slightly longer than hers. I do know that a small, sharp pair of sewing scissors was invaluable to this process.
I attached the feathers with tiny dots of hot glue. It worked pretty well; none of the feathers have fallen off yet, and they flapped pleasingly in the wind as the Little Engineer ran. I put a dot in the center of the top (hidden part) of each feather and a dot at each of the corners. Most of the time, the dot in the corner was where two feathers’ corners overlapped, so I would lift only one feather up and put the dot on the edge of the other feather, so the glue would hold both at once. One downside I discovered to the hot glue was that it burnt or discolored the batik fabric slightly. This showed on the backside of the wings, but only if you knew to look for it. Maybe a low-temp hot glue gun and glue sticks would have helped, but I don’t know that for sure.
To hold the wings on, instead of ribbon, I used a pale blue piece of elastic. I made loops for his wrists and sewed them on, then made one large loop and sewed the top corners of the wings to it, leaving about an inch and a half of elastic between them to allow for lots of flapping. To put the wings on, I held the elastic loop up so he could slip his arms in through the sides, as if he were putting on a jacket.
Blue Bird Mask
For the mask, I wasn’t sure what I was going to do, so I got a plain white “satin” mask (the all-plastic ones looked uncomfortable) and a pile of felt in the right colors at the craft store. I crossed my fingers that I’d come up with something. (This is the mask I used, but don’t buy it there…much cheaper at the craft store!)
Because I was making it in the middle of the night (and not planning to write a post on it), I didn’t take step-by-step photos or make a pattern, but I’ll try to describe what I did.
First, make sure to tighten the elastic on the mask enough before you begin. I did tighten it at this point, tying it around the edges of the mask on both sides so the knots wouldn’t be sticking straight into my son’s face, but I should have tightened it more. But he was asleep when I was working on it, so I couldn’t exactly have him try it on.
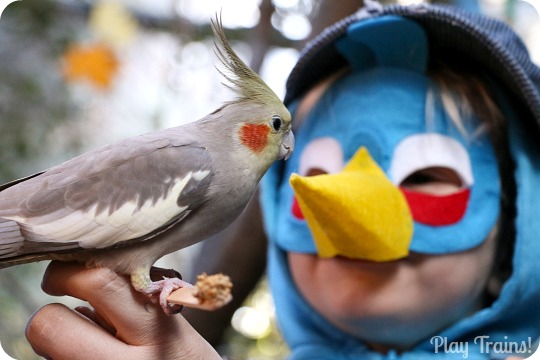
I cut the white eyes and red patches out of stick-on felt, but in retrospect I would have just bought regular felt and hot glued them on. Everything else was hot glued, and I found it was really important to spread the glue out to a thin layer so it didn’t darken the felt.
I covered the top and bottom halves of the mask with blue separately, making it easier to conform to the shape of the mask. Also, I cut the top part to be taller and rounder than the mask itself. I also cut a sort of fan shape that was scalloped on the top to go up the bridge of the nose and extend over the eyes, and two small elongated half circles that went up the nose under the top of the beak.
The beak was made with stiffened yellow felt. I cut one corner of the felt sheet off to make a triangle, except I rounded the edge I was cutting so it would make a cone. I curved the shape into a cone, making sure that the tip of the beak was lined up to be nice and pointy. Then I hot glued it together, from the end of the beak to about two-thirds of the way to where it would attach to the mask. This seam would be the bottom of the beak. Once that had set, I cut away a triangle from the bottom to make it easier for my son to breathe, with the point about at the place where I had stopped gluing the seam together.
Next, I shaped the top of the beak. Pressing the sides in together, I cut a curve that cut in slightly along the top of the beak and back out again at the center to form the point at the top. Getting the shape right took a couple of tries and a lot of tweaking. To attach the beak to the mask, fold that top point and the sides of the beak where they will touch the mask outward. Spread hot glue on the backs of these tabs and press them onto the mask.
The final touch was the two rounded blue feathers sticking up from the top of the mask. I cut those out and then glued them to the very top of the back of the actual mask, rather than the blue felt that stuck up above it, for a little more stability.
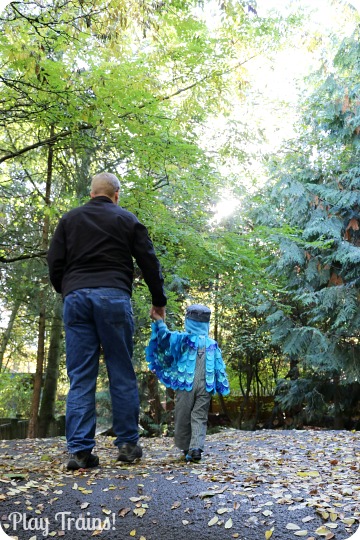
When the Little Engineer saw his mask and wings the next morning, he could barely contain his excitement inside one little body. He tried them on with his blue hoodie, looked in the mirror, and called for his engineer overalls and hat so he could be Engineer Blue Bird. I was thrilled to hear this for two reasons: 1) it was a cute costume idea he’d had early in the month and then abandoned, and 2) I hadn’t really figured out what pants to have him wear with the costume. Problem solved!
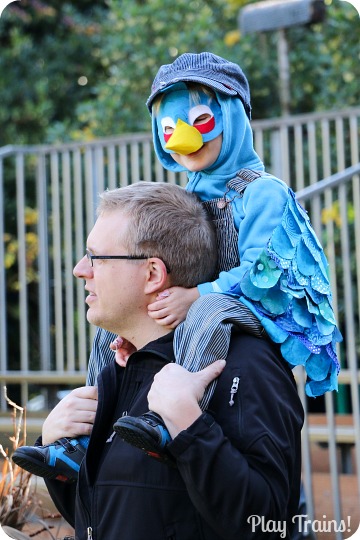
He put the overalls on — we were able to slip the wings’ shoulder bands through the straps at the back and hide them for the most part — and I pulled a larger size of the hat he usually wears over his hood, and it was pretty much the cutest thing I’ve ever seen.
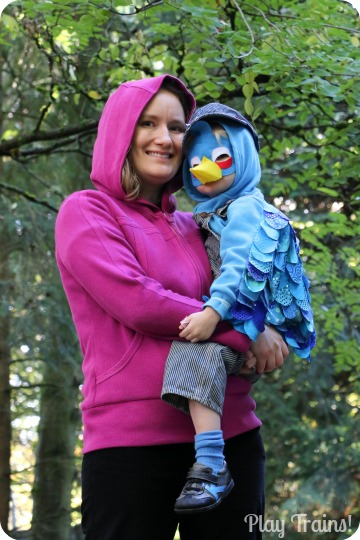
We had a wonderful afternoon trick-or-treating at the Woodland Park Zoo. His joy in his costume was apparent to everyone we met. His favorite thing was to have us both hold his hands and “fly” him through the air. Over, and over, and over. How can you turn down that request from a little blue bird?
He wore both the mask and the wings for hours, despite the fact that the mask kept slipping down his face until I found a way to tighten it more. And the hoodie and overalls kept him warm and comfortable on a sunny October day.
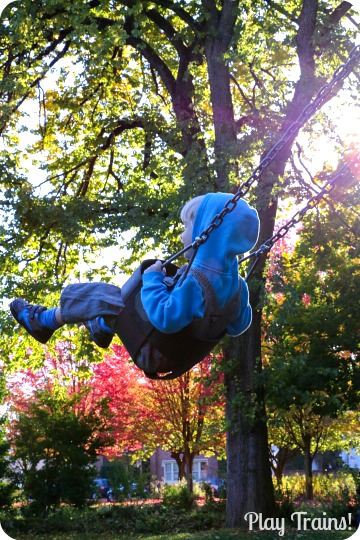
The best part was that not only was the costume comfortable, it was also very easy to take off the costume parts. I had been worried that I’d have to sew things onto his hoodie, which would have been a shame because he also uses it as his “costume” for pretending to be Connor, one of the two new streamlined express trains from King of the Railway. We went swinging at the park next to zoo after it closed, and he was zooming back and forth as the Sodor/London express after just a few seconds of wing and mask removal. Now they’re hanging on a hook in his room, ready for the next time we play Angry Birds.
Looking for more creative train activities for YOUR kids?
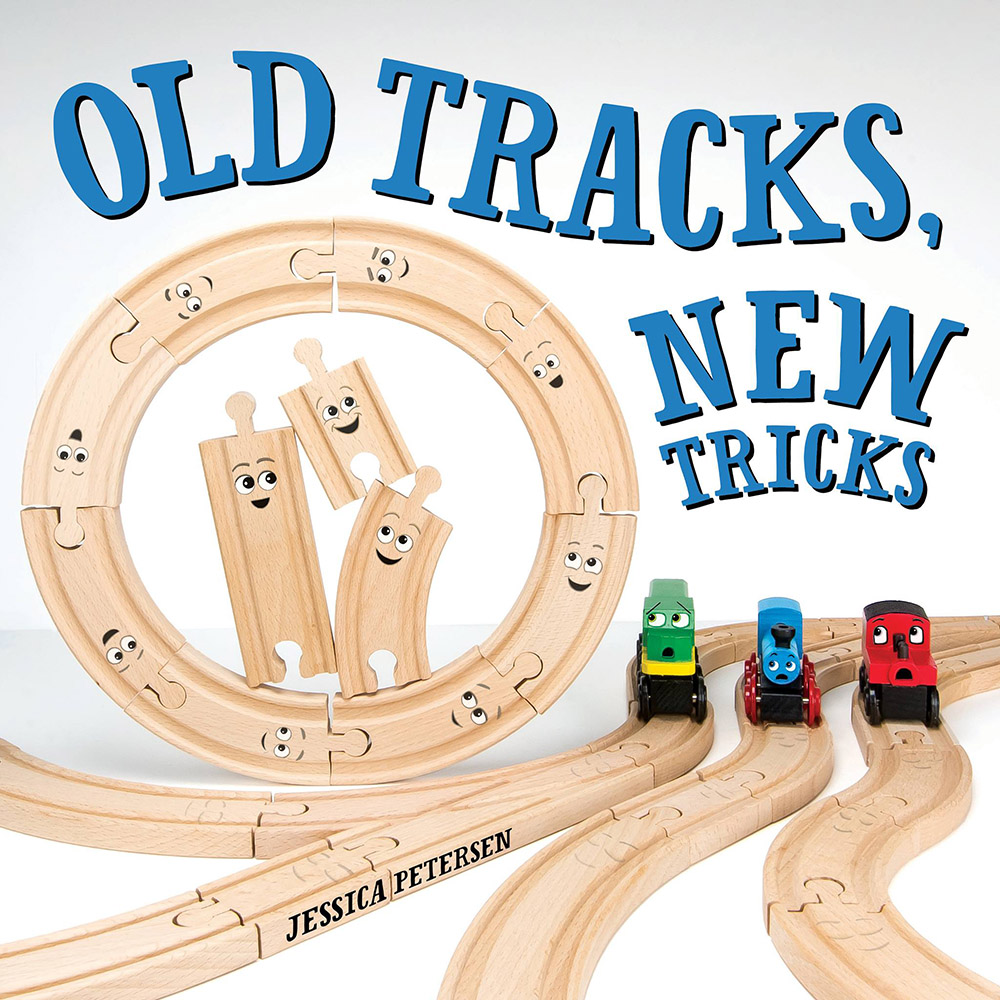
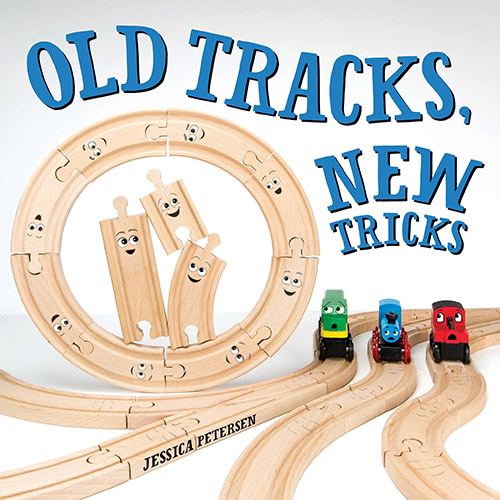
Grab a copy of Old Tracks, New Tricks! In the fun, rhyming story, three creative little wooden train tracks stand up to the bossy trains and teach the whole train set that old tracks — and trains! — can learn new tricks. Full instructions for the 20+ “track-tivities” in the story are included in the back of the book, along with an illustrated guide to teach kids how to create their own “track tricks.” You can find tons of extension activities at the Old Tracks, New Tricks website!
Leave a Reply