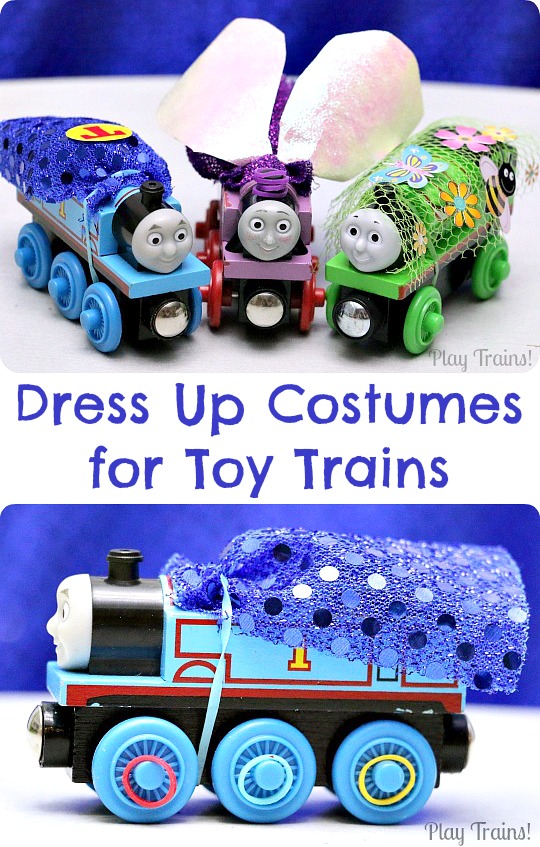
Whether for Halloween or an afternoon of pretend play, kids love dressing up. When the Little Engineer extended the need for costumes to his stuffed animals, I thought, why should they have all the fun? So I figured out a way to make dress up costumes for his wooden trains as well. It’s a fun, inexpensive, easy, and — most important of all — damage-free way to decorate any kind of toy trains, and you may already have everything you need to play.
This post contains links to Amazon.com. If you click on one, we will receive a small commission — at no additional cost to you — on anything you buy at Amazon for a certain length of time afterwards. Read our disclosure policy for more details.
Toy trains — especially the wooden ones — can be expensive, so it’s hard to let kids run with their desire to change their appearance. Fortunately, as long as the stickers only get stuck to the fabric, not the trains, your trains should come through this costume change unmarred.
Materials:
- Small elastic hair bands (I bought a multicolor pack with three different sizes, the largest of which being the most useful)
- Small rectangular scraps of pretty/fun fabrics, about the length of an engine
- Decorative paper (optional)
- Stickers (optional)
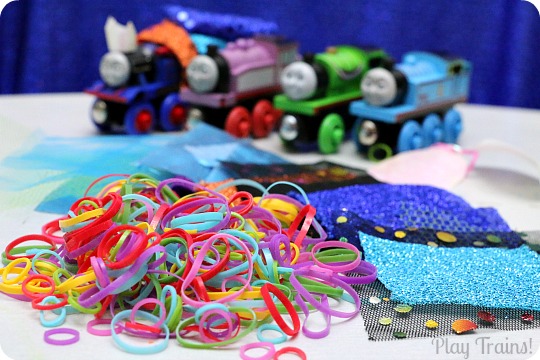
The idea is to use an elastic band to hold the fabric onto the train. The easiest way to do this it to position the fabric on the train, put the elastic where you want it to hold the fabric to the top of the train, and then stretch the band over the end of the engine and its wheels. (Check out the photos, because I’m sure they make more sense than that description does!) Sometimes, however, I put the elastic and the fabric together first and then hold them together as I stretch the band around the train, especially when I want to gather the fabric.
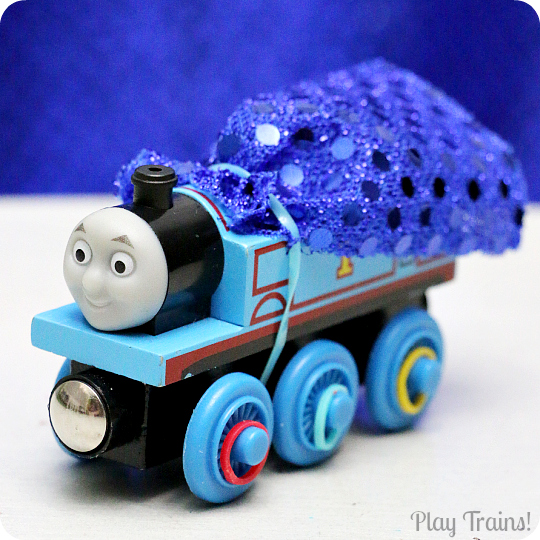
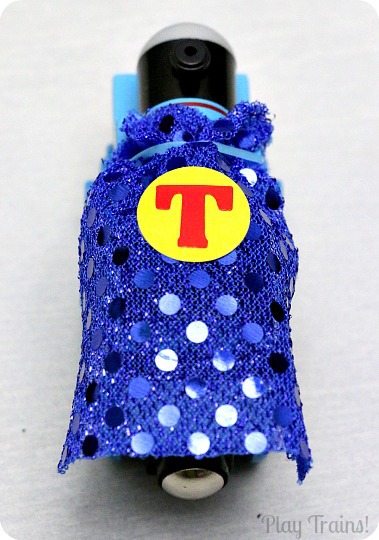
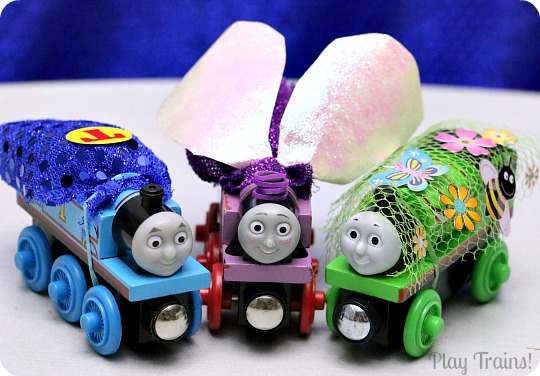
As soon as I showed the Little Engineer what I was doing, he said, “Thomas is going to be Super Thomas for Halloween! He can wear his cape to do train jumps!” So Thomas got a superhero cape.
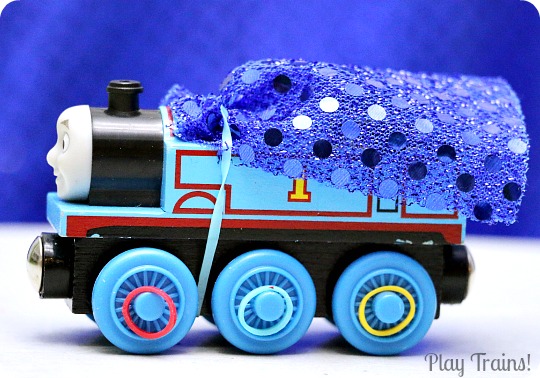 I noticed the smallest elastic bands looked kind of fun on the wheels. If I’d been wanting them to stay on for play, I would have wrapped them around the hubs twice.
I thought it was missing a something, so I dug through our sticker tub and put a red T on top of a yellow circle sticker and added it to his cape. Much better!
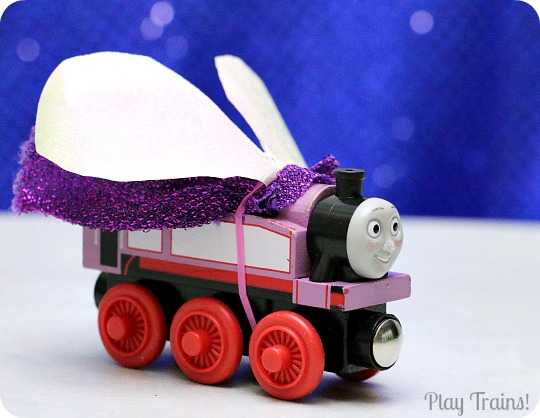
Next, the Little Engineer thought Rosie should be a fairy for Halloween. I cut wings from a piece of sturdy, iridescent wrapping paper (the same stuff we used to make snow for our train layouts last year). Then I took an elastic band and wrapped it twice around the middle of the wings and put it on Rosie.
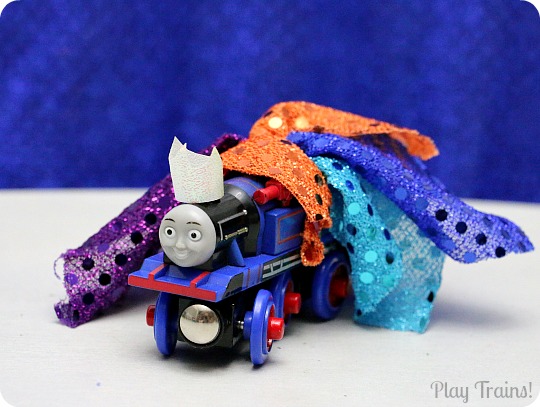
Belle got dressed up as a queen. I used blue poster tack to stick a wrapping paper crown to her funnel.
At first, I dressed Percy up as another engine (Billy), which the Little Engineer thought was pretty funny.
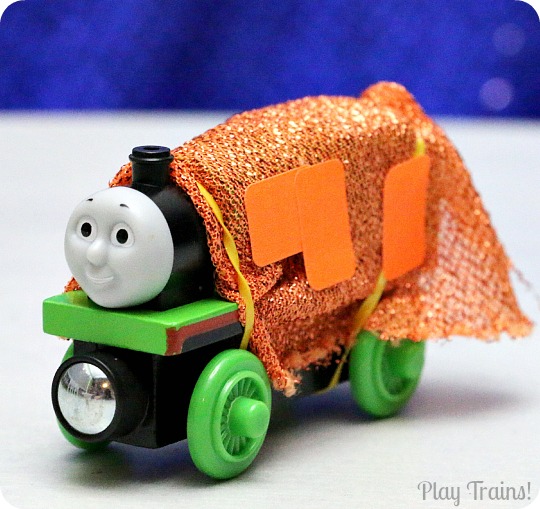
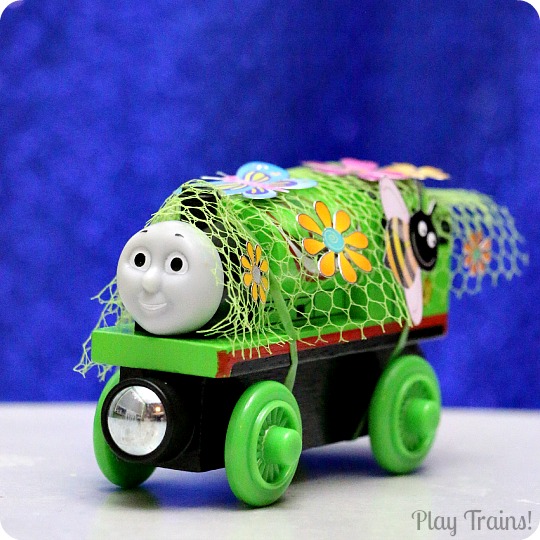
But then I was looking through our stickers and decided to make him a garden costume instead. The Little Engineer thought this was even funnier.
The littlest elastic bands also stacked nicely on their funnels, as you can see on Rosie below.
Looking for more creative train activities for YOUR kids?
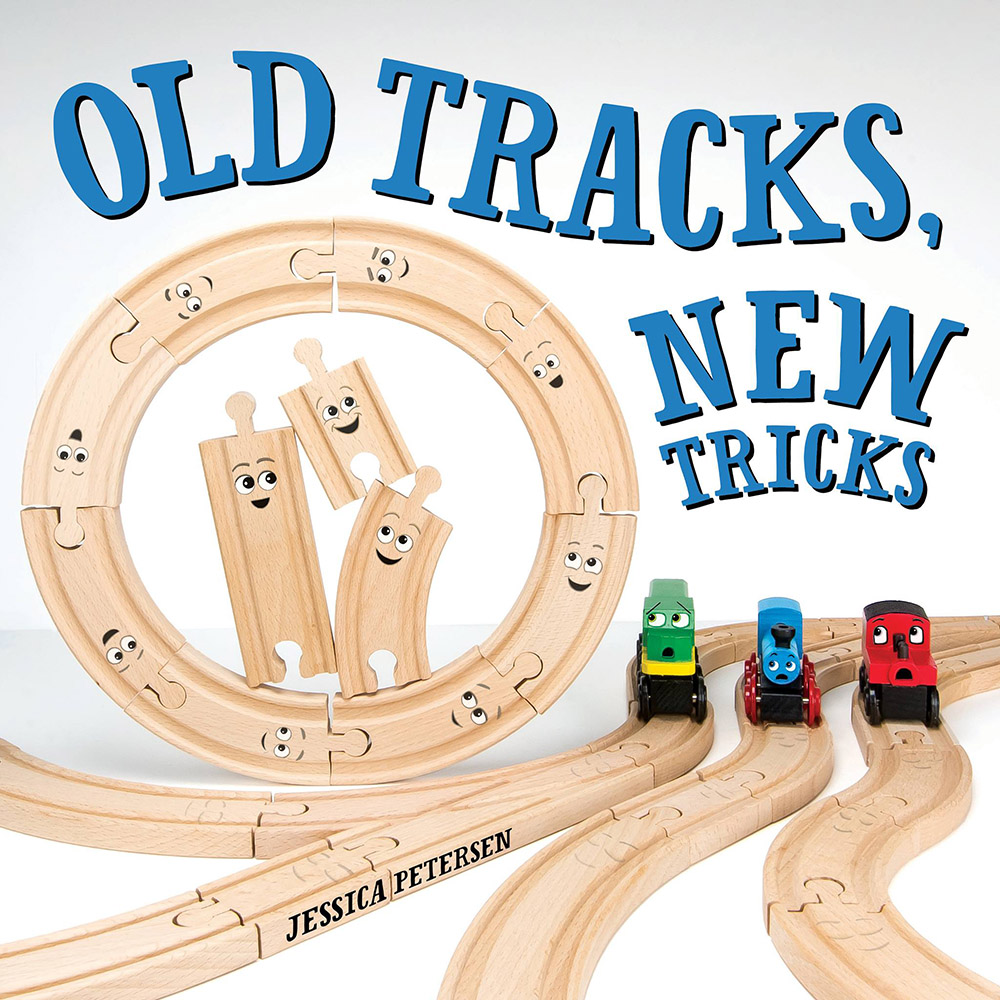
Grab a copy of Old Tracks, New Tricks! In the fun, rhyming story, three creative little wooden train tracks stand up to the bossy trains and teach the whole train set that old tracks — and trains! — can learn new tricks. Full instructions for the 20+ “track-tivities” in the story are included in the back of the book, along with an illustrated guide to teach kids how to create their own “track tricks.” You can find tons of extension activities at the Old Tracks, New Tricks website!
These are adorable!
Thanks! We had so much fun with them. My son is still chuckling daily about “Super Thomas” doing train jumps. 🙂
This is hilarious! I might use this as a way to get my daughter to play trains with my son (Halloween or otherwise). Very creative!