When I’m asked for advice on beginning a wooden train collection, one of my first recommendations is an engine shed.
From the earliest days of his train obsession, the Little Engineer has always loved sheds and roundhouses. The appeal is easy to understand. In addition to the easy-to-relate-to idea of having a special place to rest, there’s a soothing rhythm to backing engines in and out of their spots and opening and shutting the doors.
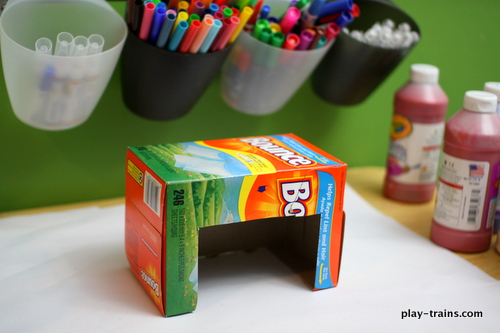
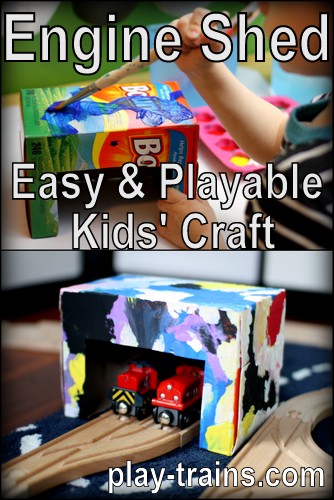
This project was so simple, I keep thinking there should be more steps to the process. But really it comes down to what I realized while doing the laundry last week: not only is a dryer sheet box the perfect size for a two-engine shed for wooden trains (or their smaller Take’n’Play cousins), the tear-away opening is almost the perfect shape for the doorway into the shed.
It’s certainly much easier to prepare than our first homemade shed from almost two years ago now, made from a very sturdy cardboard box. Very sturdy cardboard that I had to saw through to make doors before the Little Engineer decorated with his first set of markers.
Granted, this shed is still in working condition (minus the strip of cardboard between its doors), and I don’t have high hopes for the longevity of our dryer sheet box shed. But in this case, the creation of a new addition to his wooden train world is the point, not how long the shed lasts. After all, there will be another dryer sheet box to paint a few months down the road.
How to Make the Engine Shed
1. Save an empty dryer sheet box. It just occurred to me that we’ve bought ours at Costco for years, and maybe dryer sheet boxes are smaller elsewhere. So be advised that it needs to be a big dryer sheet box.
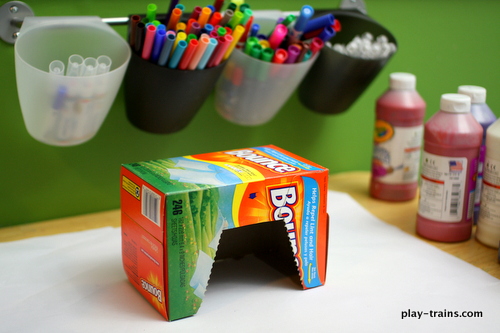
2. Cut the sides of the opening so that the entrance to the shed is squared off. The box is so thin that an older child could do this with a pair of scissors.
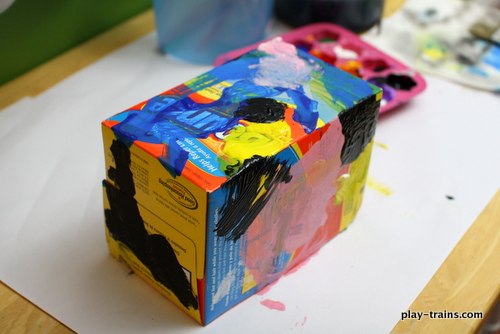
3. I didn’t get a chance to prepare the project the way I intended to because my Engine Shed Painter was ready to get to work, but I highly recommend painting the box with one or two coats of white (or a solid color) paint first. You’ll see how we had to course correct for that later.
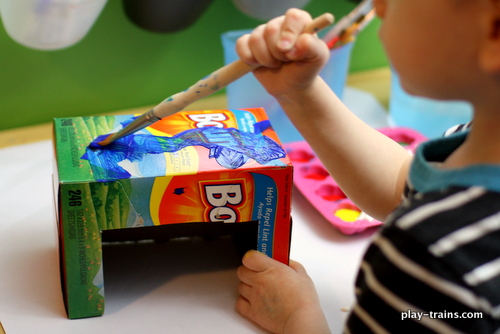
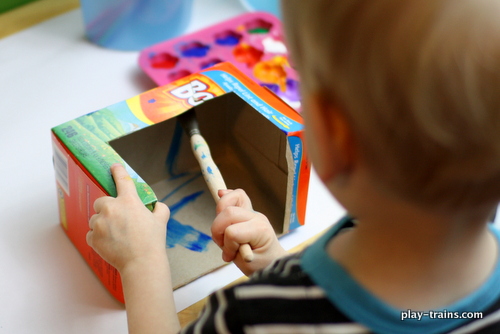
4. Give paints and brushes to the Engine Shed Painter and get out of the way. We used Crayola washable tempera paints, but I’m not sure whether they’ll eventually flake off of the smooth cardboard. So if you want something longer lasting, you might choose acrylics.
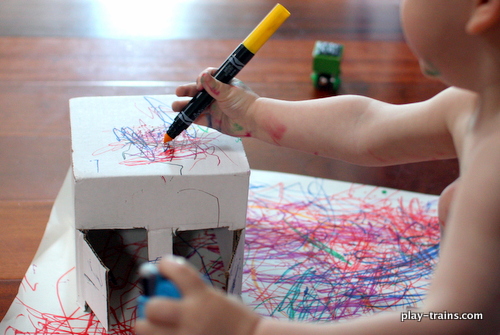
I thought it was nice that the Little Engineer wanted to decorate the inside of the shed, too.
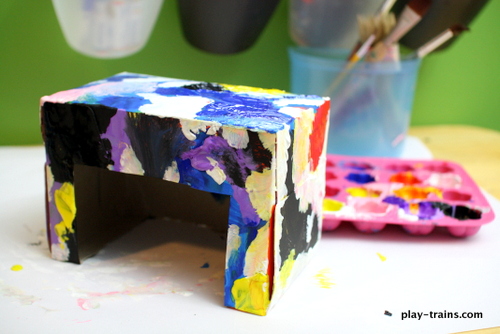
5. If, like me, you didn’t paint the shed white ahead of time, by the time your Engine Shed Painter is ready to move on to something else, you may still be able to see quite a lot of the dryer sheet box through the paint.
You can leave it that way, or you can do what the Little Engineer wanted me to do and paint the white between the colors after the fact. He prefers it when we collaborate on crafts and had been bugging me to paint with him the whole time, so I gave in and helped him finish. We also put on a second coat of the colors in a couple places where the type was showing through.
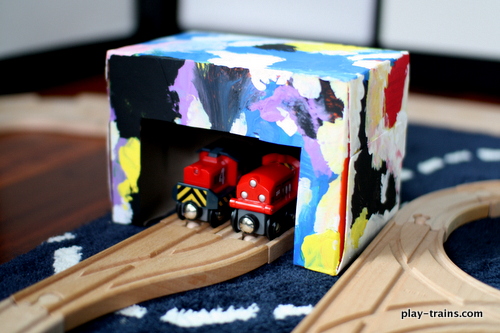
6. Allow to dry completely, then add to the train layout with two parallel tracks leading inside. Turn your back for a moment while your child is in the room, and engines may magically appear inside the shed.
Here is our finished shed on it’s first day on the job. The Little Engineer was excited to play with it even though he has a number of wooden sheds at this point. He decided it was the Engine Works, so lots of Brio engines drove there to be fixed today.
Check out my Fun Train Stuff board on Pinterest for more great DIY ideas for toy trains!
LOVE this! Will for sure have to try this with the kids! I see Thomas, Percy, and Hiro having their own engine shed in the near future!
Awesome! For Hiro, because he’s a long engine and has a coal tender, you might want to make an opening on one of the shorter sides, so that the shed itself would be longer and he could fit.
What a clever idea!
Thanks!
Oh, I love it!! Such a great idea. Thank you for sharing at Sharing Saturday!!
Thank you!
What fun, love all of the colors! Thanks for sharing at Share it Saturday!
Thanks! I love the colors, too…he was painting his favorite Angry Birds. 🙂
Ooooh, love all the colors and the use of what you had on hand to add to the train experience. You know my Engineer will love this. 🙂 Thanks for sharing at Stress-Free Sunday! I hope you’ll come by tomorrow and share some of your week’s favorite posts. I’ll be featuring this post tomorrow.
Thanks! He was painting his favorite Angry Birds, so that’s the inspiration behind the color palette! Thank you again for featuring us! 🙂 (I could have sworn I replied to this!)
I love this – an upcycled craft that doubles as a toy! I have pinned and will be featuring on Tuesday Tots this week as well 🙂
Thanks! I’m hoping to have a whole recycled train set in the end. 🙂 Thank you so much for featuring us!
Brilliant engine shed 🙂
I would love for you to link up at the Mommy Archive – we’re focusing on all sorts of junk modelling ideas this week, Alice x