
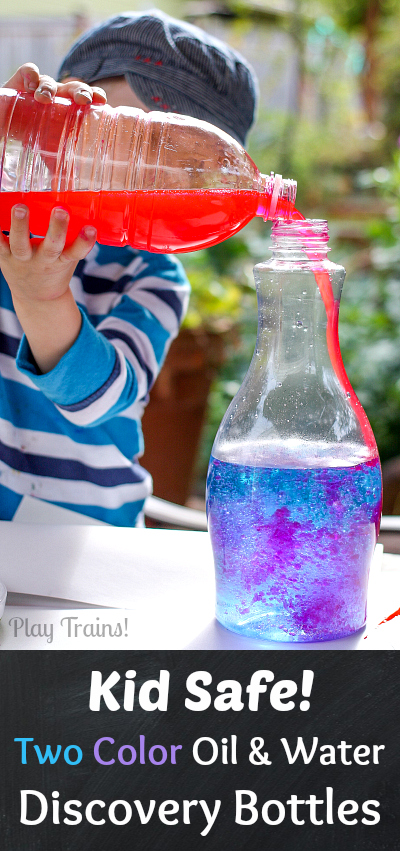
These vibrant oil and water discovery bottles contain no lamp oil, using all edible ingredients. This makes them a safe science activity for preschoolers to make on their own! We found some fun train-related things to include in our bottle, but you could make them with any (or no) theme in mind.
The Little Engineer enjoyed creating this discovery bottle so much, he asked me to wash all the parts and let him do it all over again. So we have two levels of coloring to show you: light and BRIGHT.
This post contains links to Amazon.com. If you click on one, we will receive a small commission — at no additional cost to you — on anything you buy at Amazon for a certain length of time afterwards. I was otherwise uncompensated for this post. Read our disclosure policy for more details.
If you’ve ever dripped food coloring into oil before, you’ll remember the beautiful, jewel-like drops of color floating separate in the oil. This is because oil and water truly don’t mix. If you shake them up, they emulsify, but eventually separate back into oil and water.
That’s simple kitchen science — think salad dressings — and something I knew well from my culinary background. But somehow, the first time the Little Engineer and I tried to make an oil and water discovery bottle last year, I expected to be able to color the oil. Of course, I immediately realized why the food coloring just floated in the oil, but I should have known before I tried it.
Two-Color Oil and Water Discovery Bottles
What really surprised me, though, is that it took me another year before I realized how I could color the oil. I’ve had the secret ingredient in my house all along!
When coloring white chocolate (or fake white chocolate “coating chocolate”), you have to use either a powdered pigment or an oil-based food coloring. Thanks to Wilton’s candy melt line, these “candy colors” are available at any big chain craft store. They come in a set of primary colors or garden colors. We used the pink from the garden colors set for our bottles.
Supply List
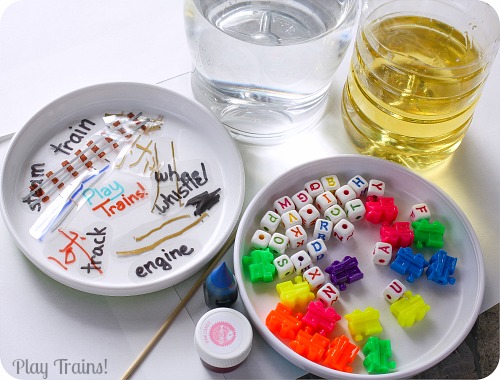
- One plastic bottle, half full of water (read about the cool bottles we’ve been using in the Floating Word Discovery Bottle post)
- One plastic bottle, with enough cooking oil to fill the main bottle almost to the top
- Regular food coloring
- Candy colors (oil-based food coloring) in another color (preferably one that goes with the yellow color of the oil)
- Something long and pointy, like a bamboo skewer or a butter knife
- Stuff to put in your bottle (we used colorful alphabet block beads (picked out by the Little Engineer), train beads, and waterproof words and train tracks like the ones we made for our Floating Word Discovery Bottles)
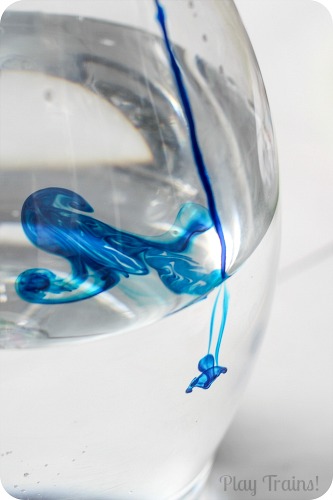
First, I had the Little Engineer add one or two drops of food coloring to the bottle of water. (This is a great way to practice self control, because it’s so tempting to give those tiny bottles a good squeeze!)
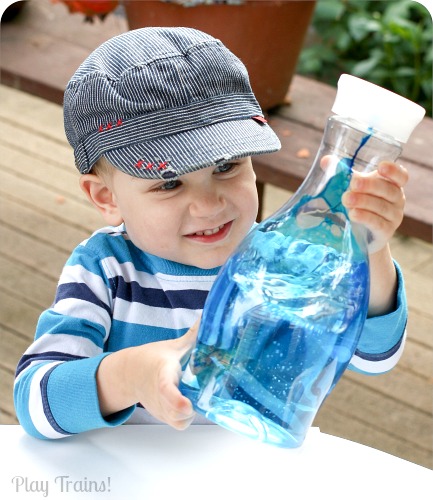
Next, he shook up the bottle. You can tell how much he got into this by that face!
We set the water bottle aside and opened the oil bottle. I had him stick the pointy end of the skewer down in through the foil seal on the candy color container and swirl it around a couple times to pick up some of the coloring. Then he stirred oil with the end of the skewer.
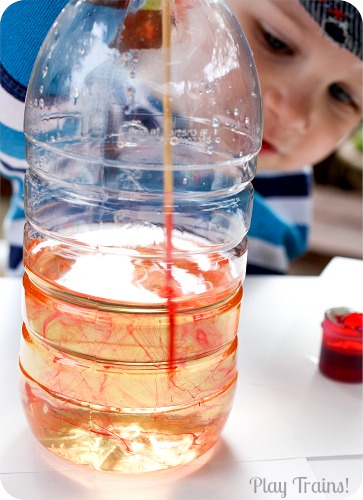
We thought it was interesting how the oil-based food coloring left streaks in the oil. Very different from the way the water-based food coloring diffused through the water.
When most of the coloring was transferred from the skewer to the oil, the color was still a little light, but the Little Engineer didn’t want to go along with my suggestion to add more color. So we put the cap on the oil bottle and shook it, to make sure the coloring was mixed in with the oil as well as possible. Then it was time to pour the oil into the water.
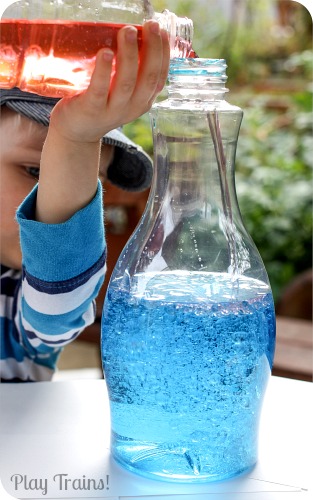
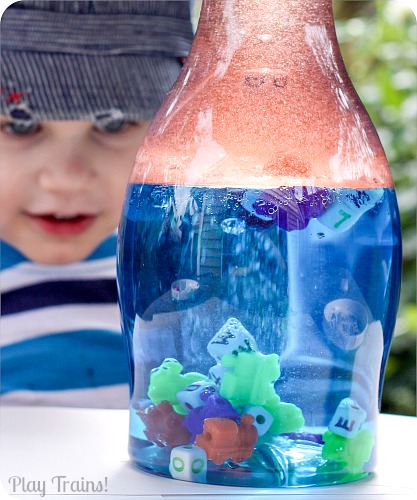
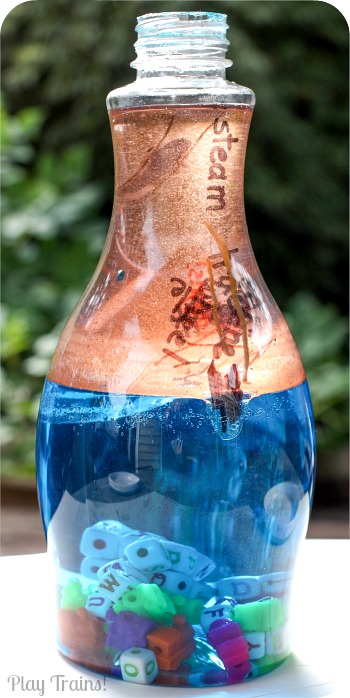
It made the most beautiful pink bubbles floating on top of the blue water.
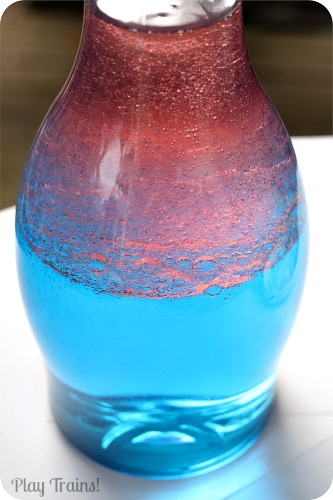
The Little Engineer admired it for a bit, and then started adding alphabet and train beads.
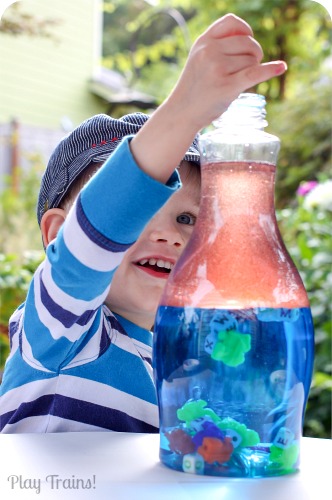
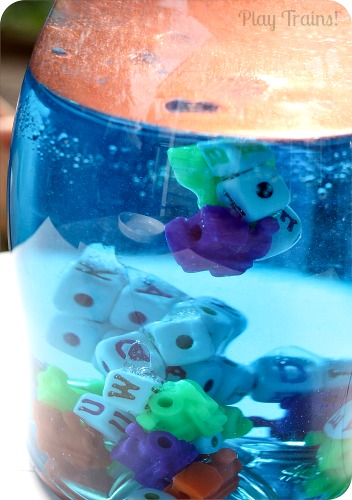
It was really cool to watch how the beads got caught at the boundary between the oil and the water…
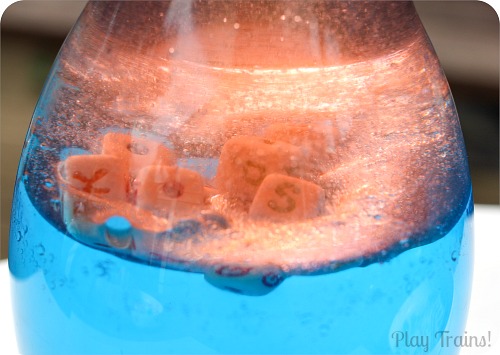
…and then floated in oil-bound clumps to the bottom.
Once all of the beads were added, he added the waterproof words. This was the exact moment when I was inspired to make the word discovery bottles:
The oil is a great addition to the word bottles, because it helps the words stay afloat in the bottles without constant shaking.
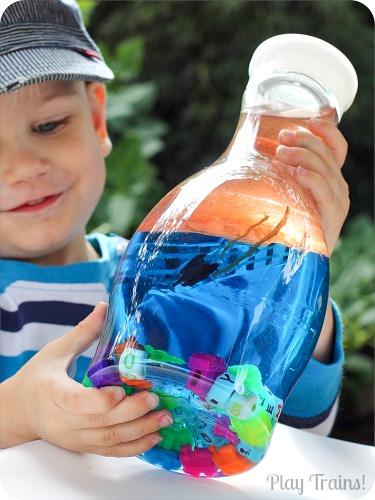
Once we’d capped the bottle — and the Little Engineer had properly admired his work — I encouraged him to try shaking up the bottle. It created an amazing ombre effect, running from peach to sea foam green to blue.
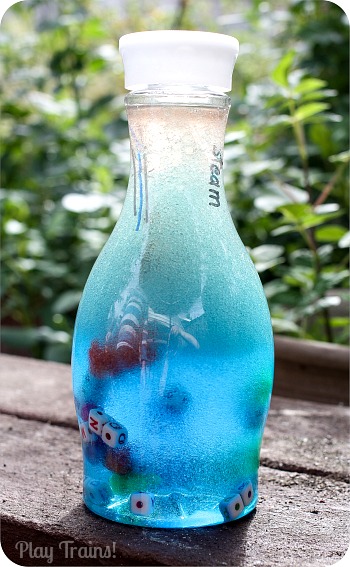
But that also demonstrates one of the downfalls of the oil-based coloring: eventually, it does fall out of the oil and into the water. Which is slightly disappointing if you’re looking to make a long-term discovery bottle. But it also presents an opportunity for some additional questions: why does the oil-based food coloring also mix with the water? Why doesn’t it go the other way, with the water-based food coloring eventually mixing with the oil?
One way to keep color in the oil for as long as possible is to make it really bright to begin with. So when the Little Engineer wanted to make a second discovery bottle, I poured an extra splash of the candy color into the oil. And got this:
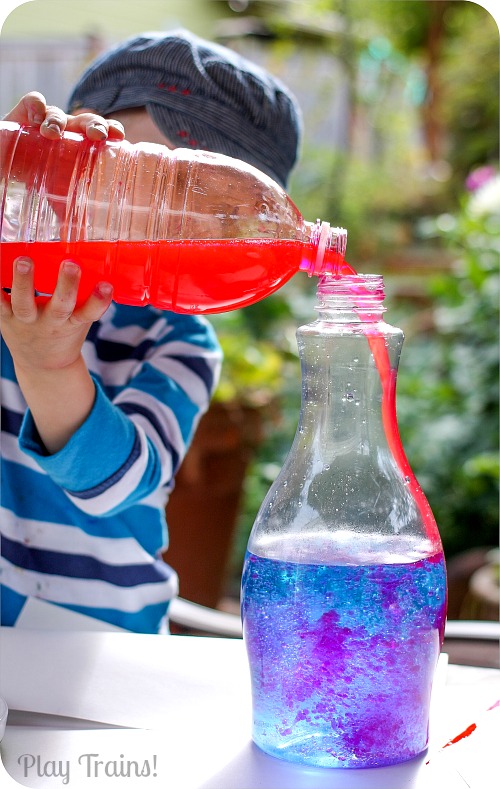
WHOA, right? That’s truly the color it was in person, too. Those candy colors are crazy bright!
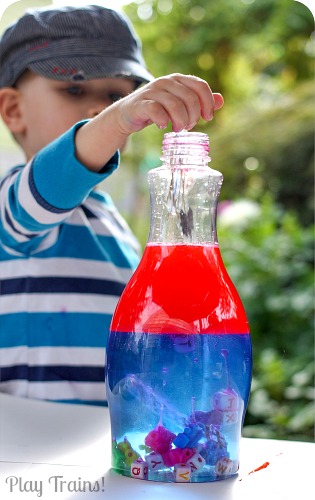
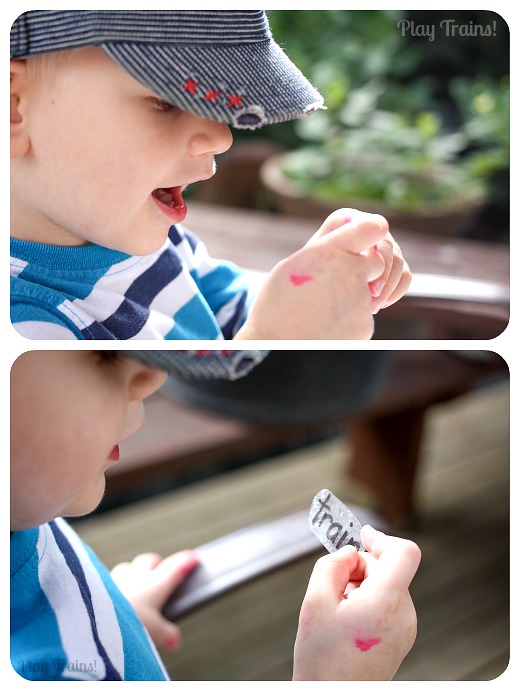
Once again, he had a great time adding the beads and words to the bottle. At one point, when I was taking a picture of the bottle, I heard him making letter sounds to himself, and turned around to see him sounding out the word, “train.”
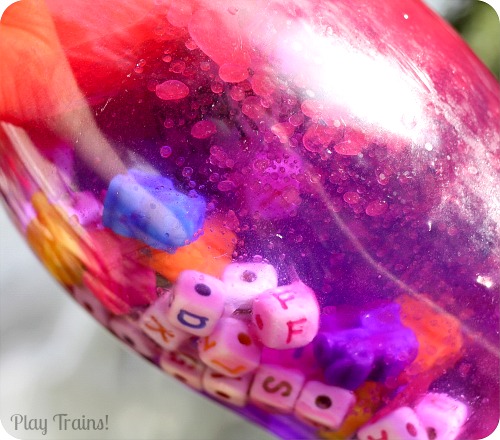
 When you shake up the bottle, once again the oil-based color starts to mix with the water, in our case turning the water from blue to a dark purple. But the oil was still really brightly-colored.
I hope this oil coloring tip will help you with discovery bottles, or any other oily substance you’d like to color. However, a warning: this stuff stains! The Little Engineer was pretty neat, so for us this was limited to a few red streaks on his hands that lasted a couple of days, and a pink cast to some of the alphabet beads that sat in the oil for awhile. Definitely not a project to do with kids dressed in their nicest clothes, no matter how careful they tend to be. Also, while the food coloring is edible, I certainly wouldn’t want my kid consuming it intentionally.
Make sure to check out our Floating Word Discovery Bottle to see how to make the waterproof words (and train tracks) with your kids!
You can also find more science activities at our other blog, Epic Fun for Kids:
Wow these bottles are amazing!!! I have made duscovery bottles for my little one but not like these.
Stopping by from “Sharing Saturday”.
Now following you on G+, Facebook and Twitter.
Have a great weekend 🙂
Bismah @
Simple Mama
AhhhhhMAZING post, Jessica! Such a great idea and as usual, your photography is breathtaking!
Great photographs and activity! I love it!
That was a cool read. 🙂 it was fun to watch your little man discover oil and water. 🙂
These are VERY COOL!! Thanks so much!!!
These are gorgeous! I love how you created these discovery bottles! My daughters would have so much fun with them.
You are BRILLIANT for figuring out how to colour cooking oil! Pure genius! I didn’t even know there was such a thing as a special colouring for candy melts. I actually stopped in the middle of reading your post to see if my gel colours (which are supposed to work for candy melts, too) would work. They don’t, but you better believe I am going to buy some of your colours! THANK YOU, thank you!
Absolutely love this idea! I look forward to adding this to my Share It Saturday round up. Thanks for linking up and be sure to add your great ideas again. 😀
What a fun idea!!Thank you for sharing at Sharing Saturday!
Thanks for this! I know it’s an older post, but I just happened on it. I’ve been coloring oil by letting crayons sit in it. Which takes a lot of forethought or a lot more patience. So my bottles would EVENTUALLY take the color. They look good now, but this is genius. Not sure why I hadn’t thought of it. I am now happy to know a quick trick for immediate fun!
haiii
thx for your activity.
i love it!~~~
and i will try to my preeschool student.
xoxo
How about oil paints?
I love your bottles! Such a great idea! How do you thing will powder food color paint the oil? I can’t find oil-based food color! 🙁
Thanks! Powder food coloring might do okay…it would really depend on what it’s made out of. You could certainly try it! I would soak it in the oil for a while and then try to mix them up together and see what happens.