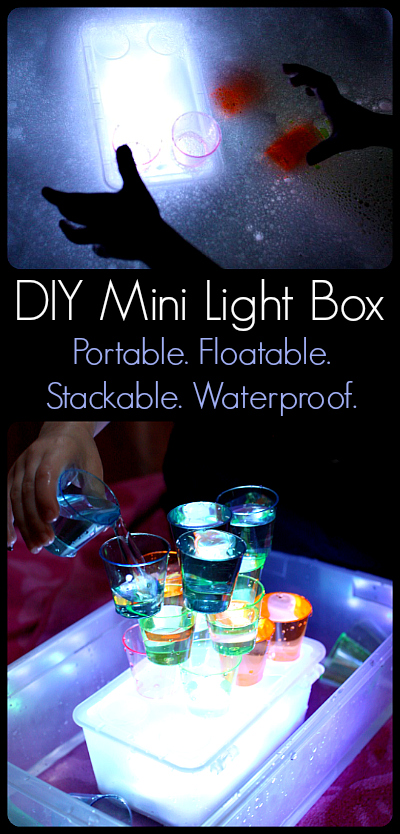
I would love to have a light table in our house, but we have absolutely nowhere to put another large kid item. So last spring, I came up with our own super easy version of a DIY mini light box with what I had on hand.
When I say mini, I mean mini. The playing surface is only four-by-seven inches! While there are drawbacks to such a small light box, with the way we set ours up, there are a lot of new ways to play with them as well. Our light boxes can be stacked as a building toy. They can be put right in the middle of a water play tub. They can go in the bath and float on the surface of the water. And, best of all, they’re small enough to take anywhere, anytime.
This post contains links to Amazon.com. If you click on one, we will receive a small commission — at no additional cost to you — on anything you buy at Amazon for a certain length of time afterwards. Read our disclosure policy for more details.
First, I’ll show you how we made our light boxes, and then I’ll share some of the fun water activities we’ve done with them. (If you notice the lack of trains in this post, never fear! We have plenty of train light box posts coming up very soon.) Finally, at the end of the post I have links to several DIY light box and light table projects from other bloggers, if you’re looking for more inspiration.
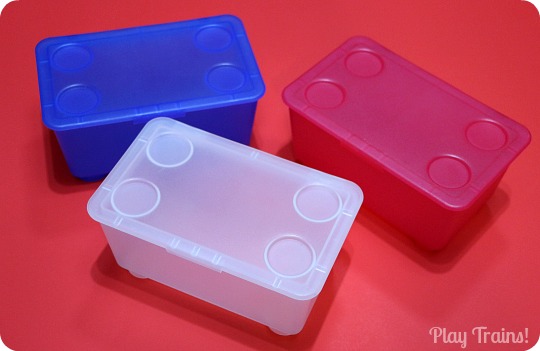
We started with a white GLIS box with lid from Ikea, found in their children’s section. (If you don’t have an Ikea near you, it looks like you can purchase these online.) We already use them to store our holiday-themed wooden train freight, not to mention other kid supplies around the house.
The plastic already has a frosted effect, so there’s no need to paint the insides or add paper to diffuse the light. These boxes come in three-packs with a choice of two different color combinations: white-light green-blue or white-pink-yellow. The color boxes glow just as well as the white ones.
Also note the four circular depressions on top of each box. They allow these boxes to be stacked with some stability (more info on that in an upcoming post), and also make great holders for everything from little plastic cups to jelly marbles.
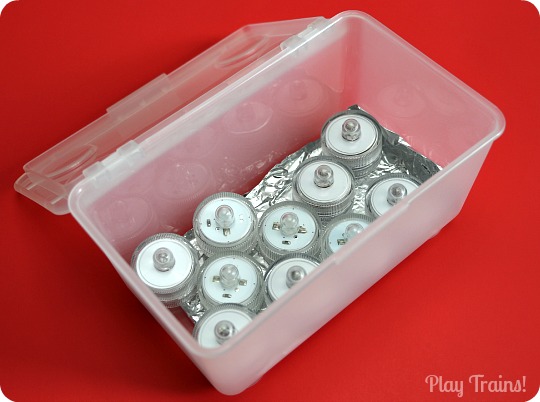
We already had these submersible LED lights to play with in the bath (they’re the perfect size to fit inside these play test tubes), so that’s what we used, not realizing we’d someday be using the boxes in water. They come in all sorts of colors: we’ve used both white lights and multicolor lights in our light boxes. You can also order a larger 36-pack of white lights for a better deal.
Note: the lights are turned on by twisting them tightly together and can be opened by untwisting them all the way, at which point they fall apart into two pieces and two batteries. Please always use adult supervision when playing with them, and never give them to a child who is not past the mouthing stage (the lights themselves are probably a choking hazard, anyway). Also, be aware that some of the lights may only turn on if you don’t twist them all the way tight. So far, I haven’t had any problems with any of the more fickle lights getting water inside them, but it’s a possibility.
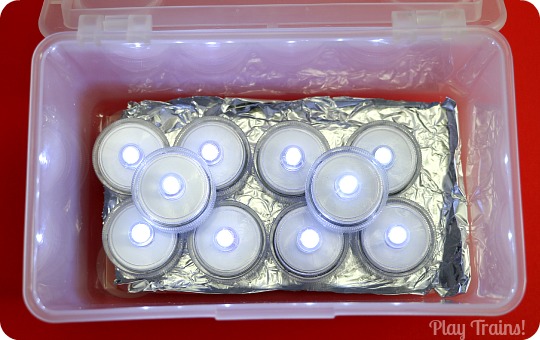
To get the light box going, turn on all the lights and set them in the bottom of the box. After we put one together for the first time, I looked at some other light box tutorials on the internet and saw the idea of lining them with something reflective to bounce the light upward. I like the way these light boxes glow both through the sides as well as the tops, but I figured it couldn’t hurt to put a piece of foil on the bottom.
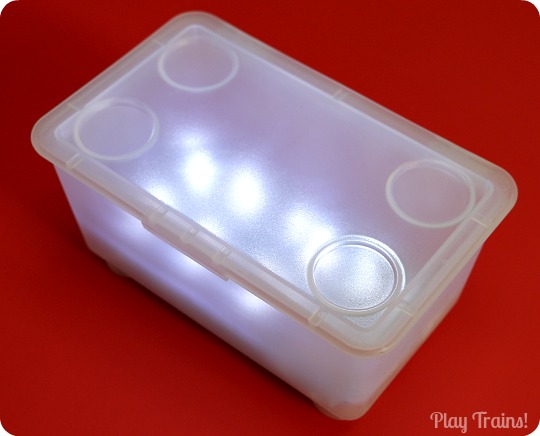
Then all you have to do is snap the lid shut, and you have a mini light box to play with!
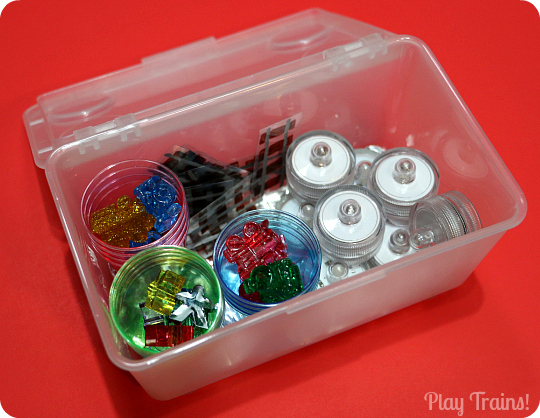
The cool thing is that you can store both the LED lights and a selection of transparent objects to play with right inside the tub. Then, when you want to play — or take it somewhere — you just grab the tub and you’re ready.
Mini Light Box Water Activities
I have a number of train-related activities to go with these (or other) light boxes coming up, but for now I wanted to show a few ways they might be used with water.
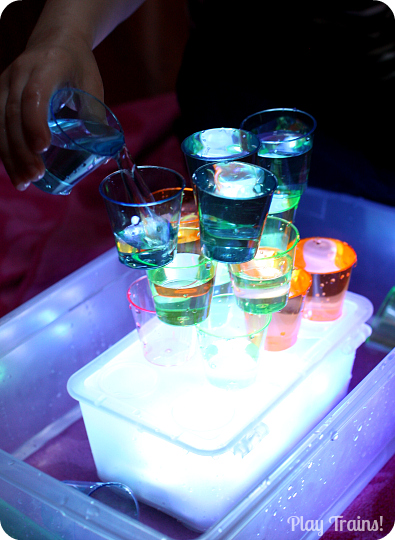
Here, I set the light box inside a shoebox-sized plastic storage tub. I added some water and small, colored-plastic shot glasses from the Dollar Tree. The Little Engineer loved stacking the cups with me and pouring water.
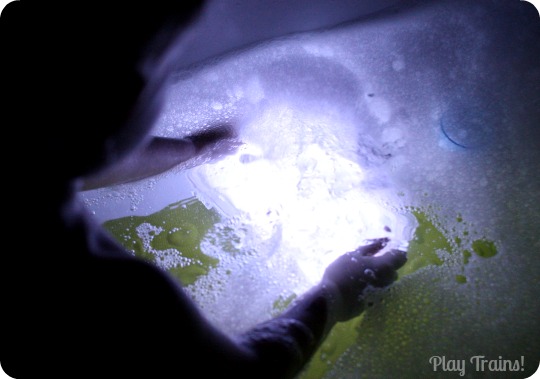
And here are a few photos of playing with the light box in a bubble bath. The light box floated on the water, with the top just above the surface. It was a bit wobbly to stack things on, but that can be an interesting challenge.
One more note: the plastic cups break easily and can have sharp points. I try to keep them above the water if they aren’t in his hands, just in case.
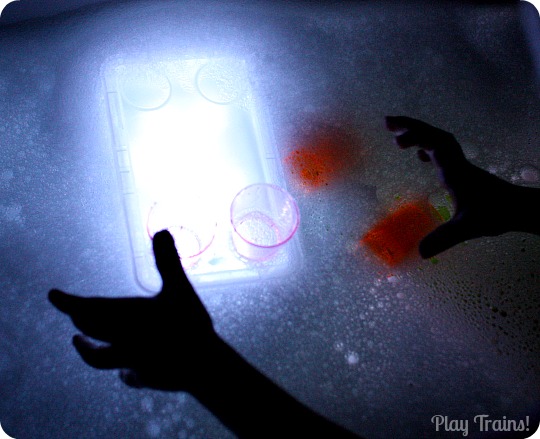
After stacking cups, pouring water into them, and finding out what happened when the balance was upset from the extra weight, he moved on to pressing the light box under the water. It wasn’t watertight, so bubbles came up to the surface. He seemed to notice that it was heavier. He shook the water out, and then opened the light box up to investigate.
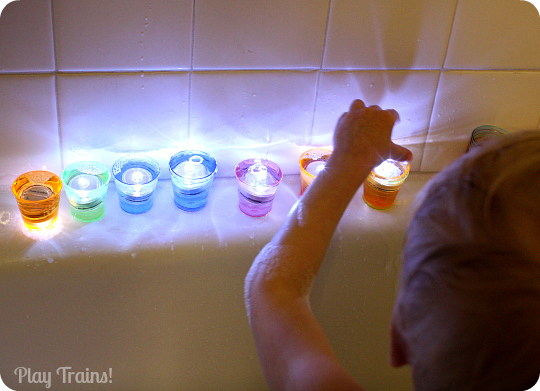
Removing the lights from the light box, he took a great amount of care in lining up the colored cups, filling them with water, and dropping a light into each one. I loved how he kept coming up with new experiments with the materials.
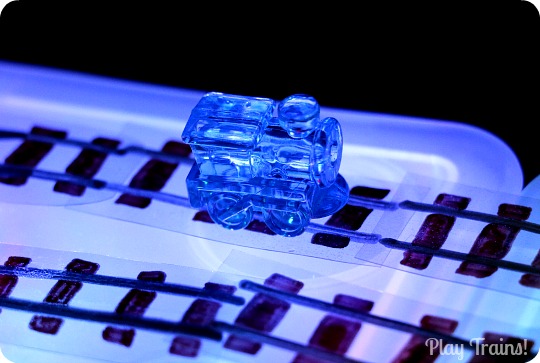
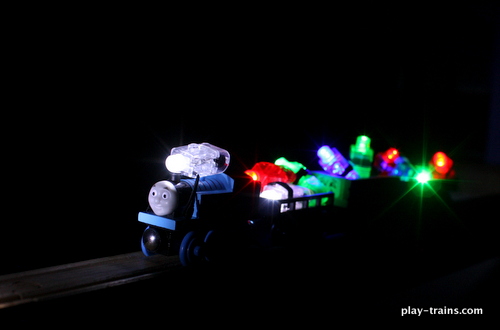
So, what else can you do with these mini light boxes? Here’s the first of several ways we’ve incorporated ours into train play: trains and tracks for light boxes or light tables. It made for a very cute tiny light box train set!
If you’d like to see some other ways to make your own light box or light table, here are a few great options:
DIY: Making a mini lightbox for preschool from Teach Preschool
Homemade {Easy, Low-cost} Light Table from Tinkerlab
DIY Light Box for Sensory Play from The Imagination Tree
DIY Light Box from Happy Hooligans
DIY Light Table Tutorial from And Next Comes L
Easy DIY Light Box from P is for Preschooler
Multicolored Light Box Tutorial from Lalymom
DIY Light Box from Sugar Aunts
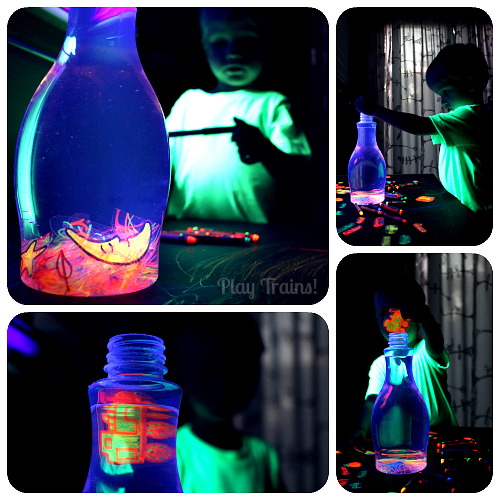
And if you’re interested in more glowing activities, here are a few of our favorites:
Oh these are so cool! I was trying to think of a way to make something like this as a party favor actually and never came up with a good way to do it! Cool containers, and I like that the accessories can be stored inside. So many possibilities with these! Pinned to my Light Box/Light table board!
Thanks, Laura! They’re just so easy, I couldn’t believe that no one else had never posted about them before…but we spend WAY too much time at Ikea. So I have lots of time to ponder their products. 😀 That would be really fun, to give them as a party favor! And thanks so much for pinning.
BRILLIANT!!! This is a seriously great idea. 🙂
Thanks, Rachael!!
LOVE IT! I am also pretty sure I have most of the materials on-hand already. What a fun way to play in the tub, outside the tub, and so easy to travel with it. Cannot get over how awesome this is!?!
Thanks, Mary Catherine! Your Engineer is going to LOVE the train stuff to go with it, too!
This is just the sweetest little light box, Jessica! Portable enough to take anywhere! I love it. Great thinking! And thanks so much for including ours in your round up!
Aw, thank you, Jackie! I really like the portable aspect, too…it would be a nice thing to bring along when a child is going to be sleeping somewhere unfamiliar, as a way to calm down before bedtime. I really love your light box…I want to find one of those lights now!
Hi,
I am following you from Share It Saturday. I was fascinated with the light boxes. Some great ideas.
Blessings,
Janis http://www.janiscox.com Author of Tadeo Turtle
What a neat play idea!
This is such a great idea! Mini boxes about be great work spaces to have on hand for exploring.
I was so excited to come across this on Facebook this morning! I do an at home daycare and we love our larger light table, but sometimes it is hard to have everyone play at it. Not only am I going to make these for each of my children to have here, I am also going to make one for them for a Christmas present. Thank you thank you for such a great idea!