
I have two fun ideas for discovery bottles to share with you this week. This first one sprang out of the current theme at our house: words, words, words! Writing them. Reading them. Memorizing them. Making them up. Writing them some more. It’s fascinating to watch — well, except for when I’m wiping washable marker off of his bed. Ah, aren’t developmental leaps the best?
So, it was no surprise that the Little Engineer loved making these word discovery bottles so much. As a writer, I’m more than a little in love with them. I can’t wait to make one for myself.
This post contains links to Amazon.com. If you click on one, we will receive a small commission — at no additional cost to you — on anything you buy at Amazon for a certain length of time afterwards. I was otherwise uncompensated for this post. Read our disclosure policy for more details.
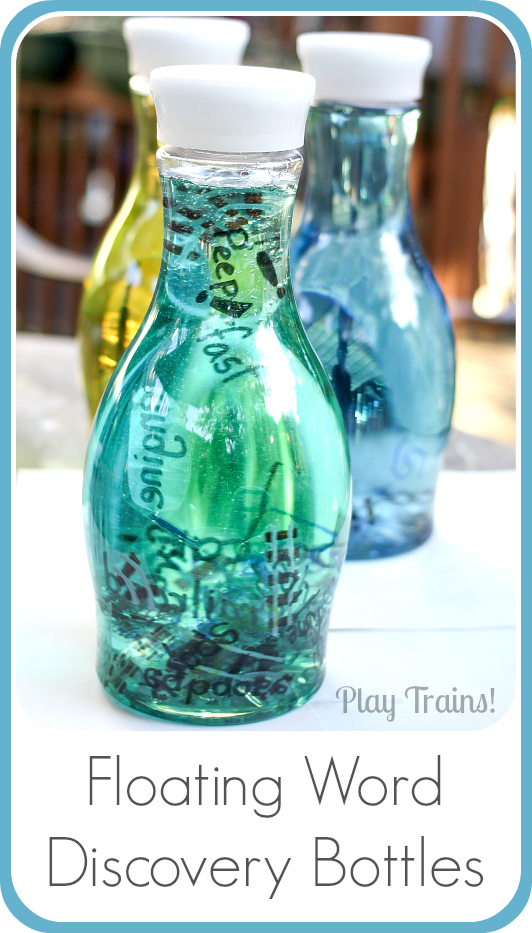
We made our word bottles with a train theme in mind — what else? — but you could create one based on any theme you like. The original inspiration came when I was thinking of things to put in the other discovery bottle I’ll be writing about. (Update: here’s the kid safe Two Color Oil and Water Discovery Bottle I was referring to.) I decided I wanted to make train tracks like the waterproof flower train play pictures I made this spring. But I wanted these play pictures to be transparent, with only the rails and ties showing in the bottle.
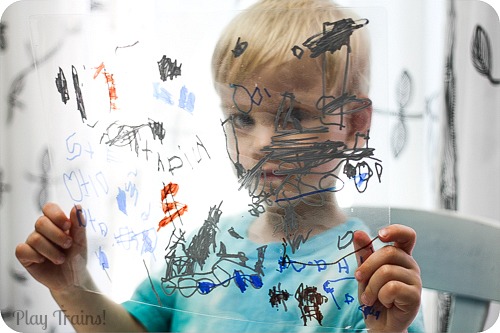
I decided to try writing in permanent marker directly on the inside of thermal laminator pouches. I didn’t have high hopes — surely the ink would smear before I got them laminated. To my delight, the ink dried quickly and laminated beautifully! I decided to make some words as well. Then the Little Engineer got involved, and soon we had some tracks and words to add to the other elements in that discovery bottle. They looked so cool floating in the colored water that I wanted to make one where the focus was completely on the words.
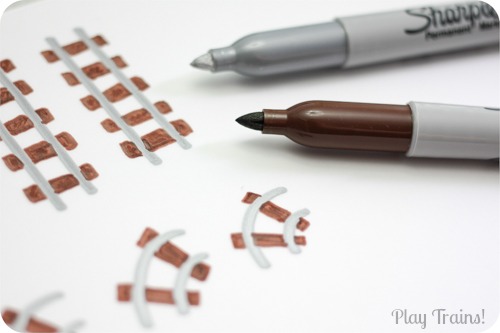
Writing the words is self-explanatory, but I thought I’d show you a close up of the tracks. I drew the rails in silver Sharpie, then added the railroad ties in brown around them, much like I did when I made the craft stick train tracks for our portable pretend model train set. Once both colors were dry, I went over the rails in silver once again to clean up the lines. Do be careful not to smear the ink while you’re writing. It dries quickly, but not that quickly.
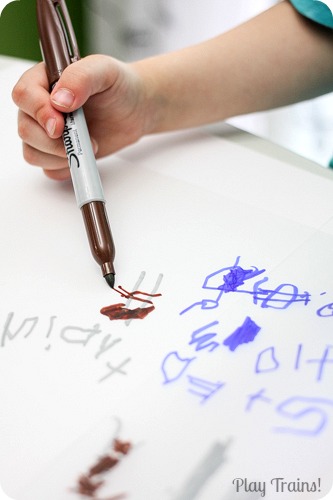
The Little Engineer copied my technique. He also had me tell him how to spell “steam” and “train” before he moved on to drawing a couple of silver steam engines.
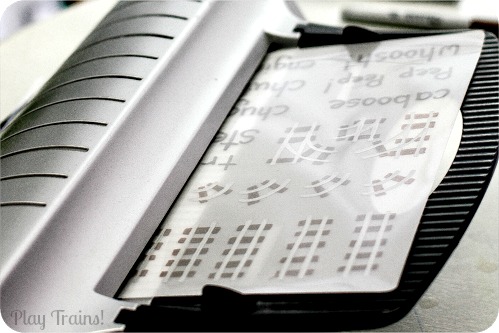
As we finished each one, he was quite excited to watch the pouches go through the laminator. (Remember to instruct children to stay away from the hot laminator, and that the laminated sheets will be hot when they first come out.)
He was very pleased with his creation. But what struck me was how seriously he took the whole business. I think the combination of getting to draw on something unusual (the pouches) with something he doesn’t have constant access to (the permanent markers) makes this a very special project to him.
Meanwhile, I made a few sheets of my own. More tracks, more words, even some punctuation for fun. I had the idea of adding some color words in the appropriate colors. In the future I’d like to add more adjectives and verbs.
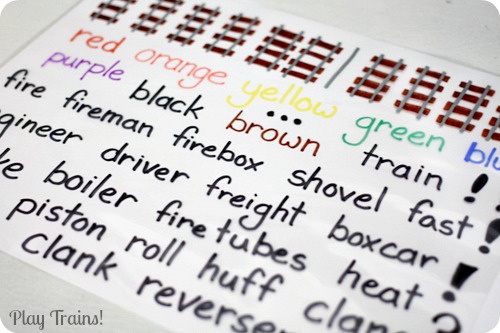
Next came the one tedious part of the project: cutting all of the words and pictures out. It takes a little longer to round the somewhat sharp corners, which I did so we could use them for other kinds of play I have planned for the future. Nearby, the Little Engineer tried to cut out a few of his own.
Finally, it was time to assemble the bottle. The Little Engineer loves this part. You’ll see in the next discovery bottle post, he loved it so much that I had to drain the contents and let him make it all over again. So this time I filled three bottles with water for him, and took them out to the deck with food coloring and our laminated words and train tracks.
The bottles we used come from my latest obsession, Califia Farms’ pure almond milk…and almond-coconut milk…and mocha-flavored almond milk…so amazingly good! Other than the deliciousness, their bottles have won me over: a really pretty shape, and made of thick plastic. They’re a little big for discovery bottles, but the skinny neck lets the Little Engineer handle them fairly easily. I think the weight makes them more interesting for a kid his age. Plus they can stand upside down on their wide, flat lids!
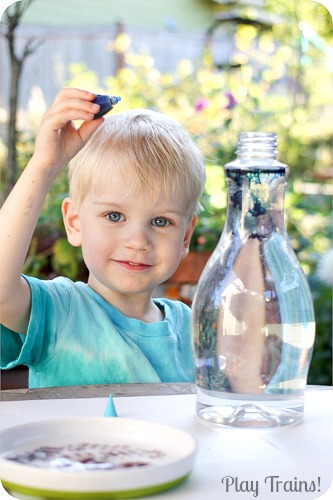
Adding a few drops of food coloring is always fun! He thought long and hard about which color to choose for each bottle, except for this first one. Thanks to Thomas, blue is always number one.
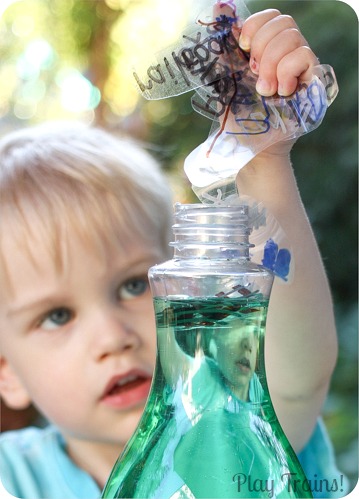
Next, he started adding the laminated words and train tracks. The first thing he put in was “steam” in his own writing. He was obviously very proud of that one! Next came quite a few train tracks, and finally some other words.
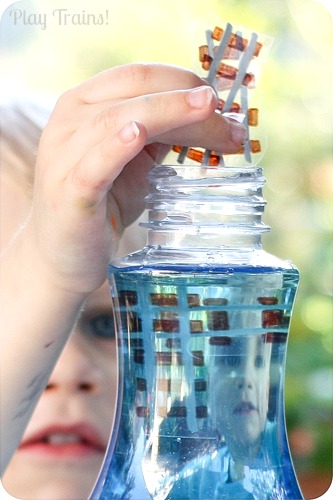
By the time he got to the third bottle, he began experimenting with how many pieces he could fit in at the same time. This fistful proved too much, but after scaling it back, he got quite a few in all at once.
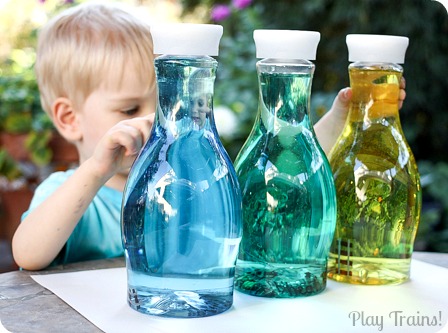
Once all the words were added and the lids were tightened, he took a moment to get them in the proper order. (I got in trouble for changing the order later while trying to get more photos, but managed to talk my way out of it.) Blue had to be in the number one spot, of course. Then he spent some time confirming their numbers.
To get the words to float and swirl in the bottle, the best technique seemed to be turning the bottle upside down and back again several times in quick succession. But shaking it around in any way sent the words swimming through the bottle.
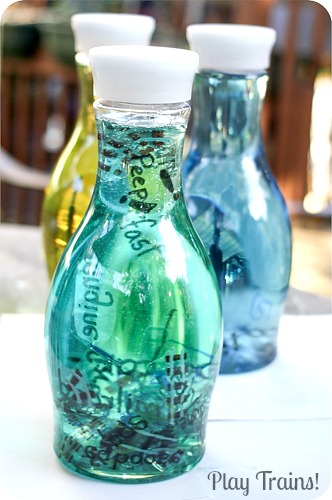
I just love the way the plastic disappears into the water most of the time, leaving just the words floating there. After the bottles had been shaken quite a few times, little air bubbles started attaching themselves to the words. Sometimes enough of them to cause the words to float on their ends, or even to the top of the bottle. Even in a discovery bottle about words, we were exploring lots of different scientific concepts in subtle ways as we played.
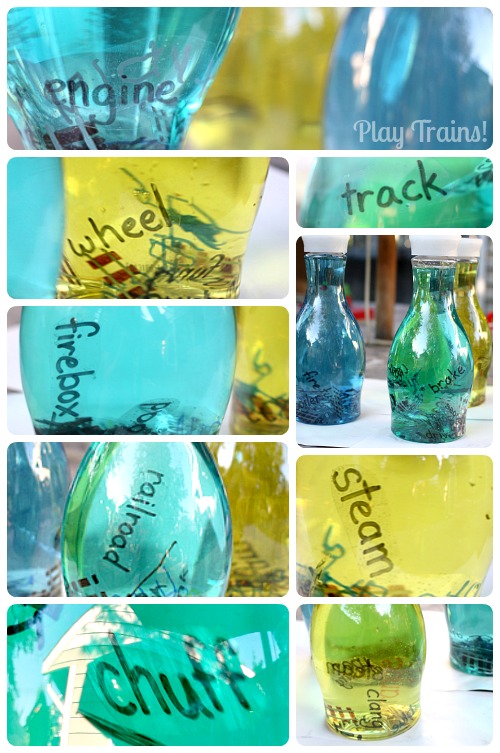
It was really cool to see the different ways the Little Engineer engaged in first writing and then reading during this project. While putting them in the bottle, he had the time to sound one or two out. Spinning around the bottle, they moved too fast for him to try to read, but he was excited to watch and could ask me to read them for him.
For more experienced readers and writers, from children to adults, I can imagine these being a wonderful way to spark creativity. Gaze into the bottle for a minute, and then do a free write. Load a bottle with words related to your novel-in-progress — character names, places, important themes, events, or objects — and consult its depths anytime you’re stuck. (Now how fun would that be to base a NaNoWriMo novel off a word bottle?) Prompts for music, art, movement –anything, really — would work just as well.
I also made one other version: a glowing word discovery bottle!
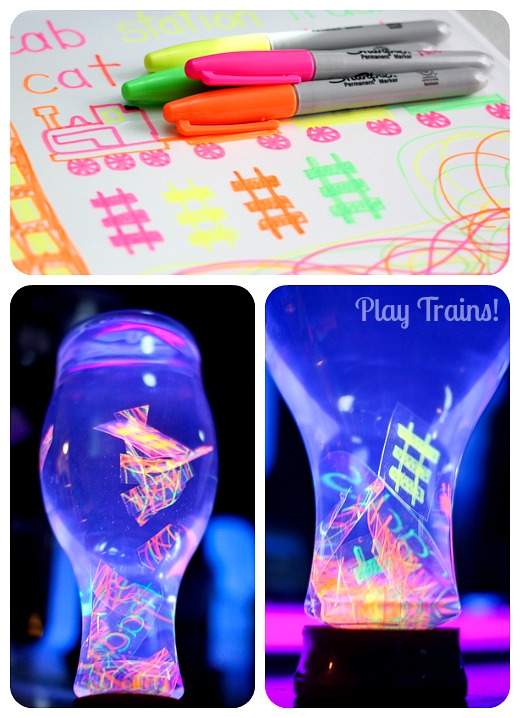
The process is the same, only with neon Sharpies instead of the regular ones. And, of course, the addition of the blacklight. Fun at Home with Kids has been posting the coolest glowing activities for kids lately. So cool, in fact, that they inspired me to buy a blacklight to replace the one I encouraged my husband give away after we got married. I had been wanting one for years for a completely unrelated project, but hadn’t been able to justify it before.
I’m so glad I finally did, because we’ve been having fun with it. The Little Engineer and I have been on a quest to find things that will glow under our light, and we were really excited to find neon Sharpies. They come in two different packs, one less expensive one with four colors, and one with five colors that includes blue. I really wish I had known about the blue neon Sharpie before I bought the four-pack, given that it’s the Little Engineer’s favorite color.
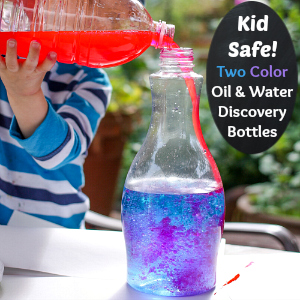
I hope you liked our word discovery bottles! For my other exciting discovery bottle trick, go see our kid safe Two Color Oil and Water Discovery Bottles…that technique combines wonderfully with the waterproof words from this bottle!
Sign up for More Train Fun!
If you have a train-loving child in your life, make sure you’re signed up for our email newsletter:
Oh my goodness, these are AMAZING. The glowing ones are SO SO SO COOL! Love them and thank you so much for the sweet shout out!!!!!
Thanks!! And no problem…as I said, it’s all your fault that I have a blacklight in my house in the first place. 😉
The glowing track words are super cool.
Thanks!!
I love this project SO much! Like, everything about it! I’ve been pining away for a laminator for a while (since ours got fried), and I think this just made it a necessity.
Thanks, Jeanette! We’ve been having too much fun with the laminator…my son is such a great excuse for owning such things. 🙂
That is really cool. I will definitely be making some pieces for our light table using this technique with sharpies and my laminator. Thanks for the idea.
Thanks, Melissa! We’re going to be using the play pieces with our lightbox as well…that’s one of the reasons I didn’t put any oil in these bottles, because I didn’t want to have to wash them off first. 🙂
Wow, so cool! Love how the words look like they are floating, and the glow-in-the-dark effect with the black light is super cool! I’m pinning this to use for sure!
What a neat idea!! Thank you for sharing at Sharing Saturday!
This is fantastic! I can’t wait for my daughter and I to make this. (She’s eight months, so probably a little early for her to help, haha.) I’m not sure how thick the laminated plastic is, but if you make more and need to curve the corners, a good set of nail clippers might round them off quickly.
Thanks for this post and the oil/water bottle. I used to make jars with oil/coloured water in elementary school and never thought of a way to colour the oil!
Has anyone tried this with a big laminating machine? I am a teacher and would like to make these for school. But the only way I can think of to make them with our laminating machine is to write on the laminated plastic (with nothing in between the layers), or write on the laminated plastic and then send it through and laminate it again – but then it would be pretty thick. Any ideas?
In the time since I originally did this, I realized that the lamination might not be necessary at all. You might try it on overhead projector plastic sheets (do they still use them?) or recycled clear, flat plastic from product packaging, or on your large laminator plastic without relaminating. Just write on the plastic and put it straight in the water without laminating. I don’t think the Sharpie would come off easily, unless the pieces were handled a lot over a long period of time, but I haven’t tried it yet.