
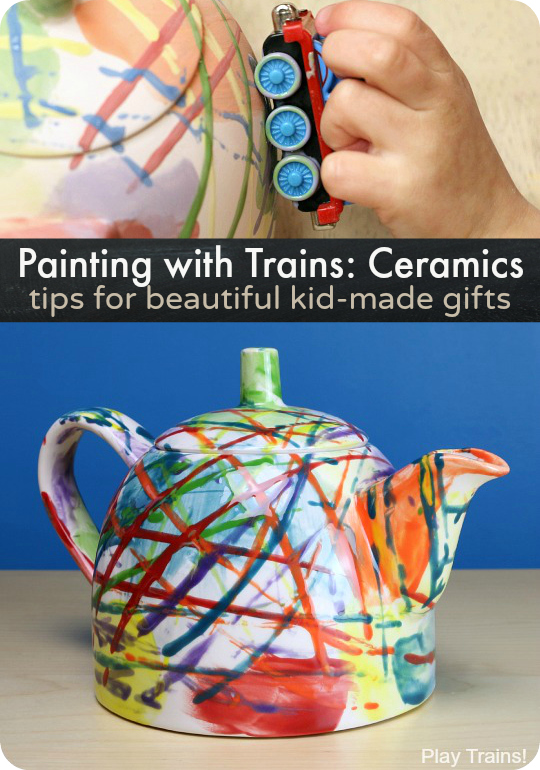
Painting with trains and other toy vehicles is an excellent process art activity for kids, one that we’ve enjoyed on many occasions. But what I think is even cooler about painting with toy trains is that the patterns left by the wheels can create beautiful kid-made gifts without putting pressure on children to make something in a very particular way. My son had a blast playing and pretending and creating this teapot and serving plate for us to use when we have afternoon tea together. It’s all the more beautiful to me because he was free to paint it in a wild and exciting way that ignited his imagination. Below, I’ll share our experience and give you my best tips for both painting with trains in general and for bringing one to paint with at a paint-your-own-pottery studio.
This post contains links to Amazon.com. If you click on one, we will receive a small commission — at no additional cost to you — on anything you buy at Amazon for a certain length of time afterwards. Read our disclosure policy for more details.
Tip #1: Selecting a Painting Train
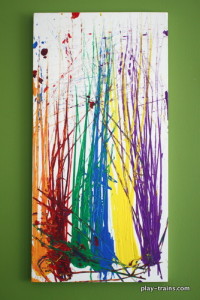
A week before my son’s fifth birthday, we headed down to our local paint-your-own-pottery shop, Paint the Town, to make some memories. Tucked in my purse was a third participant in the event, a Take’n’Play Thomas who’s been called upon to paint with the Little Engineer more than once in the past. You can see his previous work — Painting with Trains on Canvas — for another artistic, kid-made gift idea.
As I advise in that post, never paint with a train of any kind that you or your child would regret seeing ruined. That said, there are some trains that are better for painting than others. We always use diecast metal Thomas & Friends Take’n’Play engines because they hold up in the water better than wooden trains, although this time I had also brought a few IKEA trains that came with a set that I only wanted for the track. If they had gotten ruined from the water seeping into the wood, it wouldn’t have bothered either of us that much. However, my son only wanted to paint with Thomas, so the IKEA trains didn’t come out.
Tip #2: Be Prepared to Take the Train Home
You have to be careful with the trains after painting, because the axles can rust. (Believe me, I know this from experience.) I brought our trains to the paint-your-own-pottery studio in a ziptop plastic bag with a paper towel to soak up any water that would still be on them after we were done cleaning up. When we got back to the car, I took Thomas back out so he could dry in a cupholder instead of sitting in a damp towel. And then when we got home, I put him on a baker’s cooling rack to dry. I’ve had trains rust when they were sitting on damp paper towels that were folded a little too thick to get the water away from the axles.
This Thomas seems a bit creaky right now, but I think that was from the aforementioned rusting incident, of which he was a part. Still, like I said, use an old, inexpensive, or otherwise non-essential train for painting projects.
Tip #3: Flip the Paint Palettes Over
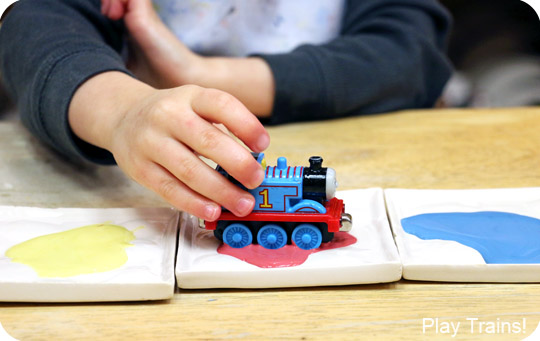
I’m sure it varies, but at our ceramic painting studio, they have small ceramic palettes to squirt your paint into. When you turn them over, they’re big enough to set the whole train in a pool of paint, and they have a slight lip around the edge that keeps the paint where it’s supposed to be.
Tip #4: Roll and Lift, Roll and Lift, Roll and Lift…
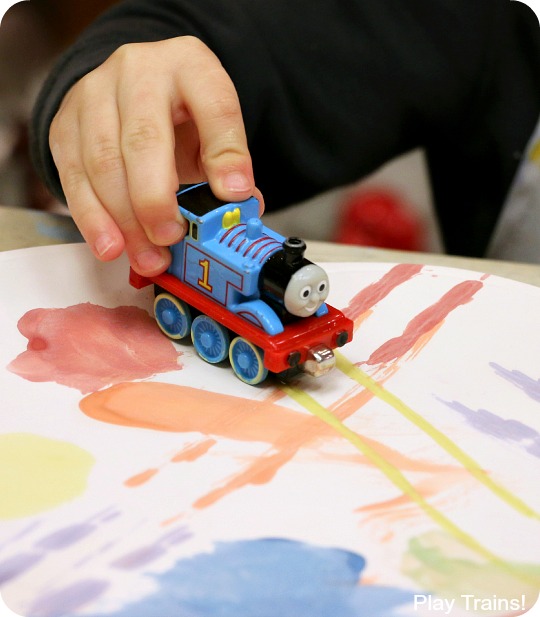
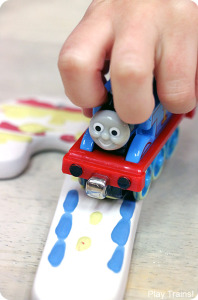
To get paint all the way around a train’s wheels, you need to roll the wheels through the paint. I taught the Little Engineer how to roll Thomas forward, pick him up, and then set him back where he started before rolling him forward again. With his wheels completely covered in paint, Thomas was ready to roll across the serving plate, making long lines rather than the wheel pattern stamps you can see on the Little Engineer’s Thomas the Tank Engine Candy Cane Ornament, which he painted as a warm-up piece right before we started this project.
Tip #5: Manage the Logistics, Not the Artwork
While I helped the Little Engineer discover some of the ways he might paint with the train and made the occasional suggestion I thought he’d like, I stepped back and let him make all the decisions about how and what he painted.
I had originally been thinking we’d just use the train to paint that day, but he really wanted to use the brushes. So I brought a handful of different brushes for him to choose from back to the table.
And if I hadn’t…well, for one thing, the teapot and plate wouldn’t have turned out nearly as cool. And for another, I never would have met Hover Thomas, who uses his hovering powers to lift paintbrushes up into the sky and paint giant plates and teapots!
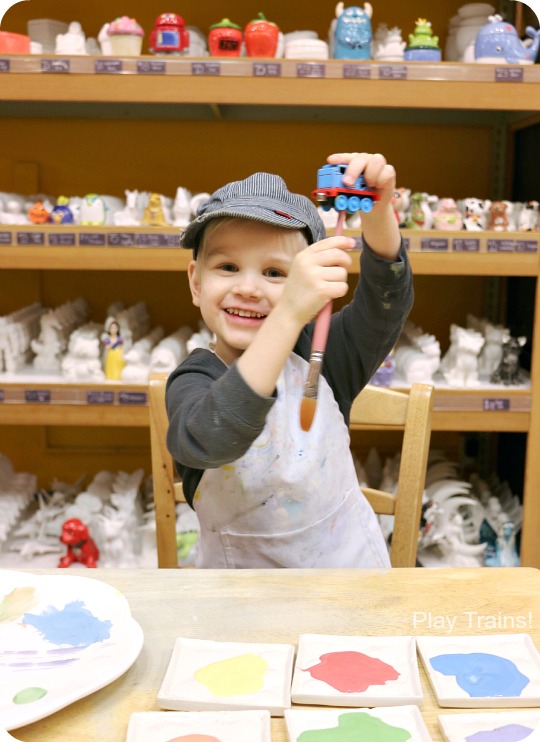
The Little Engineer thought this was great fun, and kept up this storyline for the rest of the painting session.
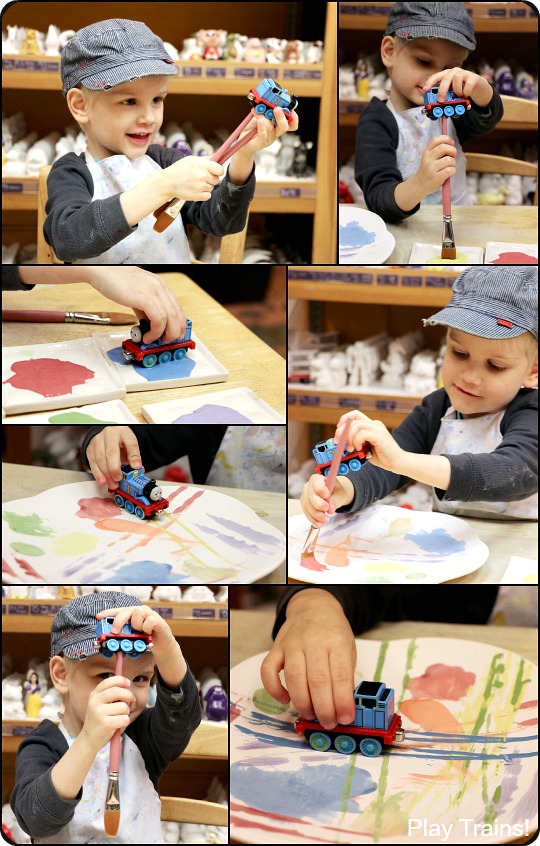
Meanwhile, I helped keep the brushes and train clean and ready to go, mopped up any water that spilled when he gave Hover Thomas baths in the brush washing water, and played along with the Hover Thomas idea.
Normally, I would help him to do a lot of that himself, but because we were in a public space — and surrounded by breakable objects — I wanted to keep the project on track and moving along at a good pace so that he wouldn’t get tired and cranky before we were finished.
I also helped by rotating the plate every so often (I would suggest turning it and he would enthusiastically agree) so that his wheel stripes came at different angles. Rotating the plate for him created the coolest, criss-crossed line patterns.
Tip #6: Cleaning the Train Between Paint Colors
To clean the toy train between paint colors, we swished it in the water, then pressed it, wheels down, into a big sponge that was there on the table a few times to get the water off it. The Little Engineer didn’t always remember to dab off the water, and then the paints would get watered down and run and drip. So I tried to keep track of that and remind him or do it for him when he was busy painting with a brush.
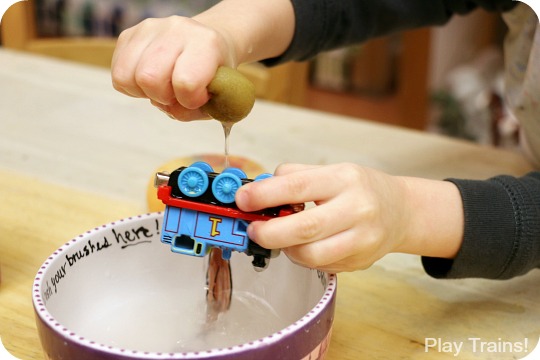
He did, however, really enjoy the washing part. Thomas got a lot of wash downs that afternoon! It was a good activity to keep him busy while I dealt with moving pieces of pottery around safely and so on. Just be prepared to mop up some water off the table.
Tip #7: Yes, it’s Like a Train Turntable…but Beware!
So, the kiddo spotted this turntable in the studio, and wanted to try it out. Okay, sure, I thought, imagining him slowly turning the turntable in a wooden train layout, and let him. Bad idea. He’s used to a lazy susan at home with a lip around the edge that he can spin really fast and watch objects slide out to the edge and get caught by the lip. This turntable? It has no lip.
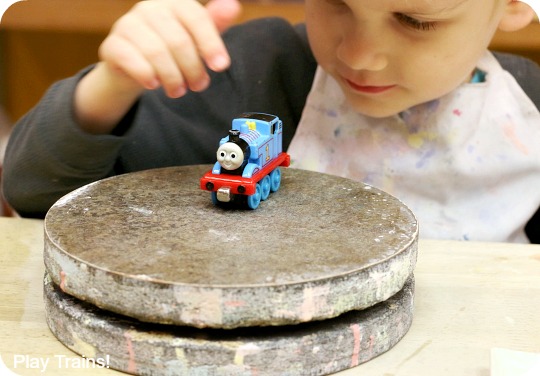
Take’n’Play Thomas may be small, but he’s metal and heavy. And he almost went flying across the room. In a pottery studio. With other kids there in the line of fire. Yikes! The turntable got put aside after I realized the potential.
Tip #8: Wheels Make Dark Lines
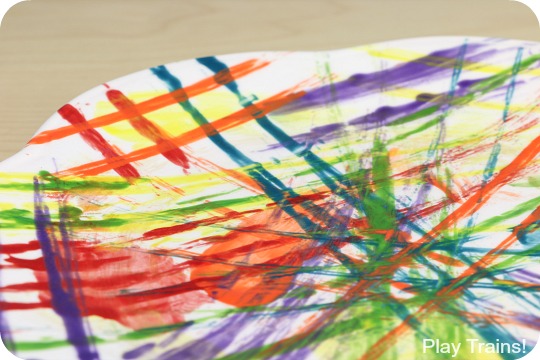
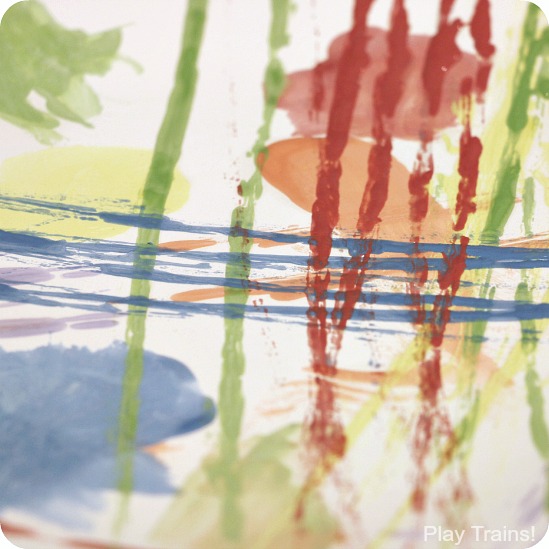
If you’ve ever painted pottery at one of these places, you know that they usually tell you to do one coat of paint for a light, sometimes transparent color, two coats of paint for a more vibrant one, and at least three coats of paint for the color to be full strength. This is not true for marks made with toy train wheels. The wheels pick up and then leave behind thick lines of paint. I had expected our lines to be much closer to the one-coat look, but they turned out strong and dark.
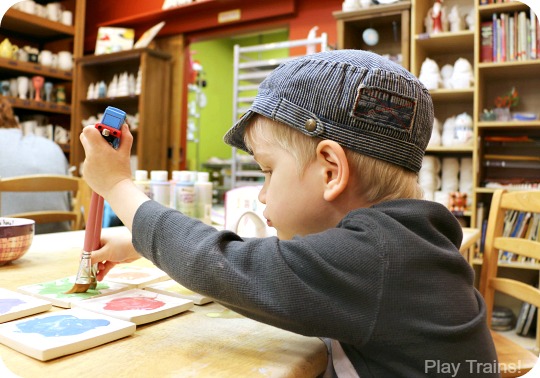
Tip #9: Rolling Up and Over
We both love the way the teapot turned out. What he did was paint big blotches of color all over the teapot, and then I showed him that he could roll Thomas up from the bottom…
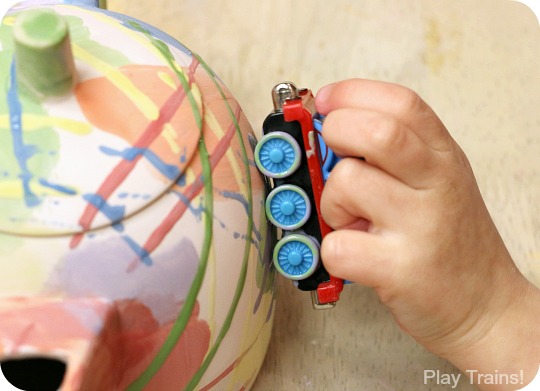
Right over the top….
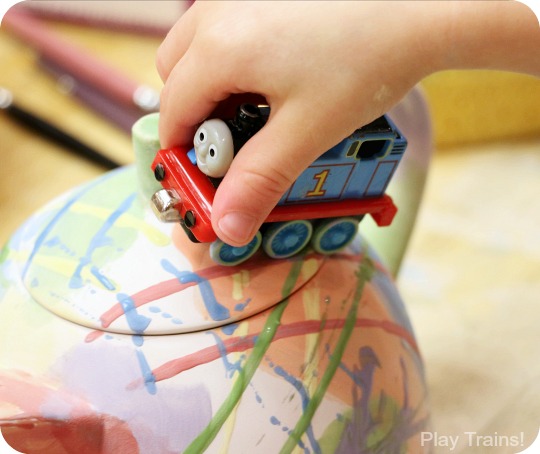
…and down the other side. Keep the lid on the teapot, and make sure it doesn’t get twisted around. It looks pretty neat when the lines continue from the pot to the lid.
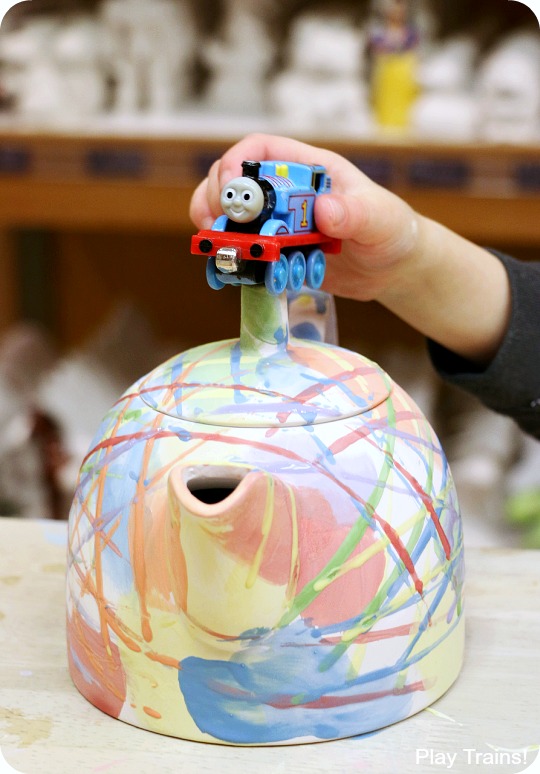
Hover Thomas and his Little Engineer were pretty pleased with their work!
Tip #10: Painting in the Studio Means All the Mess Happens in the Studio
I was so incredibly grateful when the workers at the studio stopped me from cleaning up our table, telling me that was their job. (Thanks again for that!)
Tip #11: Take a Photo, then Enjoy Your Treasures
When the Little Engineer was around eight or nine months old, we took him to Paint the Town for the first time and made some handprint and footprint keepsakes. Mine was a big, square plate that I did all in black and white, thinking it would be nice to have something as modern as possible that we were likely to use. Except…it’s stayed in a cupboard somewhere — I think! — in our kitchen, never to be used. (Yet…now I have to find it!)
When we decided to make this teapot and plate, I wanted it to be something we use. I want it to become a memory not just of the fun we had making it together, but of many happy afternoons in our home. So, after a week passed and we went to pick up our pieces, I took some photos, as much for us as for this blog post. Now, if something does happen to the pieces, we can always go back and see what they looked like. This is similar to a lesson I learned as a pastry cook and cake decorator when I was younger — take a photo, and then relax about the rest!
If you’re giving kid-painted painted ceramics as a gift, I recommend taking a photo of them both for yourself and to give to the recipient, and let them know that it’s okay to use the pieces and not worry about them breaking quite so much. I also like to give a photo or two of my son creating the gift to make it extra meaningful.
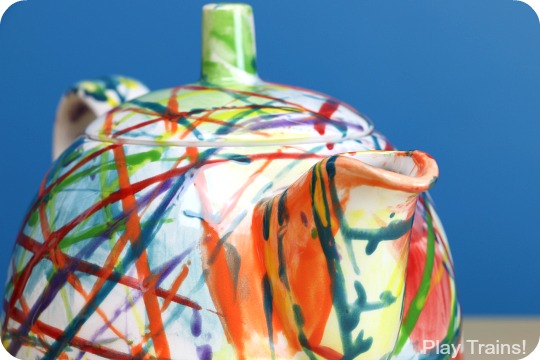
So, speaking of those “after” photos, here’s our finished teapot:
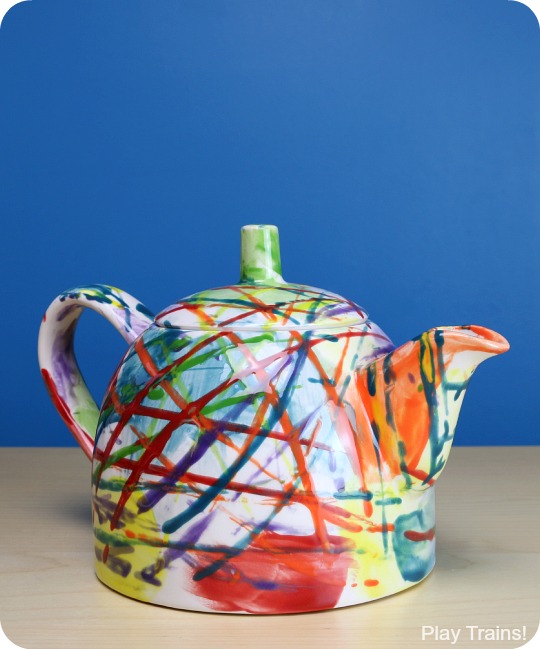
I love all the colors, and I especially love the way the big blotches of color that the little Engineer decided to add look underneath the lines.
The serving plate turned out similarly colorful, although the colors are a little more mixed and smeared because most of the lines of paint passed through each other in the center.
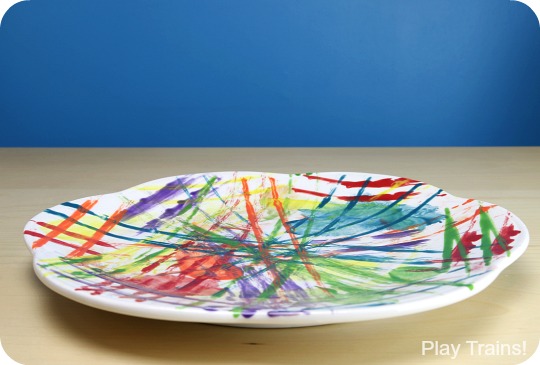
One thing I though was neat was how some horizontal lines at the edges made patterns that looked like train tracks! We didn’t even notice that until I was taking these photos at home.
I know we’re going to treasure these for years to come! Unless they break. But even then, with these photos, we’ll be able to treasure the memory of an afternoon spent doing something creative together.
More Painting with Trains Projects
Painting with Trains:
Kid-made Thomas the Tank Engine Candy Cane Ornament
I love this! I especially love the plate, I could have a whole set of plates and cups decorated by my children, that would be so cool! It looks like your little engineer had a blast!
I need a cermaic bank train to be paintedby a child. Do you have one?
I just went to a paint your own pottery place with my son, so I’m not sure where the best place is to buy one, but here’s a ceramic train bank I found searching on Amazon. If you have a pottery painting place near you, in the past I’ve seen a train bank at ours, so that’s also a possibility.