This is a great way for kids to show their affection for their favorite stuffed animals, especially if their plush friends like to play trains with them!
The idea came to me while creating a pattern for the felt engineer hats I’ve been sewing for some very special stuffed animals. At the time, we had recently read Mr. Puffer Bill, Train Engineer, a Golden Book from 1965. It was inspired by the true story of the invention the now-iconic engineer’s cap by a real railroad engineer.

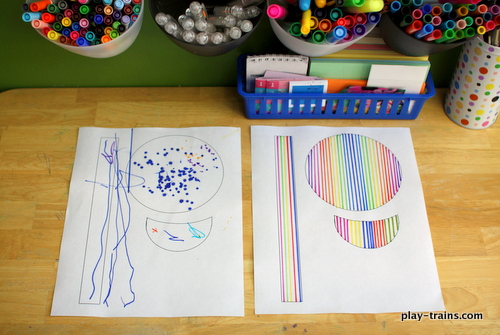
This was a fun way for the Little Engineer to follow in Mr. Puffer Bill’s footsteps, and he was quite happy to join me at the art table to make engineer hats of our own. I had printed off one for each of us — I really wanted to make one, too. (You’ll find the download link at the end of the post.)
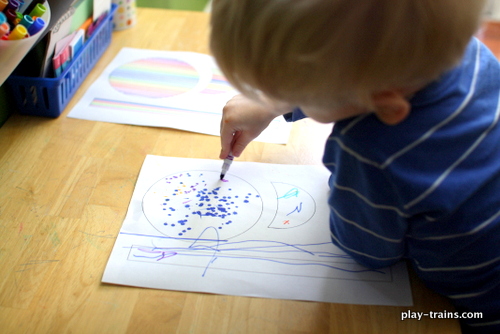
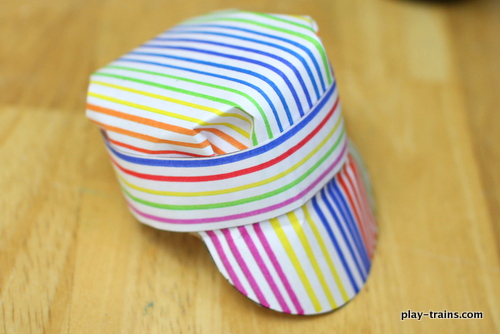
We decorated our hats with markers. St. Patrick’s Day has rainbows on my mind, so I decided to step away from tradition and make rainbow-colored stripes. The Little Engineer was interested in my use of a ruler to make straight lines, and gave it a try. But then he decided he’d rather make “engineer dots” than stripes. I’m not sure the tips of the markers he used will ever be the same, the way he was ramming them down on the paper. But they made the coolest splatter marks around the edges of the dots, so I let him go with it.
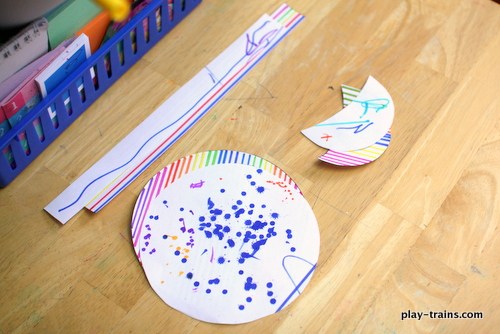
After I cut out the pieces of our hats, the Little Engineer decided they needed to be sorted into piles by shape. It was a nice opportunity to name the parts of the hat for him (crown, band, and brim).
The assembly of the hat is mostly for us grown-ups, though if the Little Engineer hadn’t had his attention elsewhere on the art table, I would have had him help with the tape. An older child could probably do this…not sure how old, because I haven’t had one of my own yet.
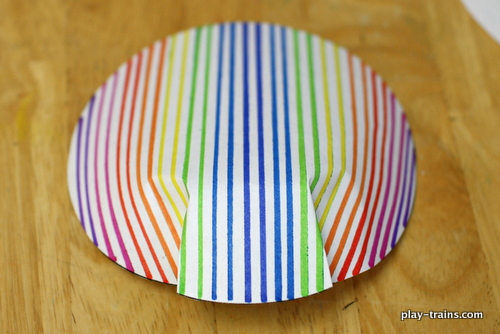
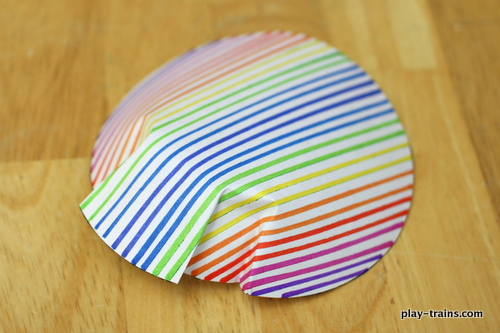
First, after deciding how wide you want the front of the cap to be, you fold pleats on either side of the center line of the hat’s crown.
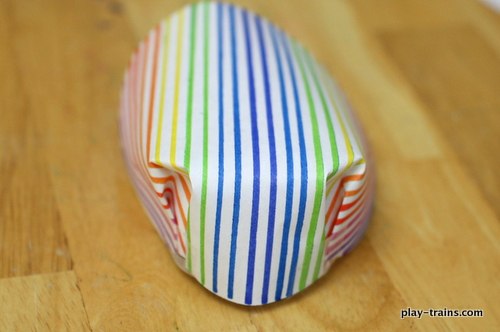
Fold matching pleats forward from the sides of the hat. The bottom corners of the pleats should touch when flattened.
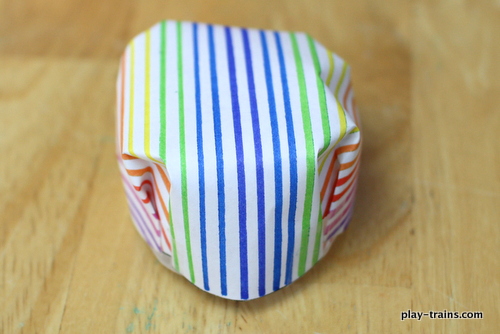
Use tape to secure the pleats.
Turn the hat around, and repeat on the back side.
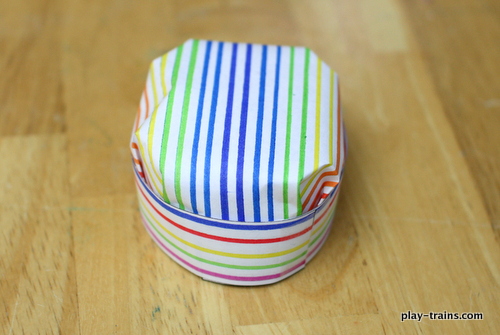
Wrap the band around, once again securing it with tape, both to itself and to the crown.
Finally, center the brim behind the band on the front of the hat and tape it in place.
I decided the brim was too long, so I pulled the tape up and adjusted.
Unfortunately, the paper isn’t as flexible as the felt the pattern was designed for, so the brim doesn’t stick forwards the way I’d like. I’m still trying to think of a solution to that, so if you figure it out, let me know.
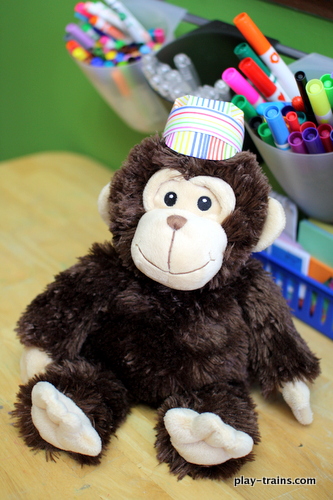
After I had one hat put together, I asked the Little Engineer to go find a stuffed animal to wear it. He brought this soft and snuggly monkey out.
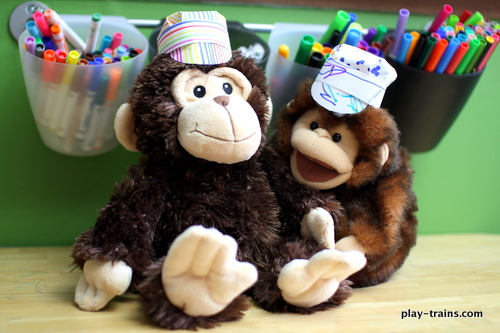
And for the hat my son designed, we found another monkey. The Little Engineer was very happy to see the hats on his friends.
I suspect these two will be hauling bananas to a zoo sometime in the near future.
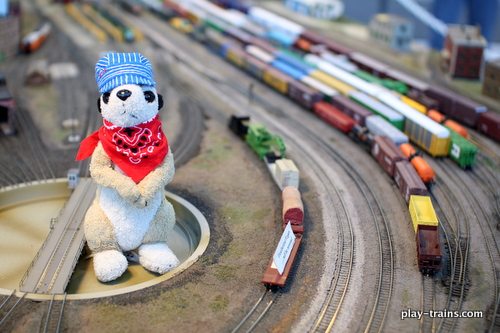
This was pretty much as much fun for both of us as I had hoped it would be. Keep an eye out for my how-to for the felt version of this hat, as modeled by Meekat, my son’s meerkat engineer friend below. Update: read DIY Felt Engineer Hats for Stuffed Animals!
[box type=”download”] Download the Paper Engineer’s Hat Craft (free printable)[/box]



I never knew you could make a hat that easy! What a fun project. Thanks so much for sharing on We Made That!
Neither did I until I did it! 🙂
I think my son has some animals that could use hats too.
We made one for the cat, too…it was awesome. Well, for us…the cat purred the whole time, but I think it was just from getting so much attention without being asked to get off of train tracks.
So cute! Pinned!
Thanks!
Those are super cute!
Thanks!
Oh, how cute! I love them! Thank you for sharing at Sharing Saturday!
Thanks!
its very cute n easy
Thanks!
Just stumbled on your GREAT site as my 3yo has taken an interest in trains. On the cap brim not sticking forward, I think it’s because the curve of the brim (where it joins the cap) is shallower then the curve on the cap’s band. If you redrew the brim to make it more curved, and also notched the part of the brim that is glued to the cap band, I think you’d get the brim more horizontal. I have a picture I will try to email you that will make this clearer…. HTH 🙂
Today (Sept.8, 2017) I just figured out how to tilt the brim – a practical way, without the tempting but too-fancy math. My favorites tilt at about 45 degrees. (1) paper mock-up of the brim, a crease for centerline. Crown of hat on table, paper under it, crease aligned with hat: where crease and hat meet, draw on the paper a refc line at right angles to crease; and scribe the curve where the crown hits paper. (2) The refc line is the ‘curve’ to use if you wanted the brim to stick straight down, and curve is what you’d use if you wanted it to stick straight forward and be flat. The curve we really want to use, is about halfway between those two. draw a margin (for sticking up under the front band), cut out the margin-together-with-the-mockup brim, and notch the margin (cut out “V” shapes, point against the curve) to leave tabs where the margin was, and fold them up. (3)_put the crown at the edge of the table so the brim can stick down at 45-deg, fasten the center of the brim to the crown so you’ll have both hands free, and maneuver till the brim fits right at the crown’s bottom edge and fits symmetrically; the brim will be curved some. (4) Holding that in place with one hand or however, draw a final curve where brim meets crown. Can do both sides (rt. & left). Remove brim, flatten it, finalize the curve and outline of brim, add a new margin (may have to transfer to new paper), and that’s the pattern for the brim. I had made a paper model, way to small, to learn the box pleating; then another, less too-small, from a manila file folder, this time with brim – mine stuck down too straight, too. Third time, with leftover packing paper (only thing around big enough) and had to work out the brim tilt. The math for it would involve either vectors/tensors, or cartesian coordinates, and a circular cylinder interecting an elliptical cylinder, and it occurred to me that would be a bit much! Gave it up a moment, wanting a nap, when the above came to mind, tried it, and it worked out just fine. For this thin paper, glue instead of thread, of course; for the manila, a few staples and lots of glue. (Elmer’s.) Thank you very kindly for the beautiful webpage on this topic, and lovely pictures!