
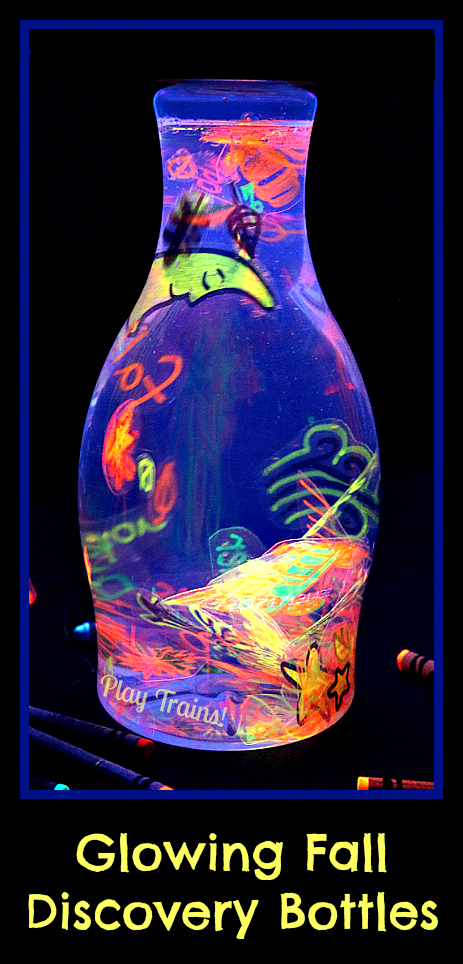
We’re back with our second activity in the Fall Invitations to Play series: glowing discovery bottles for fall! I’m thrilled to be partnering this week with four of my favorite bloggers, each of us sharing a play invitation idea every day this week. I’ll be linking to their invitations for today at the end of this post, so don’t miss them! And if you’d like to know more about Invitations to Play, start with our first post in the series.
This post contains links to Amazon.com. If you click on one, we will receive a small commission — at no additional cost to you — on anything you buy at Amazon for a certain length of time afterwards. Read our disclosure policy for more details.
Invitation to Play: Glowing Fall Discovery Bottles
I wasn’t planning to do so many discovery bottle posts, but one idea keeps leading to another. When I was thinking of ideas for this series, I had a vision of glowing fall leaves swirling around in a discovery bottle. While I’d already done a glowing version of our floating word discovery bottles, I hadn’t given it the time and attention it really deserved, and I wished I had made more waterproof words and pictures to add to it. This was the perfect opportunity to make a new, brighter glowing discovery bottle.
Materials:
- Blacklight
- Waterproof words and pictures (see note below; materials needed: laminator, thermal laminator pouches, and neon Sharpies)
- Black poster board or construction paper
- Neon crayons (I aimed the blacklight at the crayon tub and pulled out anything that glowed.)
- Clear plastic bottle with a cap, filled with water
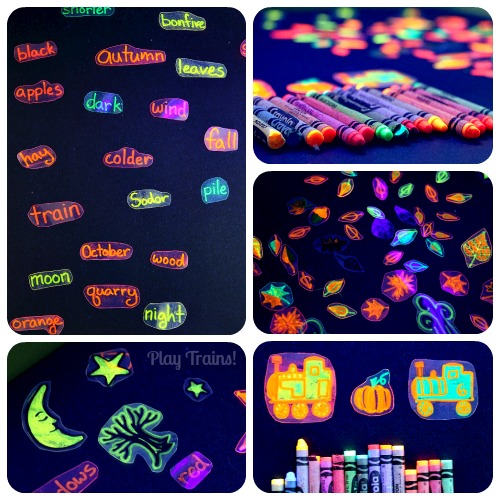
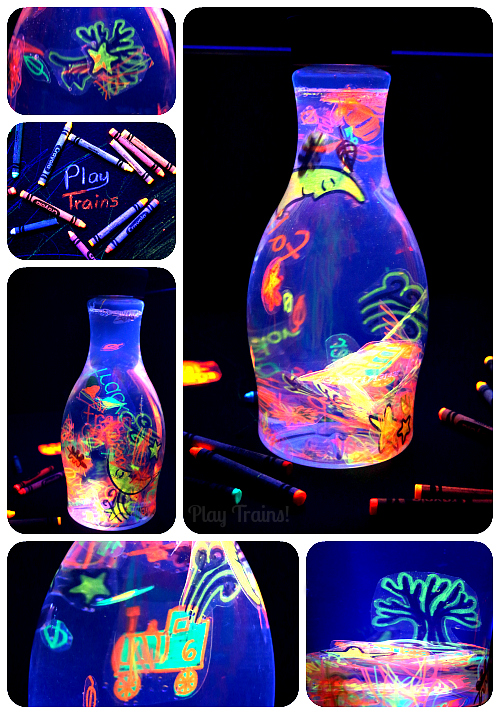
For the blacklight-reactive waterproof words and pictures, I followed the same method I used to make the glowing words in the Floating Words Discovery Bottles post. I drew lots and lots of small leaves, a pumpkin, Thomas and Percy (due to my not having the neon blue Sharpie, I had to make Thomas yellow!), swirling wind, a barren tree, a moon, and some stars. I tried outlining some of the pictures in black permanent marker this time, and it looked really cool in the bottle. So I would recommend doing more of that than I did. For the words, I let one of our favorite Halloween train books, Halloween in Anopha, inspire me.
Set up:
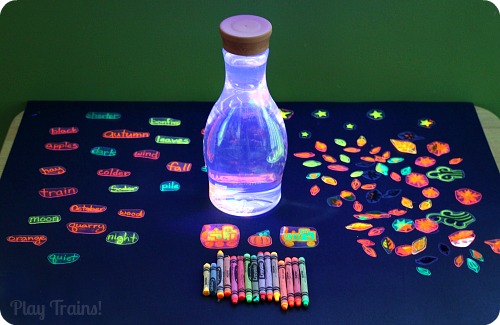
Arrange the waterproof words and pictures on the black poster board. Place the bottle full of water and neon crayons on the poster board as well. Find a safe place to put the blacklight where it can shine on the work area without being in danger of getting bumped by a child. (Make sure to instruct children not to touch the blacklight, because they can get very hot.)
How we played:
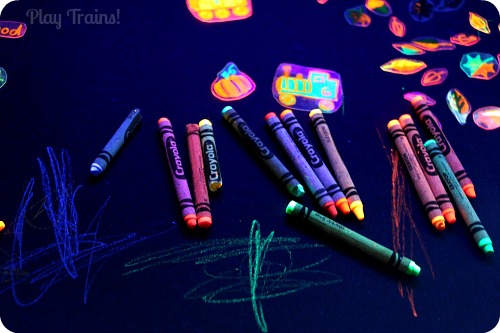
The Little Engineer was drawn at first to the crayons, mostly scribbling because he had to press hard to make them show up nicely under the blacklight. Later, when he was done playing, it was fun to see the lines almost disappear when we switched off the blacklight and turned on the regular lights.
After a lot of scribbling, he filled the bottle with the glowing words and pictures. It was fun to watch the bottle grow crowded with bright pictures. He also spent some time going and getting things to hold up to the light and see if they glowed.
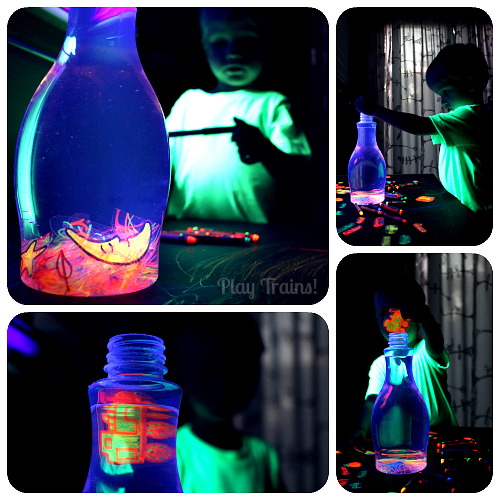
I think next time I’ll leave the bottle out of sight at first to see if that encourages some different kinds of play with the waterproof pictures outside of the bottle. With the bottle as the focus of attention, it became more of an invitation to create than an invitation to play. Which is also fun, of course!
Observations
The more pictures we add to these bottles, the more stories I see swirling in and out of existence in the water. A tree falling from the sky with a star caught in its embrace, wind whooshing out of the back of Percy’s cab, two stars holding “hands”, an engine rising up out of the depths. One of my favorite pictures we saw was the barren tree coming to rest upright on a field of “grass” made out of the lines of all the words and leaves at the bottom of the bottle.
Looking for more creative train activities for YOUR kids?
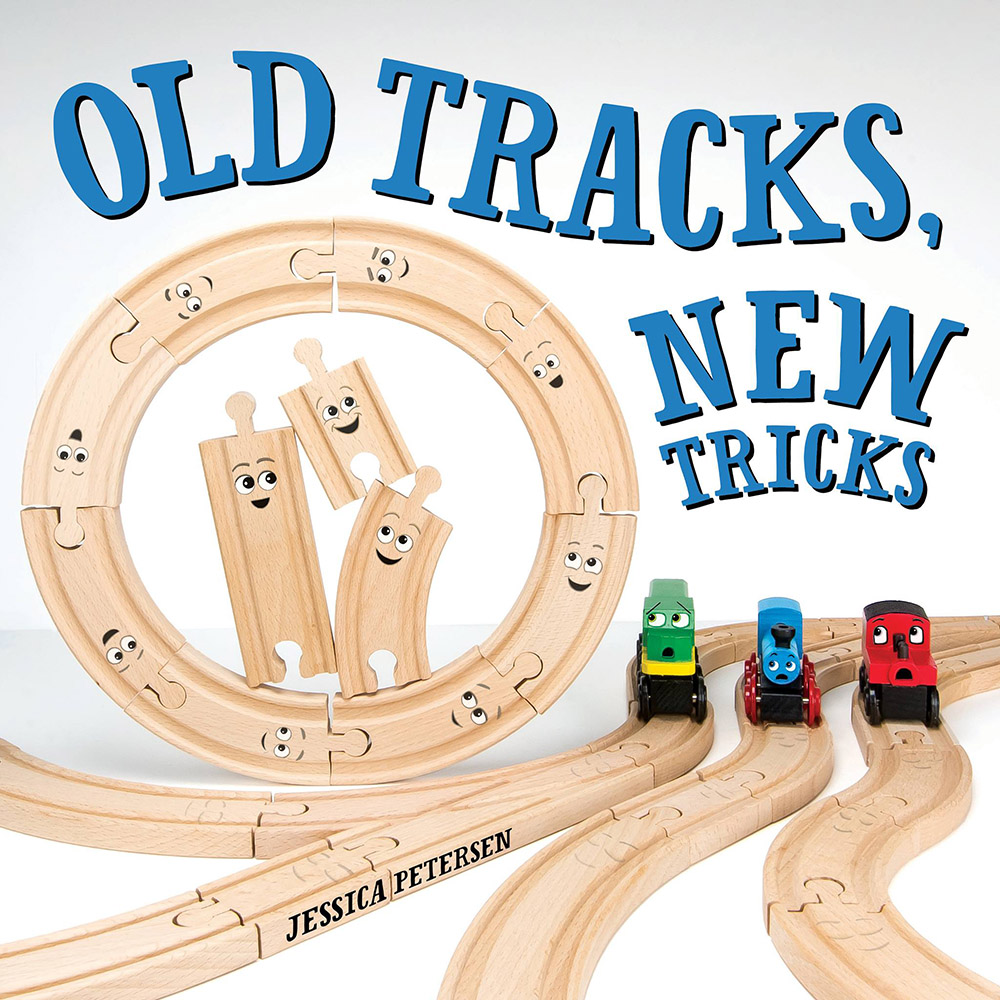
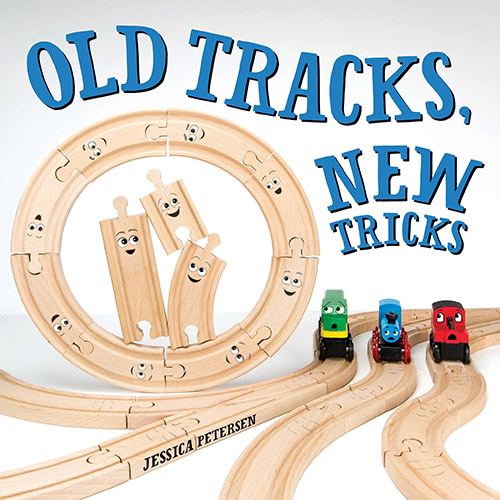
Grab a copy of Old Tracks, New Tricks! In the fun, rhyming story, three creative little wooden train tracks stand up to the bossy trains and teach the whole train set that old tracks — and trains! — can learn new tricks. Full instructions for the 20+ “track-tivities” in the story are included in the back of the book, along with an illustrated guide to teach kids how to create their own “track tricks.” You can find tons of extension activities at the Old Tracks, New Tricks website!
More Play Inspiration
Now that you’ve seen our glowing discovery bottles, head on over to visit my blogging friends, Ann, Chelsey, Shaunna, and Stephanie. You are going to love their creative ideas for fall fun with kids!
Pumpkin Themed Sensory Invitation to Play by My Nearest and Dearest
Decorate Pinecones for Fall by Buggy and Buddy
Fall Play Dough by Fantastic Fun and Learning
Create a Fall Forest by Twodaloo
And after you visit their blogs, if you’re looking for some more glowing fun, a few other awesome bloggers just ran a series on fall play recipes. One of their daily themes focused on glowing activities: Glowing Magic Milk Experiment from Learn Play Imagine, Glowing Bread Clay Recipe from Housing a Forest, Edible Glowing “Spiderwebs” Sensory Play from Fun at Home with Kids, and Homemade Glow in the Dark Window Clings from Blog Me Mom.
Here are our other invitations to play in the series, in case you missed one:
That discovery bottle looks so cool! Very creative!
Thanks, Shaunna!
Sooooo COOL!!!
Thanks, Stephanie!!! 🙂
These look absolutely amazing!! You’ve made me want to get a black light!!
It’s like blacklights are contagious or something! 🙂 We’re really enjoying ours.
Jessica, this is awesome! Adding a black light to my wish list… 😉
Thanks, Ann! Our blacklight is my new favorite thing. 🙂
AWESOME! I want to do this, just for me! 🙂 My Engineer will LOVE it, and I’m sure he will have tons of ideas. Such a fun way to extend sensory bottles. Thanks for linking up at Share It Saturday. I’m featuring you this weekend.
Wow How long did this last? the glow in the dark part? Wait, You actually put WATER in the bottles too? After laminating the colored paper? I Love this and am going to order everything glow on dark today 😀 YAY!
Yay! 🙂 These glow under blacklight (they aren’t glow-in-the-dark on their own), so they last as long as you keep the blacklight on. We drew directly on the inside of the laminating pouches with neon Sharpies (which are blacklight reactive), sent them through the laminator, cut them out, and then put them with water in the bottle. (I hear that adding a little glycerin will make the words stay “floating” for longer after you shake them up, but haven’t tried it yet.)