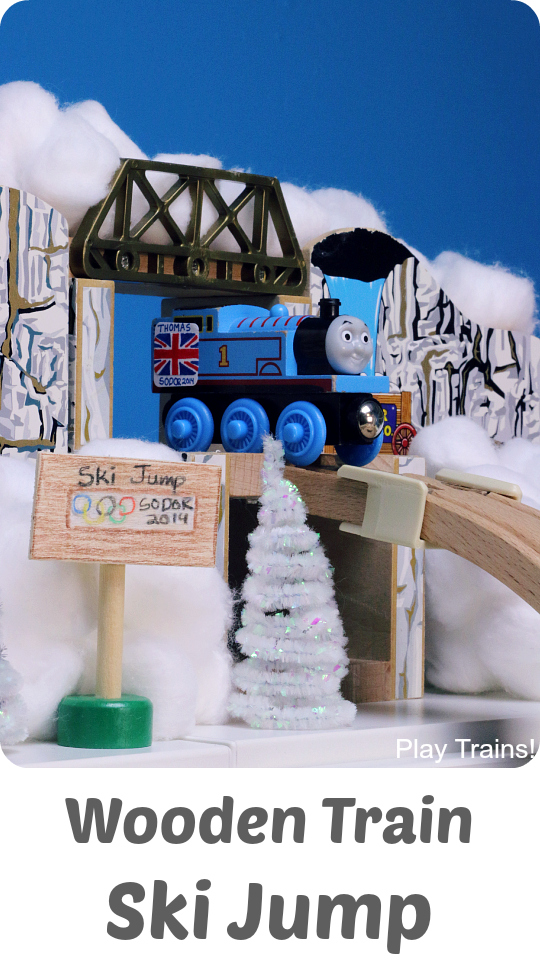
I kept my first two activities for the Winter Play Days series intentionally simple because I knew I was gearing up for something epic: wooden train ski jumping in honor of the Winter Olympics! This one activity has caused a huge surge in the Little Engineer’s interest in the Olympics, winter sports, and geography. On top of that, setting up and playing with the ski jump track is a great hands-on science activity, exploring physics with all the adjustments to be made to the shape and angle of the track, the elevation of the jump at the end, and the weight of the trains going down the track.
But mostly…did I mention the epic part? You have to watch our video! This is so much fun.
After you’ve visited the slopes, don’t forget to go see what my Winter Play Days friends at Fun-a-Day!, Fantastic Fun and Learning, Nothing if Not Intentional, My Nearest and Dearest, and Buggy and Buddy have come up with for fun and creative winter play! I have links to their activities for today at the end of the post, so be sure to make it all the way to the bottom of the mountain with Thomas and Hiro.
This post contains links to Amazon.com. If you click on one, we will receive a small commission — at no additional cost to you — on anything you buy at Amazon for a certain length of time afterwards. Read our disclosure policy for more details.
Train Jumps
Anything that can be described as a “train jump!” is always a big hit with the Little Engineer. I was so excited when I realized that I could do Winter Olympics activities for this series, mostly because I immediately knew I wanted to do this with him:
First, I’ll walk you through setting up a basic ski jump track. Then, I’ll show you a few of the details we added to the scene, none of which are necessary, though many greatly enriched the play and learning value of the activity. Finally, I’ll show you how we played with it all.
Materials
- Wooden train tracks: You’ll need at least three ascending tracks and a six-inch straight track to create the exact slope we ended up settling on, but be prepared to experiment! Experimenting with this one is where much of the learning potential lies. If you’re in need of more wooden train track to make this work, check out the recommended brands in the Wooden Train Tracks section of our Ultimate Wooden Train Guide.
- Track connectors: The easiest way to secure the tracks together is to use Suretrack track clips, which you can see in the photos below. You could also try sticking small pieces of no residue duct tape on the underside of the tracks where they connect. (Removable blue painter’s tape may also be an option, but it’s not as strong.) For more tips on how to keep elevated tracks together, see the Bridges and Elevated Tracks section of our Ultimate Wooden Train Guide.
- Track supports: Next, you’ll need something to hold the tracks up. If you want to follow our scenic lead, the white cardboard magazine files we used come in a very inexpensive 5-pack at IKEA. However, anything relatively stable that will elevate the tracks will work. Again, see the Bridges and Elevated Tracks section of our Ultimate Wooden Train Guide to learn about more options for supporting raised train tracks.
- Some soft “snow” to land on: If you have carpeted floors, then this is optional. But on our wood floors, it’s necessary, both to protect the trains and to protect the floors. We used a large piece of white, glittery felt, folded in half and then in half again to make a nice, soft landing pad that doubled as snow scenery.
Set-up:
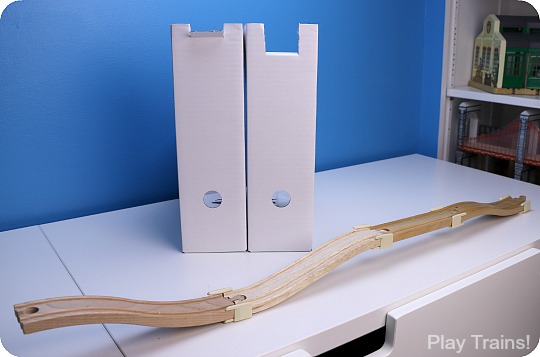
1. If you’re using them, assemble the magazine files. Find something sturdy to raise one up so that it’s lower end is as close to the height of the higher one as possible. We used an overturned empty plastic storage tub that was close to the right size.
2. Build the train ski jump slope from the wooden train tracks. You can either experiment on your own, or recreate the shape of our slope. In the photo below, the end of the track on the left corresponds to the bottom of the slope, and the end on the right becomes the top, that last curve sort of hooking over the top of the magazine file.
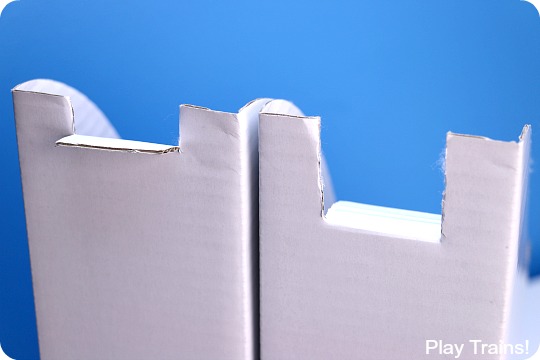
3. Getting the angle of the track just right took a great deal of fiddling. One thing that helped was cutting track-width notches at the top of each magazine file. That allowed me to adjust the angle of the curves and dips of the track in two separate places and get the bottom of the slope as close to ramping up as possible. In the photo below, the lower magazine file is on the left, and the upper one, which needed to be cut into more to get the angles correct, is on the right. As you’ll see later on, we also stuck a mound of cotton balls under the bottom end of the track to raise it up higher.
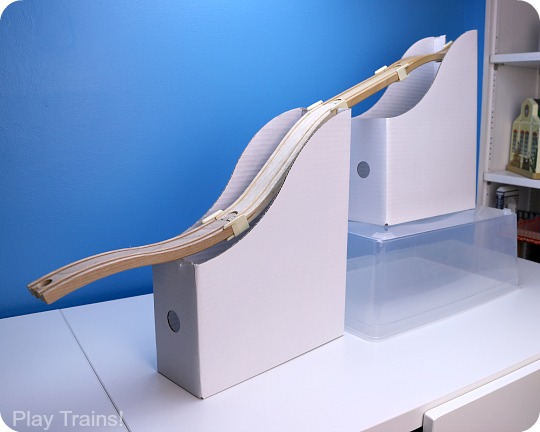
Here’s an unadorned view of the train ski jump (minus the cotton balls underneath the bottom point of the slope). You may be able to see the other useful advantage of the Suretrack track clips in this situation, which was they were wider than the notches I cut in the magazine files and, due to some luck with the placement of the tracks, prevented the slope from slipping downward.
Two more adjustments you’ll likely need to make both at the beginning and during play:
- The track needs to come down on as straight a line as possible, not sliding or tilting to the left or right. If you watched our video up above, the runs where Thomas didn’t quite make it down the slope were more due to the track not being aligned quite right than due to the cotton balls on the track.
- If you use the Suretrack clips, they become slightly looser with use as the plastic stretches out. Occasionally they slip to the point where they’re mostly holding onto one track and not the other, causing the track to bend and eventually fall apart at that point. Check them every so often.
The building part of this activity is less precision and more enjoyable trial and error. Luckily, it’s not a bad thing when the trains derail or crash. At least not to the Little Engineer, anyway!
Finally, here you can see how we hooked the whole slope up to our mountain on top of the toy chests, using another ascending track, a short straight track, and a couple more Suretrack clips.
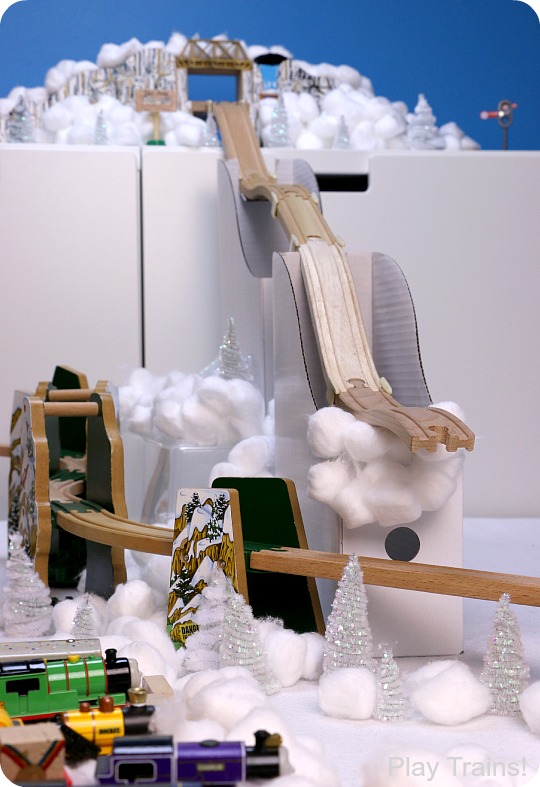
The Details: Characters, Scenery and Props
Event Sign
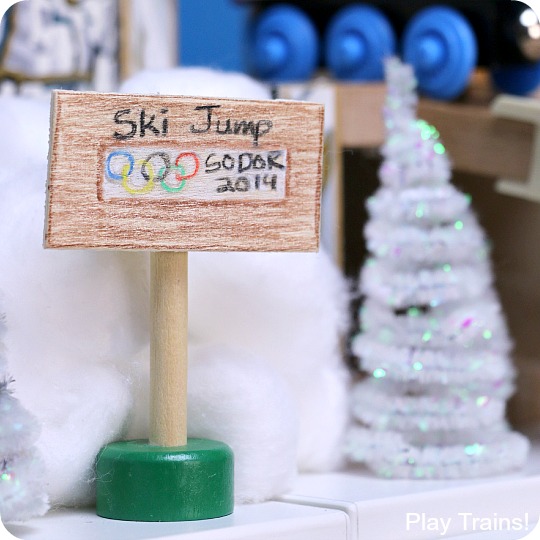
The first thing I wanted to add to the scene was a “Ski Jump” sign. I drew with colored pencils on a craft wood rectangle — cardboard would do just as well — and stuck it to an existing train set sign with a bit of blue poster tack. As I was making it, it occurred to me that “Sochi” and “Sodor” sound a bit alike, so our Train Olympics became SODOR 2014.
The Audience
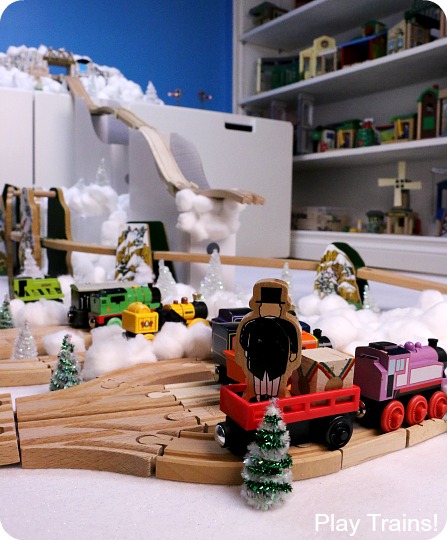
At the bottom of the mountain, out of the way of the landing area, we build some tracks for other trains to chuff up to and watch the train ski jump event. The Little Engineer was quite interested in the word “spectators” — he kept saying it, laughing, and then asking for further explanation of what it meant — and he enjoyed picking out which other trains got to be there.
The Medals
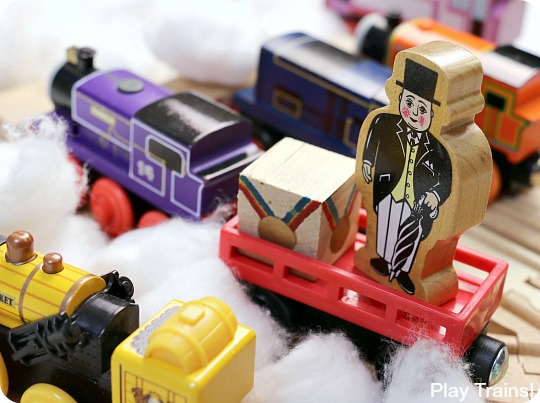
I haven’t gotten around to trying my ideas for making medals for the trains to wear quite yet, but I did take a small wooden cube and turn it into the crate they came to the mountain in by drawing medals with red, yellow, blue, and gold Sharpies. They rode in the same car as Sir Topham, who was there to cheer on his engines and observe the event in his capacity of Controller of the Railway Games.
Flags for the Competitors
One of the most fun parts of this was the flags we put on the competitors. I’ll have a post up in the next day or two about how to make them. They sparked a lot of interest and curiosity about the flags and the countries they represented. We came up with more Thomas & Friends engines from countries other than the UK than I expected, so I’ll also have that list for you. Those engines will probably be appearing in future Train Olympics activities, because we have a few more planned already.
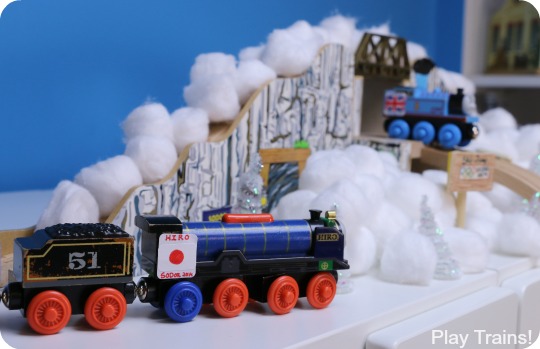
Snow Scenery
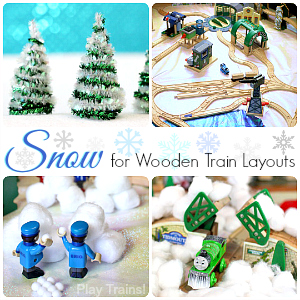
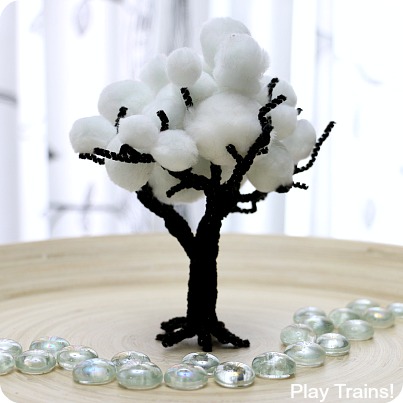
I already have mentioned the sparkly white felt and the cotton ball snow. We also added the snowy, white pipe cleaner Christmas trees we made in December.
Signals
You can probably see them in a few of the photos. The Little Engineer grabbed a couple of these and set them near the top of the mountain to signal to Thomas and Hiro when it was their turn to go. I thought it was pretty fun that he anticipated the need for something like that in a sporting event.
How We Played
The Little Engineer drove Thomas, and I drove Hiro. Thomas, being the #1 Blue Engine, naturally went first.
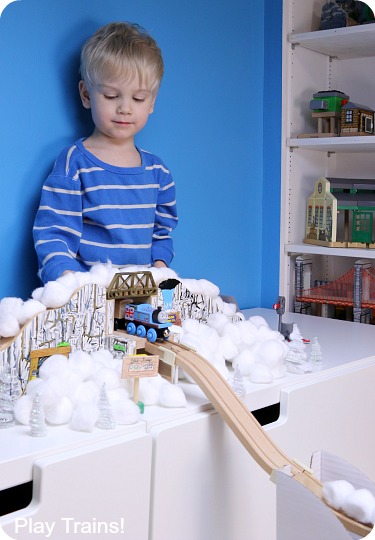
The Little Engineer pushed him carefully from behind, and down the slope he zoomed!
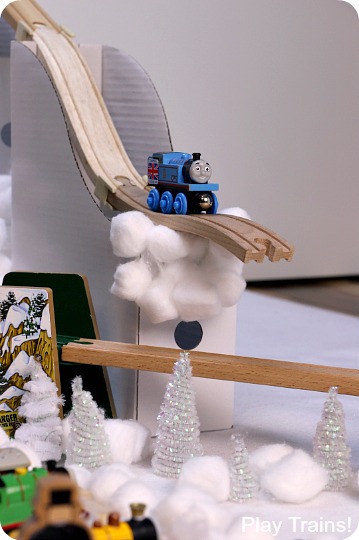
The end of the slope approached so quickly. The anticipation…the exhilaration…
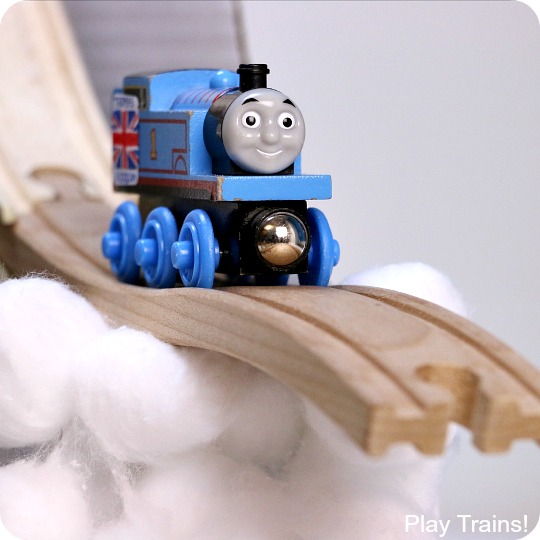
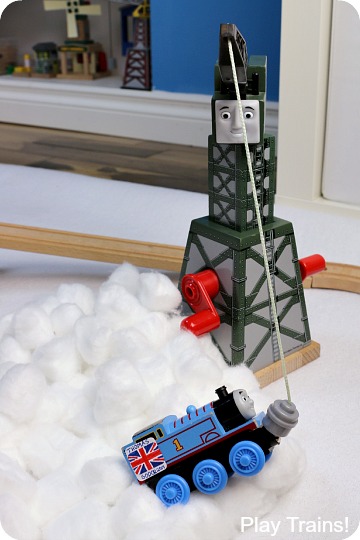
The relief of a soft landing in the snow! (It took a full somersault before he landed on his wheels like that.)
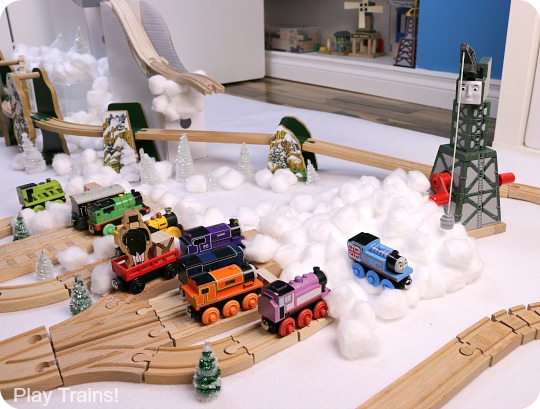
We had Cranky the Crane on hand to lift the trains back on track.
Next, it was Hiro’s turn. A longer, heavier engine, made even heavier by the coal tender coupled up to him.
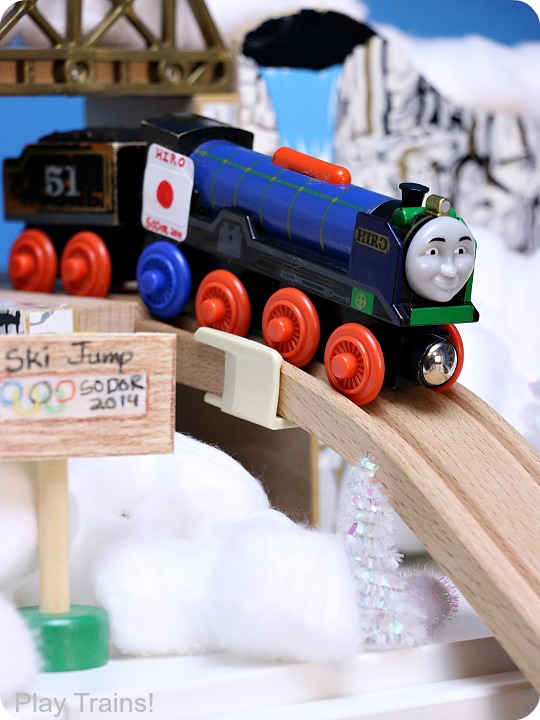
We lined up cotton ball snow for him to plow through as he went down, and it flew off the track.
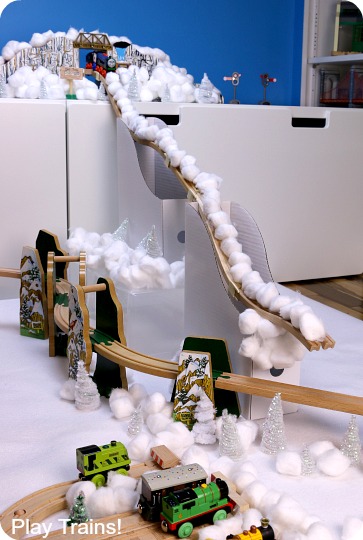
Another fun thing we did was to couple up freight cars behind the engines and fill them with pom poms. It was fun to watch them go flying as the train leapt from the tracks and bounced along the snowy ground. I don’t have any photos of this, but you can see it in the video. (Watch the video! Really!)
And, of course, any time the engines started to derail or fly off to one side or the other, it was back to fixing the track, figuring out how to get it at just the right angle.
Learning about the Winter Olympics
Like I said at the start, I knew the Little Engineer would enjoy this just because it involved “train jumps”. But I had no idea how much of an impression it would make on him. We watched a video of ski jumping from the 2010 Olympics, and afterwards he asked, “Can I do that?” When I told him yes, but that he’d have to learn how to ski down the slopes without jumping first, he got really excited. “I’m going to jump the farthest, and I’m going to WIN!”
My son, the Olympic hopeful. If by chance that every comes to be a reality, I can’t wait to tell the reporter that it was all because of wooden trains ski jumping.
More ways to play…
Well, that’s it for Winter Play Days from us! If you enjoyed this activity, then make sure to sign up for our email newsletter:
And be sure to visit my Winter Play Days friends to check out their awesome winter play activities for today!
Launching Ping Pong Ball Snowmen from Buggy and Buddy
Indoor Snowman Decorating Play Set from Fantastic Fun and Learning
Arctic Small World and Sensory Play from Fun-A-Day!
Baby, It’s Cold Outside! Playing and Experimenting with Ice from Nothing if Not Intentional
Colourful Fun in the Snow from My Nearest and Dearest
Our other posts in the Winter Play Days series:
Pretend Snow Sensory Play with Trains
And here’s more winter train fun:
Winter Train Book Activity: Thomas Gets a Snowplow
Snow and Ice Winter Pom Pom Trees: Fine Motor Activity and Train Set Scenery
My own Engineer just watched the video with me! “Whoa! How is it doing that? Wow! Can WE do that soon? Tomorrow? How did they make that?” As you can see, he is in love with yet another one of your activities. I know what we’re doing this weekend!
That makes me so happy to hear, Mary Catherine! Like, smiling at my phone when I read it happy! Your Engineer is one of my ideal readers in my head, so I always know I got it right when he’s excited. Yay!! Let me know how it goes!
This is fantastic! My little train lover is going to go crazy when he sees the video. I need to wait to show him though until I know I have the supplies I need because I know he will want to get at it right away:)
Hooray! And yes, I think waiting to watch the video until you have everything ready to go is a great idea…apparently, the video is very inspiring to some of the train lovers who’ve watched it. 🙂
Jessica, you continually amaze me with your creativity! This looks SO FUN!!!
I’ll be showing the video to Peanut tomorrow. Even though he’s not train crazy I know he’ll love it and want to do something similar with his trucks or tractors.
Thanks for the inspiration!
Thanks, Ann! I hope Peanut enjoyed the video…a truck and tractor ski jump sounds just as fun!
We are fairly new to Thomas. WE have some of the track that you used on the ski slop but it did not come with the clips that it appears you are using here. Ours have blocks underneath. They never seem to stay on the blocks and my boys are frustrated. Could you please share where you got these clips? I appreciate your help. We love your creativity.
Thank you for sharing your ideas with us.
Hi Susie! Thank you so much for reading, and for taking the time to comment! I’m so happy you’re enjoying our ideas. 🙂
If you look up near the top of the post where the materials are listed and click on the bolded/highlighted name “Suretrack”, it will take you to the product page on Amazon. Right in that section, you might want to follow the link to the page from our Ultimate Train Guide about Bridges and Elevated Tracks, because I have some tips for keeping the tracks up on the blocks in that post.
Hope that helps!
– Jessica
I feel so sill now that you showed me it was written right in front of me. I guess we were so excited to look at all of your pictures of the jump that we skipped right over the materials list. Thank you so much for being so kind as to take time to answer my question. I will go read your post about bridges and elevated tracks as well. Thanks again for sharing your wonderfully creative ideas.
Don’t worry about it — I miss stuff like that all the time! 🙂 It’s actually useful to know that I might want to have links at the end of the post to important stuff like that…I know that my eyes get drawn first to photos as well. I’m planning a major site redesign so feedback like that is extra useful at the moment.
Love this, the video is awesome! We have been holding back on getting a real train set for some reason (we don’t have a space to leave it set up). My son is so over the moon for trains lately though, it is hard to justify not having one when it is so versatile and I know it will be well-loved.
Thanks!! We actually put our trains away every night for a long time, until the collection (and the layouts) got too big! But if you keep it small and made putting the train set away at the end of the day (or whenever) a habit, it’s not bad. We also used to slide small layouts under his crib and then pull them out the next morning.
Thanks for a fantastic idea! My little guy just got a train table for Christmas but he doesn’t have sustained interest in it – still a short attention span, I guess. Your video inspired us and we made the train jump track right away and spent quite a bit of time with it this morning and afternoon. As a bonus, he also spent over 30 minutes of sensory time playing with the cotton balls and transferring them between containers. Thanks for a great inspiration! Oh, and the slow motion video was genius!
Thanks, Colleen! And thank you for taking the time to tell me about this, because it made my day — I’m so happy to hear that our ski jump was so inspiring for your little guy, and even turned into sensory play! Sometimes it just takes a little something extra to make a train set really come alive.