
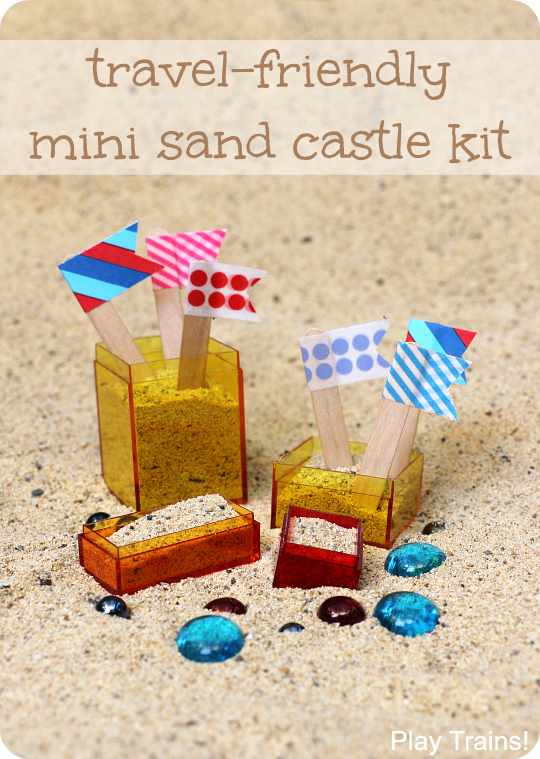
When we got home playing at the beach with our kid-customized mini sand play set, I realized that the core part of the set could make an even smaller mini sand castle kit. Of course I had to try it immediately! Fortunately, we have a sandbox, so we didn’t have to wait. This little sand castle kit is tiny, but it has everything you need to make an adorable castle in the sand. Perfect for traveling with kids, it’s small enough to tuck in a carry-on bag or a purse, and it’s cute enough to be a bon voyage gift, beach birthday party favor, or beach wedding favor.
This post contains links to Amazon.com. If you click on one, we will receive a small commission — at no additional cost to you — on anything you buy at Amazon for a certain length of time afterwards. Read our disclosure policy for more details.
I love how tiny this kit is, and that it can be customized to just about any color scheme you’d like. The Amac boxes — which I’ve been in love with since childhood — come in a rainbow of colors, and when you add in the washi tape and glass gems, the possibilities are nearly endless.
At the end of the post, I have some tips for how to build a sand castle with this kit that I think you’ll find very helpful, so don’t miss them if you plan to make one.
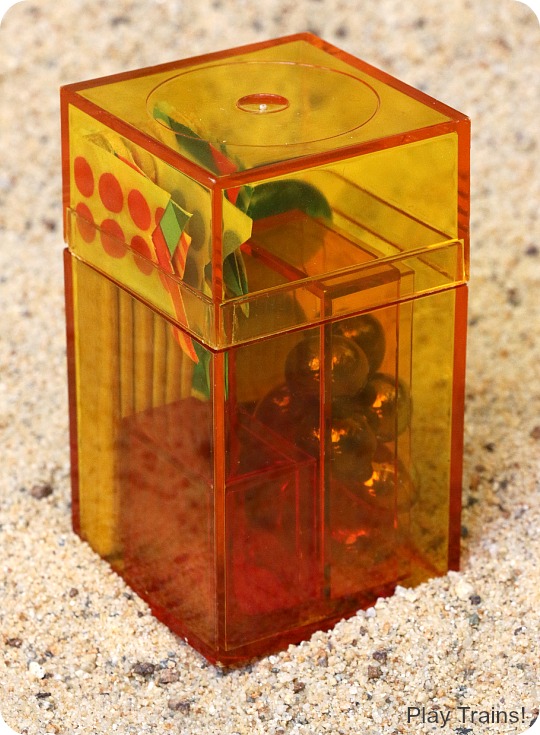
Materials:
- Three Amac boxes: a small square box (1″ square x .75″), a small rectangular box (2″ x 1″ x .75″), and a larger box (1-5/8″ square x 2-7/8″). Because both the lid and the bottom of the largest box can be used as molds, this makes for four different sizes and shapes of sand molds for your castle. Note on color choice: I think the kit looks the prettiest if you use three different colors for the boxes, with the largest one (which becomes the container for the kit) being the lightest color so you can see the contents.
- Five or six mini craft sticks
- Washi tape or decorative masking tape
- Glass gems
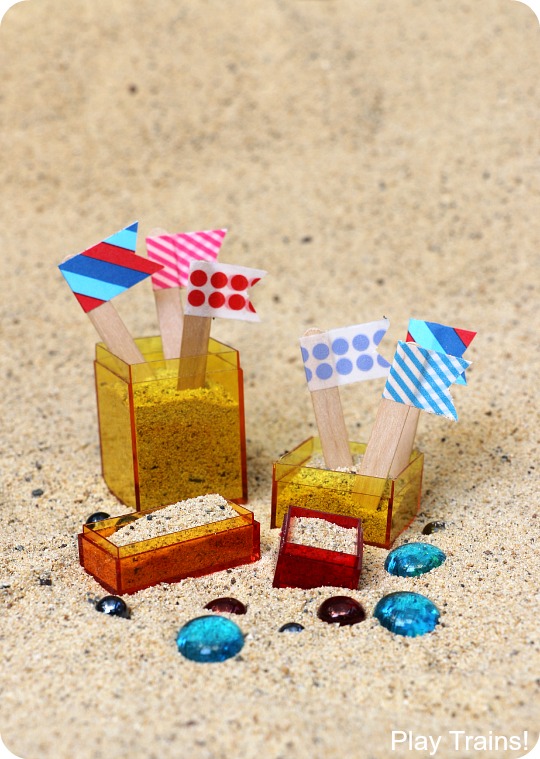
Assembling the Sand Castle Kit
- Make the washi tape flags — inspired by the many versions of pretty washi tape flags I’ve seen in my Pinterest feed — by folding pieces of tape around the ends of the mini craft sticks, pressing the tape together, and then cutting the ends to the desired length and flag shape.
- Fill the two smaller Amac boxes with glass gems and put them in the bottom of the larger box. I took the lids off of the ones in these photos, but as we were playing, the Little Engineer wanted the lids so the boxes could be “treasure chests” filled with glass gems and then buried in the sand. I think they do fit in the bigger box with the lids on, so you might want to include them.
- Tuck the flags in around the smallest Amac box. Add more glass gems.
- Close the lid. You’re done!
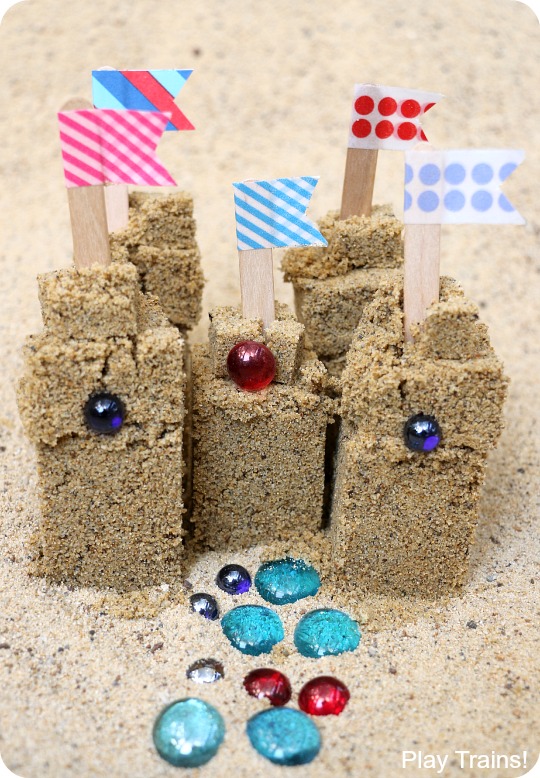
Here’s the little sand castle I built for the Little Engineer with our kit:
Tips for Building Sand Castles with this Kit:
Because of the straight sides of the Amac boxes, it can be tricky to unmold the sand from the largest box. For that reason, I wouldn’t expect young children to make a castle by themselves with this kit. It’s more of a play together sort of thing, or a play-however-they-want sort of thing because the Little Engineer enjoyed coming up with all sorts of things to do with the objects in addition to building sand castles. But I had so much fun, I didn’t mind building with or for him at all. Here are a few tips based on our experience:
- The key is to not pack the sand into the large container. I know, that’s what you’re supposed to do when you build a sand castle, but packing the sand in just gets it stuck inside. The technique I eventually arrived at was to put some loose, wet sand in the large box and then stick my thumb down in the center to get the sand down into the corners. Then I fill it up the rest of the way with wet sand and press it in gently as I level it off.
- If the sand still gets stuck in the box, place your palm firmly over the opening and, with that open side pointed down, shake it around and up and down. Then put it right above the sand and gently encourage it to come out with quick, small, gentle shakes.
- As you play with the containers — for us, this became apparent after using the same boxes to build our sand city at the beach and the sand castle in the sandbox — the smooth plastic gets scratched, and it does become more difficult to release the sand from the largest box. At that point, it really helped to rinse the box with water any time sand started to stick inside of it.
- Because the sand is not firmly packed in the molds, and because of its diminutive size, the castle is a little more fragile than you’d expect. So be gentle when sticking the flags in the tops of your towers.
If you make one of these kits, I’d love to see a picture of it and/or the resulting sand castle! One of the easiest places to share is on our Facebook page’s wall.
Customize a Sand Play Set to Your Child’s Interests
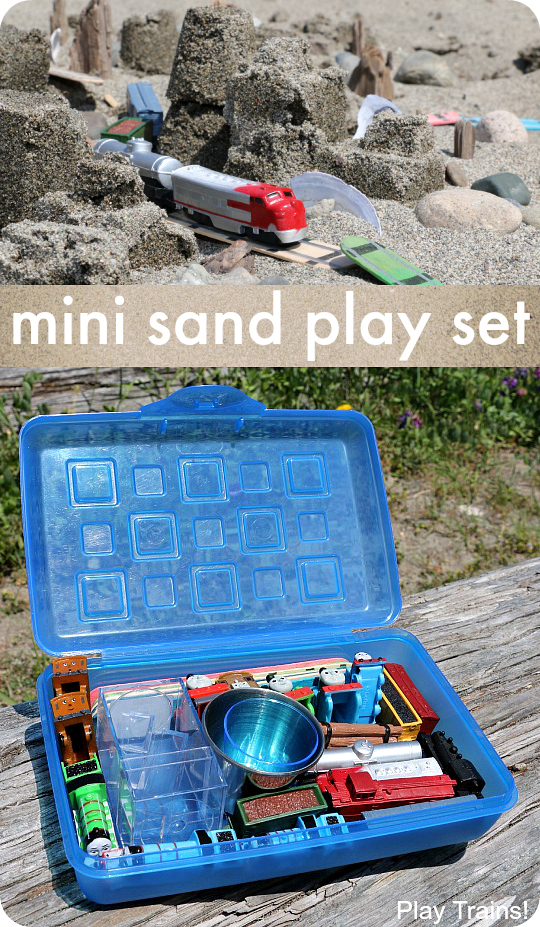
This is the not-quite-so-tiny mini sand play set that inspired this mini sand castle kit. We had so much fun creating one around the Little Engineer’s love for trains, but you could make one for anything your child loves.
I have a number of other portable activities for kids that I’m planning to write about in the near future. So if you’re headed on a trip this summer, make sure you’re signed up for our email newsletter:
More Summer Fun!
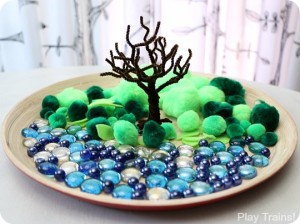
Summer Pom Pom Tree Fine Motor Activity
Fizzy Engine: Baking Soda and Vinegar Train Science Activity
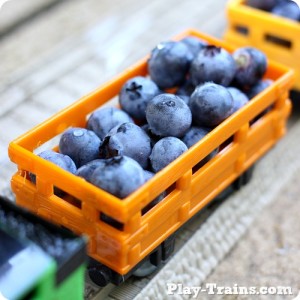
Natural Freight for Toy Trains: Summer
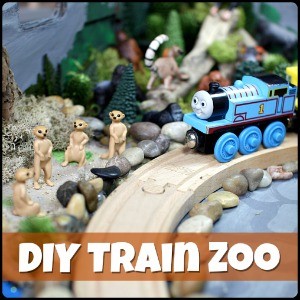
DIY Recycled Wooden Train Zoo Set
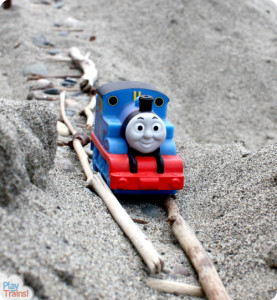
Sand Tracks: a Train Beach Activity Inspired by Peter’s Railway
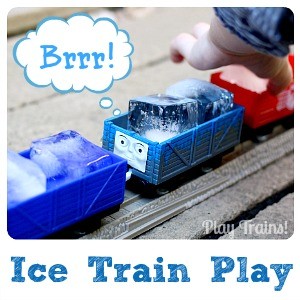
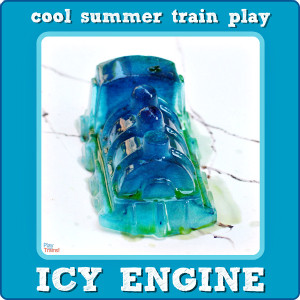
Icy Engine: Cool Summer Train Play
Top Ten Ways to Learn with Trains the Summer


Leave a Reply