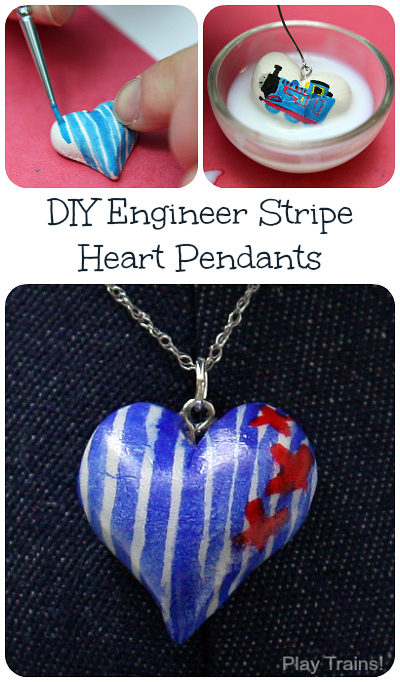
These paper clay heart pendants are really fun and — surprisingly easy — to make. I really enjoyed painting them with engineer stripes and other train-themed designs, including Thomas the Tank Engine himself. And the Little Engineer made his own version of the heart pendants, which he proudly gave me as a combined Valentine’s Day and birthday gift. These also make great Mother’s Day or Christmas gifts, and we put several of them on our Christmas tree as ornaments.
An earlier version of this post was originally published on February 13th, 2013, when the Little Engineer was three years old. It contains links to Amazon.com. If you click on one, we will receive a small commission — at no additional cost to you — on anything you buy at Amazon for a certain length of time afterwards. Read our disclosure policy for more details.
I had been wanting to play with paper clay for a while, and had gone as far as to acquire some after I saw that you could paint it with watercolors (my favorite painting medium). But I had no idea what to do with it. As usual, inspiration came from an unexpected place: a sheet of stickers that came with the train valentines the Little Engineer picked out.
One of the stickers is a cute heart in a hickory stripe pattern — what you might think of as “railroad stripe” or “engineer stripe”. I thought it was an adorable idea, and when my gaze landed on the unused package of paper clay, I knew what I wanted to do. The result was what my son calls “engineer hearts”, which work well both as pendants or as ornaments.
How to Make Paper Clay Heart Pendants
First, I took the paper clay and shaped it into hearts. I couldn’t photograph that part, given that a) my hands were covered in paper clay and b) I was supervising the Little Engineer while he made his own paper clay objects. But I can tell you the basic procedure.
First, I rolled a small piece of paper clay into a ball. I pressed my fingernail in at the top to make the V, and pinched it at the bottom to make the point. Next, I flattened the clay slightly with my palm, and then used my finger to round the edges downward. Finally, I trimmed an eye pin so it wouldn’t stick out the bottom and carefully pressed it down through the center of the V at the top of the heart.
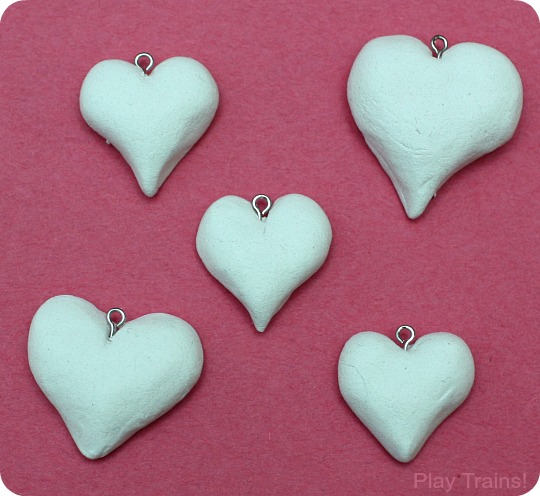
Then came the part that required patience: drying. Every day, we looked at the clay objects and turned them over so they’d dry evenly. Okay, it was more than once a day. I waited three days, but they might have been ready after two.
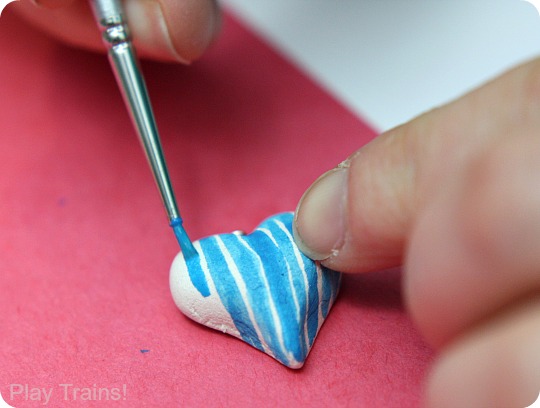
Finally, we could paint! I used Koi watercolors and a couple of very fine brushes. I started with a line straight down the middle and worked outward. In hickory stripe-patterned fabric, the blue lines are wider than the white ones, something I learned the hard way when I was making a felt engineer hat for the Little Engineer’s favorite stuffed animal, Meerkat. Still, I had to make the blue lines as thin as possible to allow for adding to them to make them straighter. Not that the resulting lines are all that straight, but being a mother has taught me to identify when perfection is not a useful goal.
The Little Engineer had made some of his own paper clay shapes. Mostly, he worked on making the characters from Poppy Cat (he ended up getting me to make some more recognizable versions after I finished my hearts), but we also discovered a small heart mold on one of his Play-Doh toys he could press a ball of clay into to make his own heart pendant.
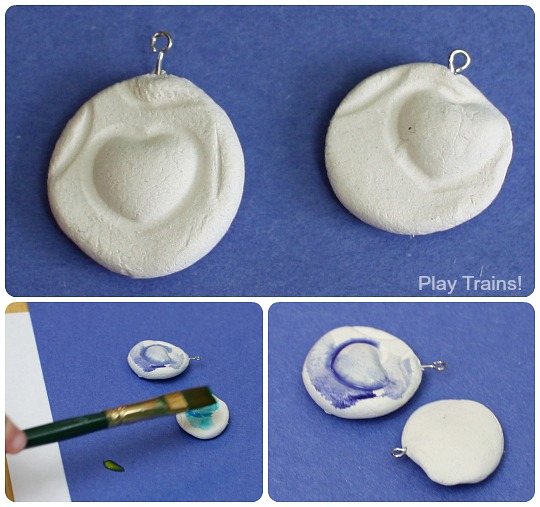
I like the way the other molds on the toy left lines around the heart, and how the watercolors soaked into the depression outlining it. For his, we just got out his regular Crayola washable watercolors. We’ll see how well the colors of the two different paints hold up over time. (A year later: so far, so good.)
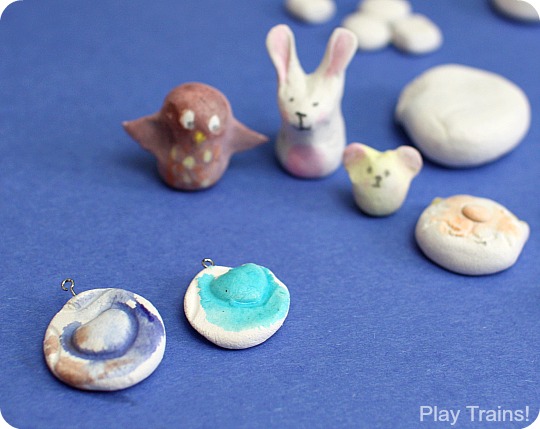
He painted them very quickly, more interested in working on Poppy Cat and watching me paint the other animals. But I think they’re lovely, especially the touch of brown on the dark blue pendant. He was very proud to give it to me for Valentine’s Day and my birthday.
For the heart pendant I was making for myself, I wanted to add three red cross-stitch Xs along one side.
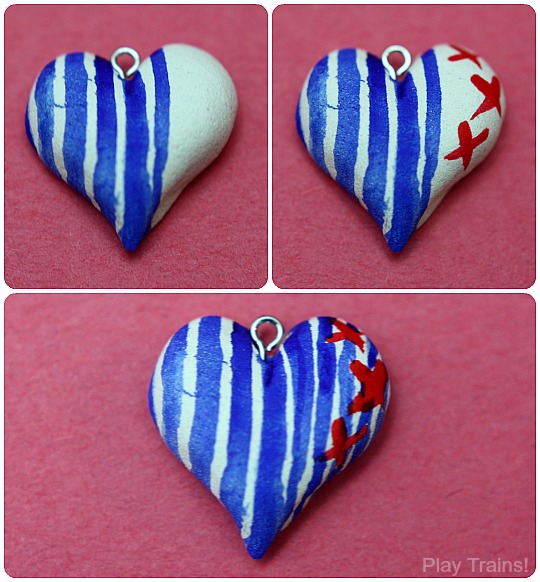
Why? The Little Engineer is famous for his engineer’s cap. It’s funny to think of it, but it was about two years ago when I first convinced him to put on Engineer Hat 1.0 by pointing out that a train engineer would wear one. I had been worried he would grow out of it before I could get a picture of him in it, but instead it became his signature. At that age, people would ask me how I got him to keep his hat on, to which I’d laugh and ask them how I was supposed to get it off of him. It was a sad day when I finally had to admit he’d grown out of it, but luckily I’d lined up Engineer Hat 2.0, in four different sizes.
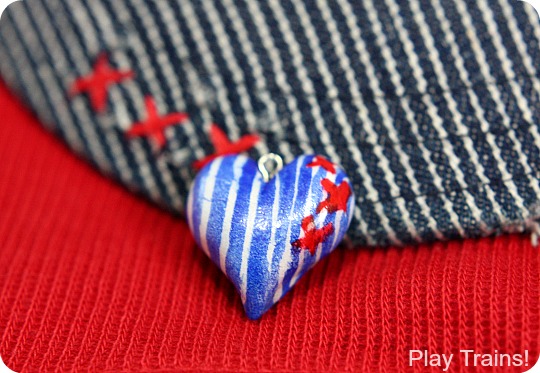
In the beginning, I didn’t like these hats quite as much as the first one. But now he’s been wearing the 2.0 series for so long, it’s become part of his identity even more than the first hat had, especially distinctive are the three red Xs embroidered on the band and again on the brim. So I decided to make my engineer heart with three red Xs as well, so that it would really remind me of my own engineer.
I made a few different designs as well. I wanted to try a few different colors for the blue stripes, and then I got creative with a Thomas heart and a heart with blue tracks running all over it. I think if I wanted to do the railroad tracks again, I would find a very fine point pen to draw them with instead, because my best attempt is still hard to make out.
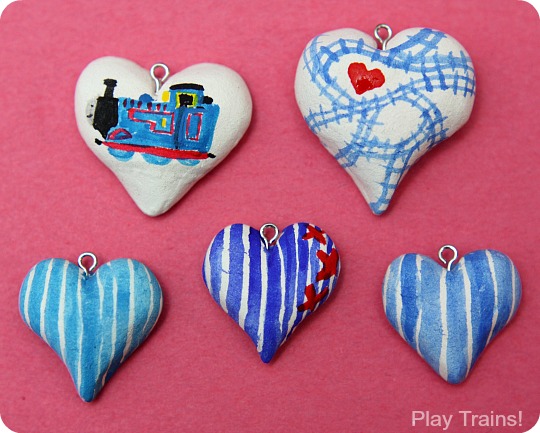
It didn’t take long for the watercolors to dry. Then, following a vague memory of this adorable Octopus Charm Tutorial, I dipped each one in Ceramcoat satin interior varnish.
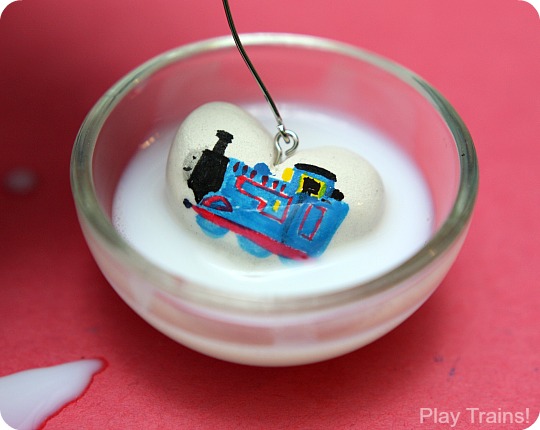
I later settled on using a second eye pin to dip them, but at first I just grabbed a paper clip. The paper clip was more secure, so I’d probably try to find more next time.
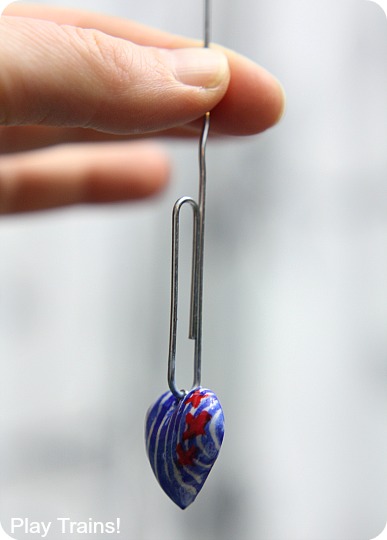
After dipping, I held them above the bowl to let each one drip, tapping the paper clip or eye pin and shaking them gently, then brushing away the extra varnish that collected at the point of the heart with a wet paintbrush.
I hung them up with clips and towers of magnets sticking out from the fridge (I really didn’t think this through ahead of time, but it worked). When they were more or less dry, I dipped them again, then left them to dry completely overnight.
And here’s the finished product:
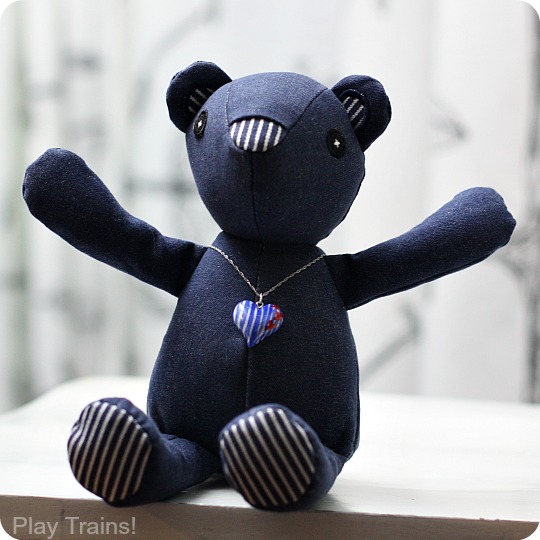
I had Hickory Bear model it — wouldn’t that make a cute gift for a girl who loves trains, or a mom of a little engineer? (Of course, my Little Engineer sees this and declares, “Hickory Bear doesn’t wear necklaces.”)
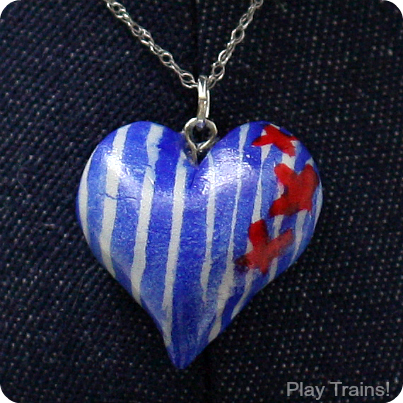
The one thing to check at this point is whether the eye pin is secure or not. One of mine has come loose, so I’ll have to pull it all the way out and find some way to glue it in.
Train Books and Gifts for Valentine’s Day:
More train activities and ideas for Valentine’s Day:
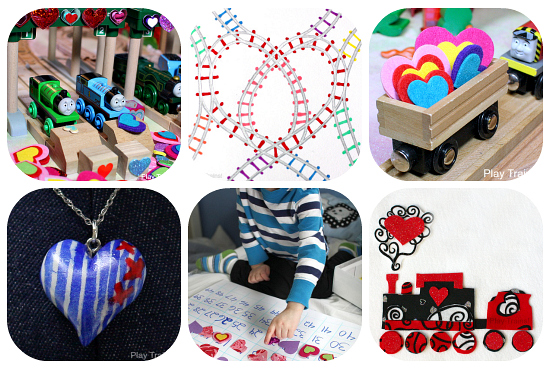
Building a Valentine’s Day in Vicarstown Book-inspired Wooden Train Layout
You’ll find lots of ideas for decorating a wooden train layout for Valentine’s Day in this literacy activity, inspired by the Thomas & Friends book, Valentine’s Day in Vicarstown.
Looking for train valentines for your little engineer to hand out? I had a hard time getting train valentines the first year I looked for them, so I tracked down as many as I possibly could to share here. Here are some great train Valentine’s Day cards available online, and a list of free printable train valentines as well.
If you’re looking for an unusual — and unusually pretty — train valentine for your child, these DIY train track valentines might be just the thing!
Easy DIY Felt Heart Freight for Wooden Trains
With their fuzzy yet solid feel, these easy-to-make felt hearts are wonderful valentine freight for toy trains and great counters for counting activities.
Valentine Counting Activity with Thomas and Friends
Another fun activity inspired by Valentine’s Day in Vicarstown. The Little Engineer still asks to play this one a year later.
DIY Felt Valentine Train Play Set
A pretty and engaging felt train play set that’s quick to make for Valentine’s Day.


They turned out really cute!
Thanks!
Oooh, I’m always on the look out for new types of art materials. Would this be more like paper mache modelling or clay modelling. Is it brittle when dry or stable? I’m definitely going to try this out. Thanks for the idea!
Well, I haven’t done paper mache modeling, but it struck me more as clay that the paper aspect was only noticeable in as it dried. Some of my pieces got a few small cracks as they dried, but the paper clay package suggests smearing more clay into the cracks, and that worked well. It seems reasonable stable…I’ve dropped the hearts an embarrassing number of times this week and they’re none the worse for wear. But I did put the ones my son made in my purse (bad idea, but I lost the lid to the box they were in) and one of them got an indentation on it. That may just be in the varnish. I’m going to look around to see if I can find a better varnish for them, one that will be somewhat moisture-resistant (I haven’t tested this one, but I suspect it wouldn’t hold up to too much sweat, which might be bad for pendants).
AAWWW!! Those are adorable pendants! 🙂 and I love homemade gifts from my kiddos. Happy Birthday!!!
Thanks for sharing at Sharing Saturday!
Thanks! 🙂 And thanks as always for hosting a great link party.
Those are absolutely adorable! My son has been begging to play with clay, I may have to get some.
It’s a pretty nice clay to work with. The only thing to prepare for is that you end up with the papery bits stuck all over your hands, but nothing that a damp cloth nearby can’t fix. Thanks for reading!
What gorgeous pendants. I love the designs you’ve painted on them. The clay looks so lovely to work with. I’ll be featuring your post as part of my homemade crafts from the Weekly Kids’ Co-op. Thanks for sharing. xoxo P
Wow, thanks!
Oh those are adorable
Thanks for linking to the Sunday showcase. I’ve pinned this to our board.
Thanks so much!