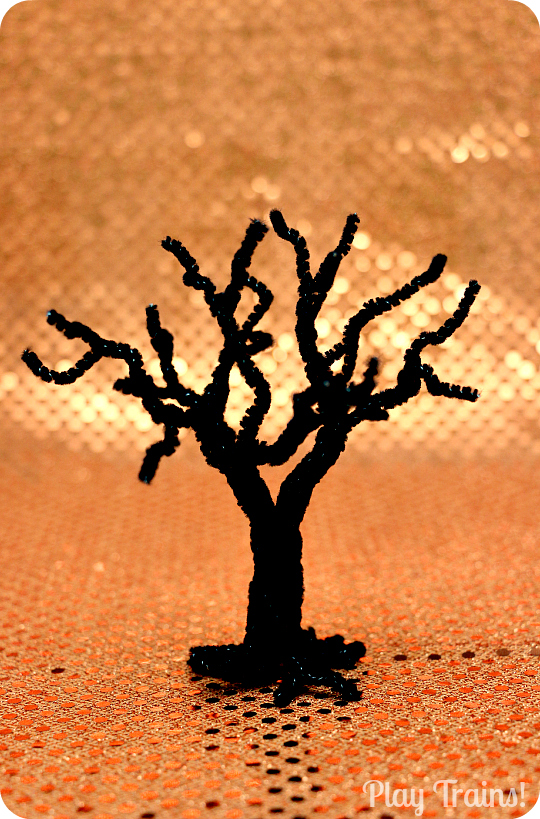
I love these spooky trees I came up with to go with the Little Engineer’s wooden trains, so perfect for a Halloween train set or small world. While they’re a little more complex than the evergreen pipe cleaner trees from last spring, they don’t take too long to make, and they look so cool in our train layouts! They’re definitely my new favorite Halloween craft. And they also can be made with brown pipe cleaners to go with a fall theme.
This post contains links to Amazon.com. If you click on one, we will receive a small commission — at no additional cost to you — on anything you buy at Amazon for a certain length of time afterwards. Read our disclosure policy for more details.
Seasonal Pipe Cleaner and Pom Pom Trees
Cherry Blossom Spring Pom Pom Tree
Pipe Cleaner Pine Trees
Summer Pom Pom Tree
Pipe Cleaner and Pom Pom Palm Tree
Apple Harvest Pom Pom Tree
Fall Pom Pom Tree
Spooky Pipe Cleaner Trees
Halloween Carnival Colors Pom Pom Trees
Pipe Cleaner Christmas Trees
Light-up Pipe Cleaner Christmas Trees
Snow and Ice Winter Pom Pom Trees
Materials
To make these trees, you need twelve or more 3mm pipe cleaners (chenille stems) in the color of your choice. These are the super skinny ones, half the size of the more common 6mm pipe cleaners. I managed to find 25 piece packs of 3mm black pipe cleaners at Jo-Ann Fabrics. If you’d like to make brown tree trunks for regular fall trees, look through the big variety packs. I found one that included several 3mm brown pipe cleaners. Or, you can find both 3mm black pipe cleaners and brown pipe cleaners online.
A 25-pack will allow you to make two medium-sized trees, but you may want to experiment with using more pipe cleaners per tree. The tree in the how-to photos below was made with 12 pipe cleaners. Later, I made yet another tree after that one with 18 pipe cleaners, and I liked it even better.
Instructions
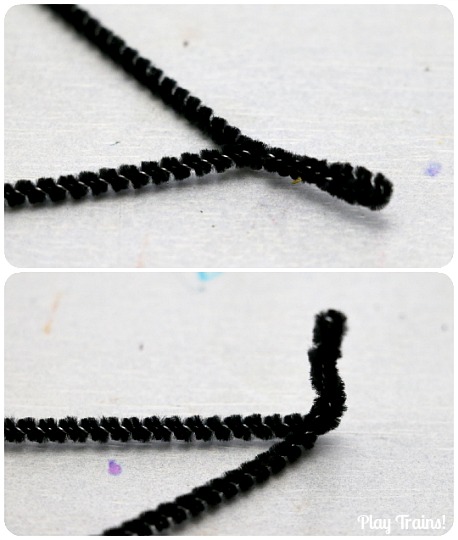
First, to shape the roots of the tree, bend a pipe cleaner roughly in half. One end should be longer than the other — up to an inch — to vary the length of the branches. Twist the bent end of the folded pipe cleaner tightly and bend it almost to a 90-degree angle. Repeat with all the pipe cleaners.
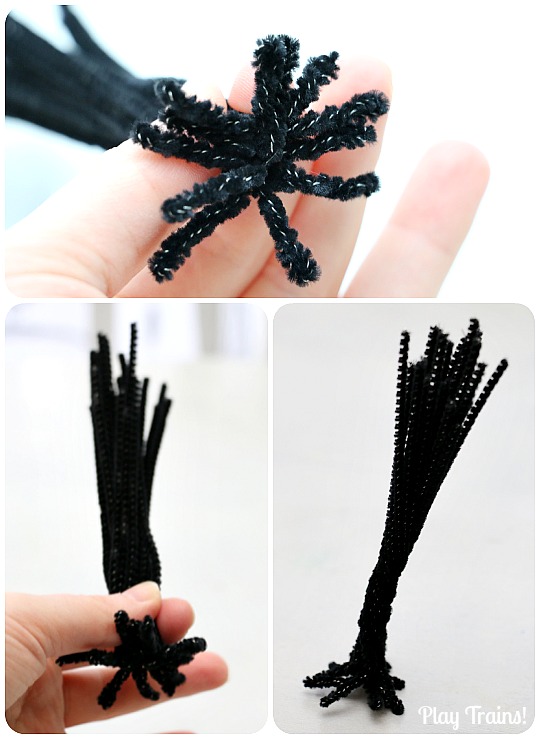
Next, gather the bent pipe cleaners together and arrange them so that the roots stick out evenly around the base of the tree. Pinch the pipe cleaners together just above the roots with one hand, then twist the bottom half of the tree trunk together. Once again, make sure it is nice and tight.
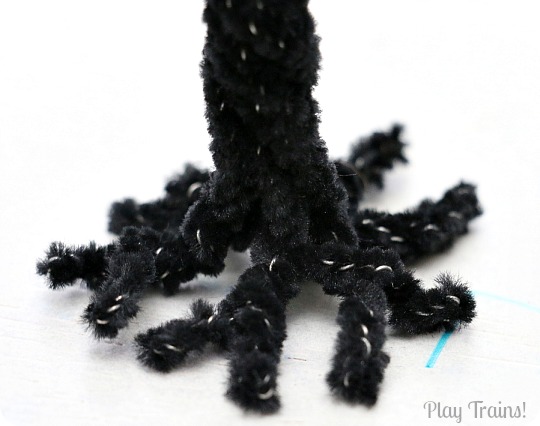
Now it’s time to make the roots look pretty. Twist some together to make thicker roots. Bend them at different points and angles for a natural appearance. Adjust how far the roots bend away from the trunk until the tree stands up straight. You might bend the trunk itself a bit for crooked Halloween trees.
The next step is to start creating the branches. Divide the tops of the pipe cleaners into three or so clumps. (I did this example with more like four or five sections, but I’ve decided I prefer the look of the trunk splitting off into three thicker limbs.) Twist the first one two or three turns, then divide and twist again. Bend each branch and twig into natural, uneven shapes.
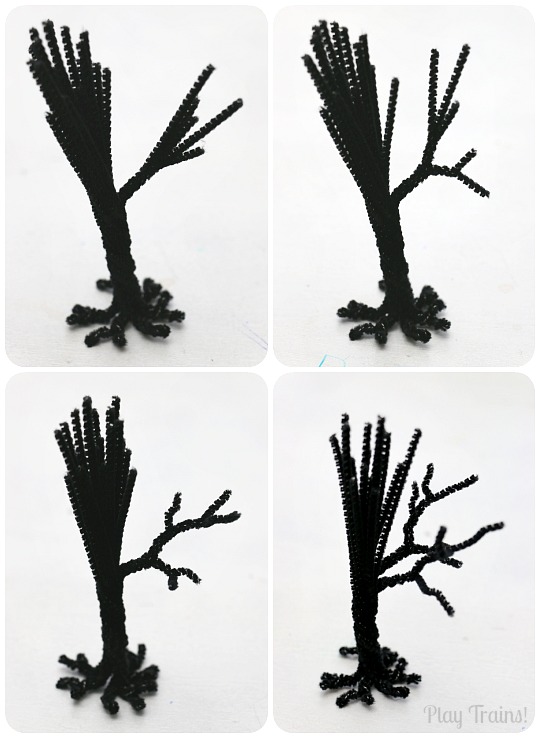
When you’ve created all of the branches, take a minute or two to get the shape of the whole tree just how you want it.
One caution: it only takes me five or six minutes to make one of these now that I’ve done it a few times, but twisting the pipe cleaners to make the roots can be hard on tender fingers. So don’t expect to make too many of these on the same day.
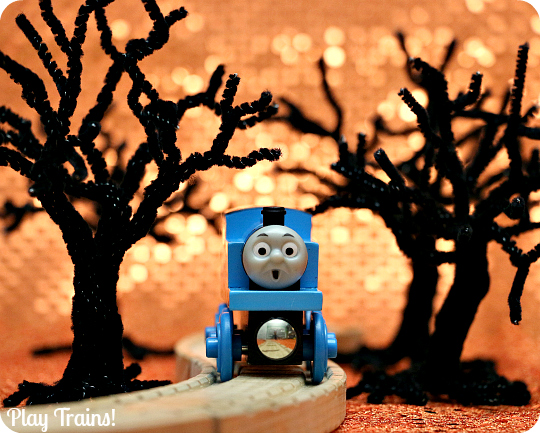
Our final activity for the Halloween Invitations to Play series uses these trees, so make sure to go see how we played with them:
Halloween Carnival Pom Pom Tree Play
If you’d like to learn how to make the pipe cleaner pine trees (which are easier for preschoolers to help with), check out our fully-illustrated tutorial:
Pipe Cleaner Trees for Wooden Train Layouts
Looking for more creative train activities for YOUR kids?
Grab a copy of Old Tracks, New Tricks! In the fun, rhyming story, three creative little wooden train tracks stand up to the bossy trains and teach the whole train set that old tracks — and trains! — can learn new tricks. Full instructions for the 20+ “track-tivities” in the story are included in the back of the book, along with an illustrated guide to teach kids how to create their own “track tricks.” You can find tons of extension activities at the Old Tracks, New Tricks website!




These are really cute! I bet I could get my tweens to help me make some for my mantle!
Thanks! This would be a perfect tween activity.
I love these for pretend play and for Halloween decorations! I’ll be sharing on The Crafty Crow soon!
How exciting…thank you very much! So glad you like them. 🙂
Thanks for the great idea and pictures. I made these chenille stem trees for a Halloween village. They turned out super cute. I think the key, following your directions and looking at your pictures is to kink the branches as you are twisting and separating them. The kinks give a lot of dimension and interest to the tree!
(Sorry for the late reply; apparently my site hasn’t sent me comment notifications in a very long time!) Oh that’s a really good point! Thanks for pointing that out…every year around Halloween I contemplate making a video of how to make these, and it would be good to note that. Also, I’m so happy to hear that you made them for the Halloween village and they turned out well!