
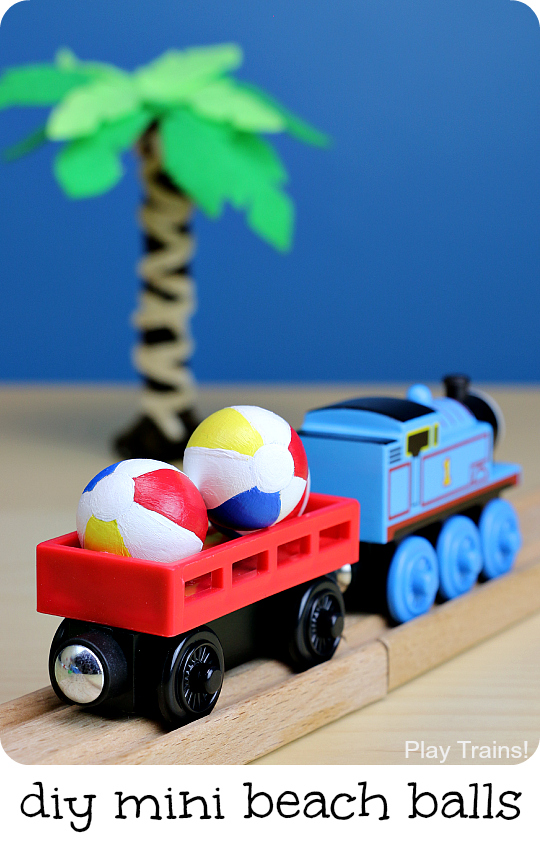
In the midst of trying to get Epic Fun for Kids — our new blog and YouTube channel — up and running, I’ve been making preparations for the coolest summer wooden train layout ever. (At least, I’m hoping that’s how it will turn out!) This week, I’m going to show you a couple of the DIY train layout projects as I get ready to lay the track. Today, we’re painting wooden mini beach balls for wooden train freight!
This post contains links to Amazon.com. If you click on one, we will receive a small commission — at no additional cost to you — on anything you buy at Amazon for a certain length of time afterwards. Read our disclosure policy for more details.
I was inspired to add beach balls to the freight I’ve been gathering for this summer train layout by the cover of Thomas Takes a Vacation, a new Thomas & Friends holographic sticker book that came out in January 2014. In the picture, Thomas is pulling freight cars full of beach umbrellas and beach balls. I had the umbrellas taken care of already, but how could I not have thought of beach balls?
I was hoping to find some bouncy balls decorated to look like beach balls, but no luck. So I decided it was worth making my own.
Mini Beach Ball Materials
- Wooden craft balls — I used 1 inch wooden balls.
- White matte acrylic craft paint — I made sure to double check that all of the paint I used was non-toxic, given that a child would be handling it.
- Red, yellow, and blue acrylic craft paint (or other colors of your choice) — I initially painted the colored sections with flat acrylic paint, intending to cover it with a glossy finish when I was done. But the colors were pretty uninspiring, so I painted over that with some Martha Stewart high gloss acrylic paints that I had for another project. These looked much better (although I’m wondering if they somehow have dried out a tiny bit in storage, because they could have gone on more smoothly). And once I painted over the matte white with high gloss white, they looked like shiny little beach balls.
- Mini color coding dot stickers — Not entirely necessary, but I found them very helpful, as you’ll see below.
- Caps from baby food/toddler snack pouches: Also not necessary, but they make good drying stands for the wooden balls.
How to Mark the Stripes
1. Start by covering the balls with 2-4 coats of matte white paint. I found it was easiest to let my fingers holding the ball get a little messy and paint the whole ball all at once for each coat. I let the ball sort of slide around in the wet paint on my fingers, and that helped smooth out any finger prints. Then I put them in the wells of a large plastic paint palette to dry, being sure to turn them after a few minutes so they didn’t stick to the palette too much. Any little imperfections were easy enough to cover over with more paint later.
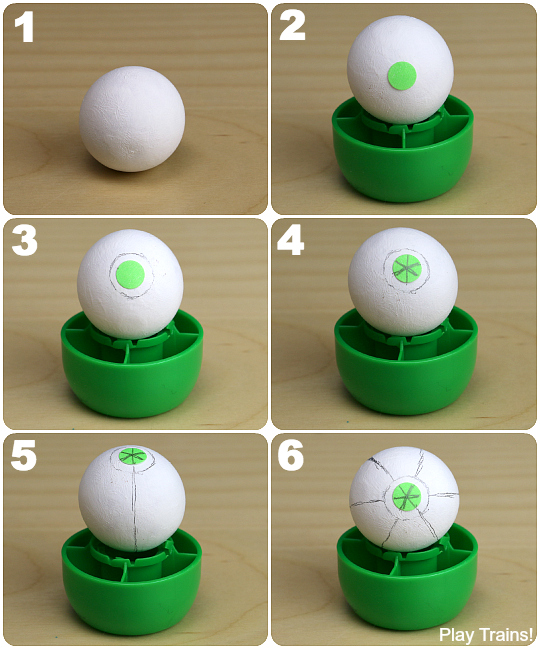
2. Once you have enough coats of paint to make the white opaque, and the paint has thoroughly dried, put two dot stickers on opposite sides of the ball. Hold the ball with one sticker pointing straight up and the other pointing down and then rotate it at eye level; this will let you see if the stickers are directly across from each other or if they need to be adjusted. (Note: You don’t need to use the pouch cap to hold the balls during this process; it was just the easiest way for me to get them to stay still while I photographed them!)
3. Draw circles around the dot stickers. These will be the circular patches at the top and bottom of the beach ball.
4. Draw three intersecting lines to make an asterisk on one of the dot stickers. This help you space the lines around the sides of the balls evenly.
5. From each of the six points of the asterisk, draw a line straight down to the other circled dot sticker.
6. Once you’ve drawn all six lines to your satisfaction, you’re ready to paint on some color!
Painting the Beach Ball Stripes
I painted two to three coats of each color, putting the balls dry-side down on the pouch caps to dry in between. This takes only a few drops of paint, so don’t squeeze too much out at a time! In the warm weather we’ve been having, the first ball would be dry enough for another coat by the time I had made it through all of them.
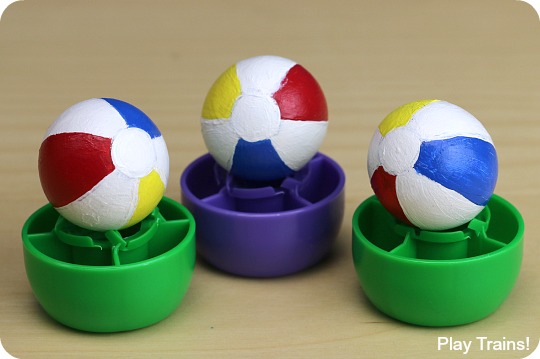
I found a small, flat brush was best, because I could turn it sideways to paint the long, thin outline, brush it flat down the middle of the stripe, and carefully cut in from the edges to even it all out.
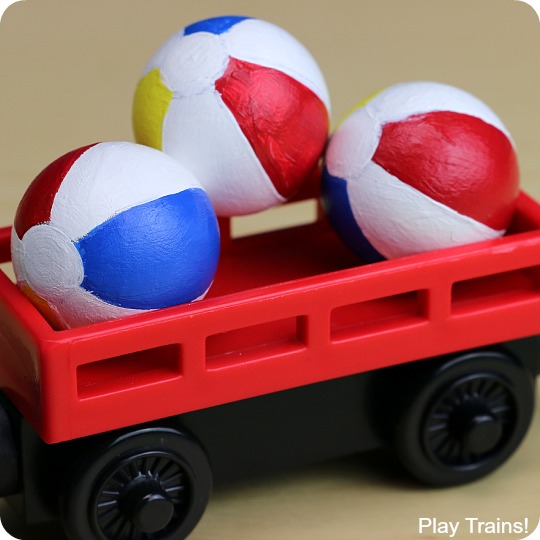
Once you’ve painted all the colored stripes, then paint the white stripes with glossy white paint. This is a good time to clean up any imperfections in the lines. Finally, remove the dot stickers and paint the circles at the top and bottom of each ball with the glossy white paint. Let them dry, and they’re ready to play!
(If you have the patience for it, it probably would be good to paint them with a coat or two of non-toxic glossy acrylic finish. I didn’t, and I’ve noticed a tiny streak of red from one ball has rubbed onto some of the white paint on another ball.)
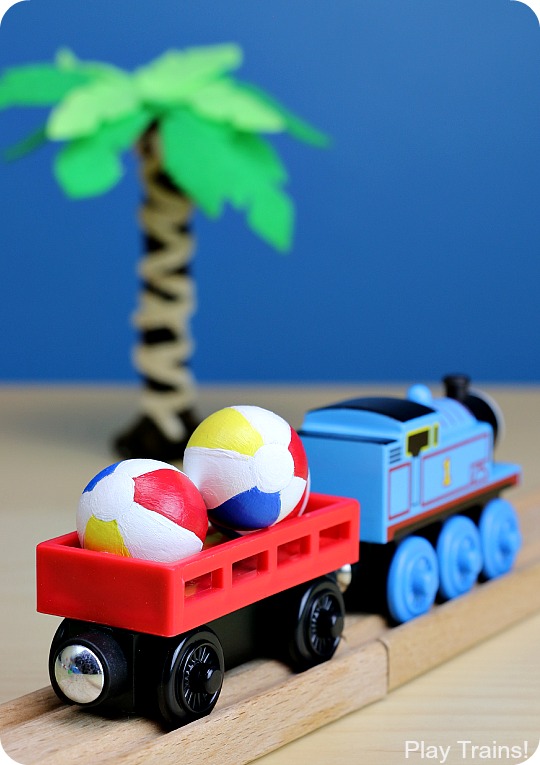
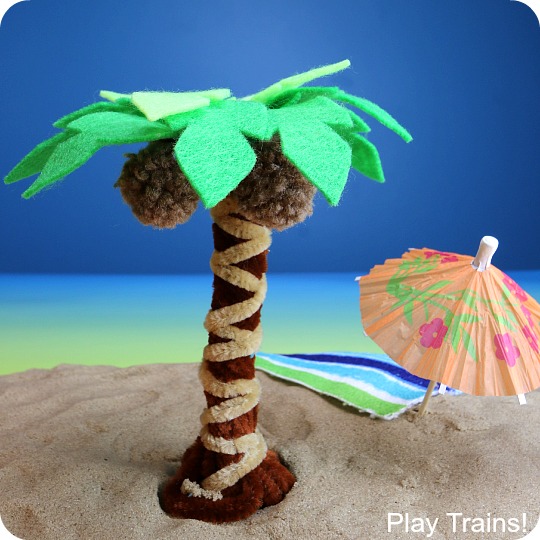
See that out-of-focus palm tree in the background? Learn how to make it your own pipe cleaner palm trees — they make a great interactive element in train layouts and small worlds, or they can just be a cute decoration!
If you have a train-loving child in your life, make sure you’re signed up for our email newsletter:
More Summer Fun with Trains!
Top Ten Summer Train Activities for Kids
Summer Pom Pom Tree Fine Motor Activity
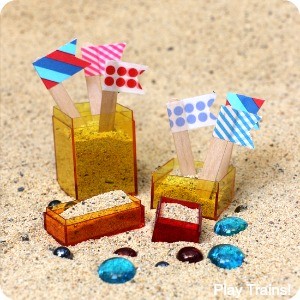
Travel-Friendly Mini Sand Castle Kit
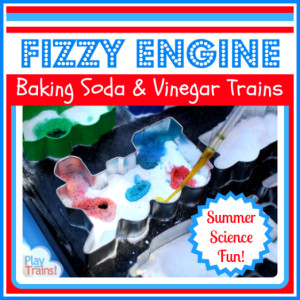
Fizzy Engine: Baking Soda and Vinegar Train Science Activity
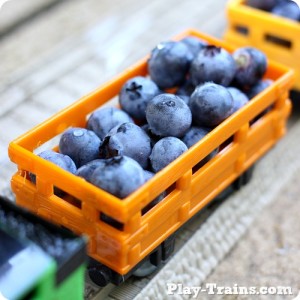
Natural Freight for Toy Trains: Summer
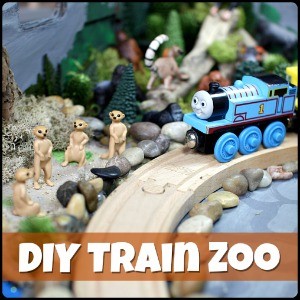
DIY Recycled Wooden Train Zoo Set
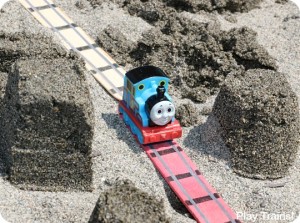
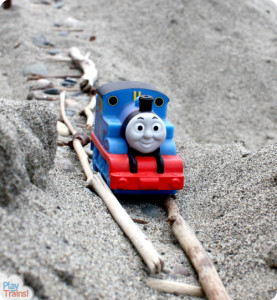
Sand Tracks: a Train Beach Activity Inspired by Peter’s Railway
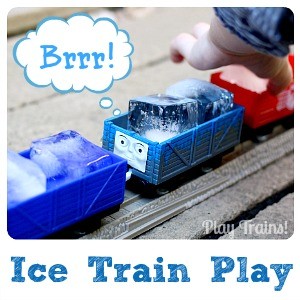
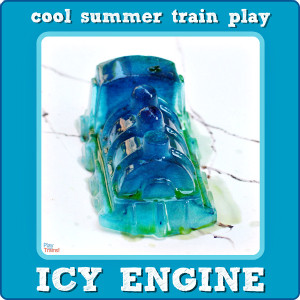
Icy Engine: Cool Summer Train Play
Top Ten Ways to Learn with Trains the Summer


I love all of these train ideas! Great resource – thank you